Week 3, Assignment 3
Computer Control Cutting
Video - Week Three, Lecture Three
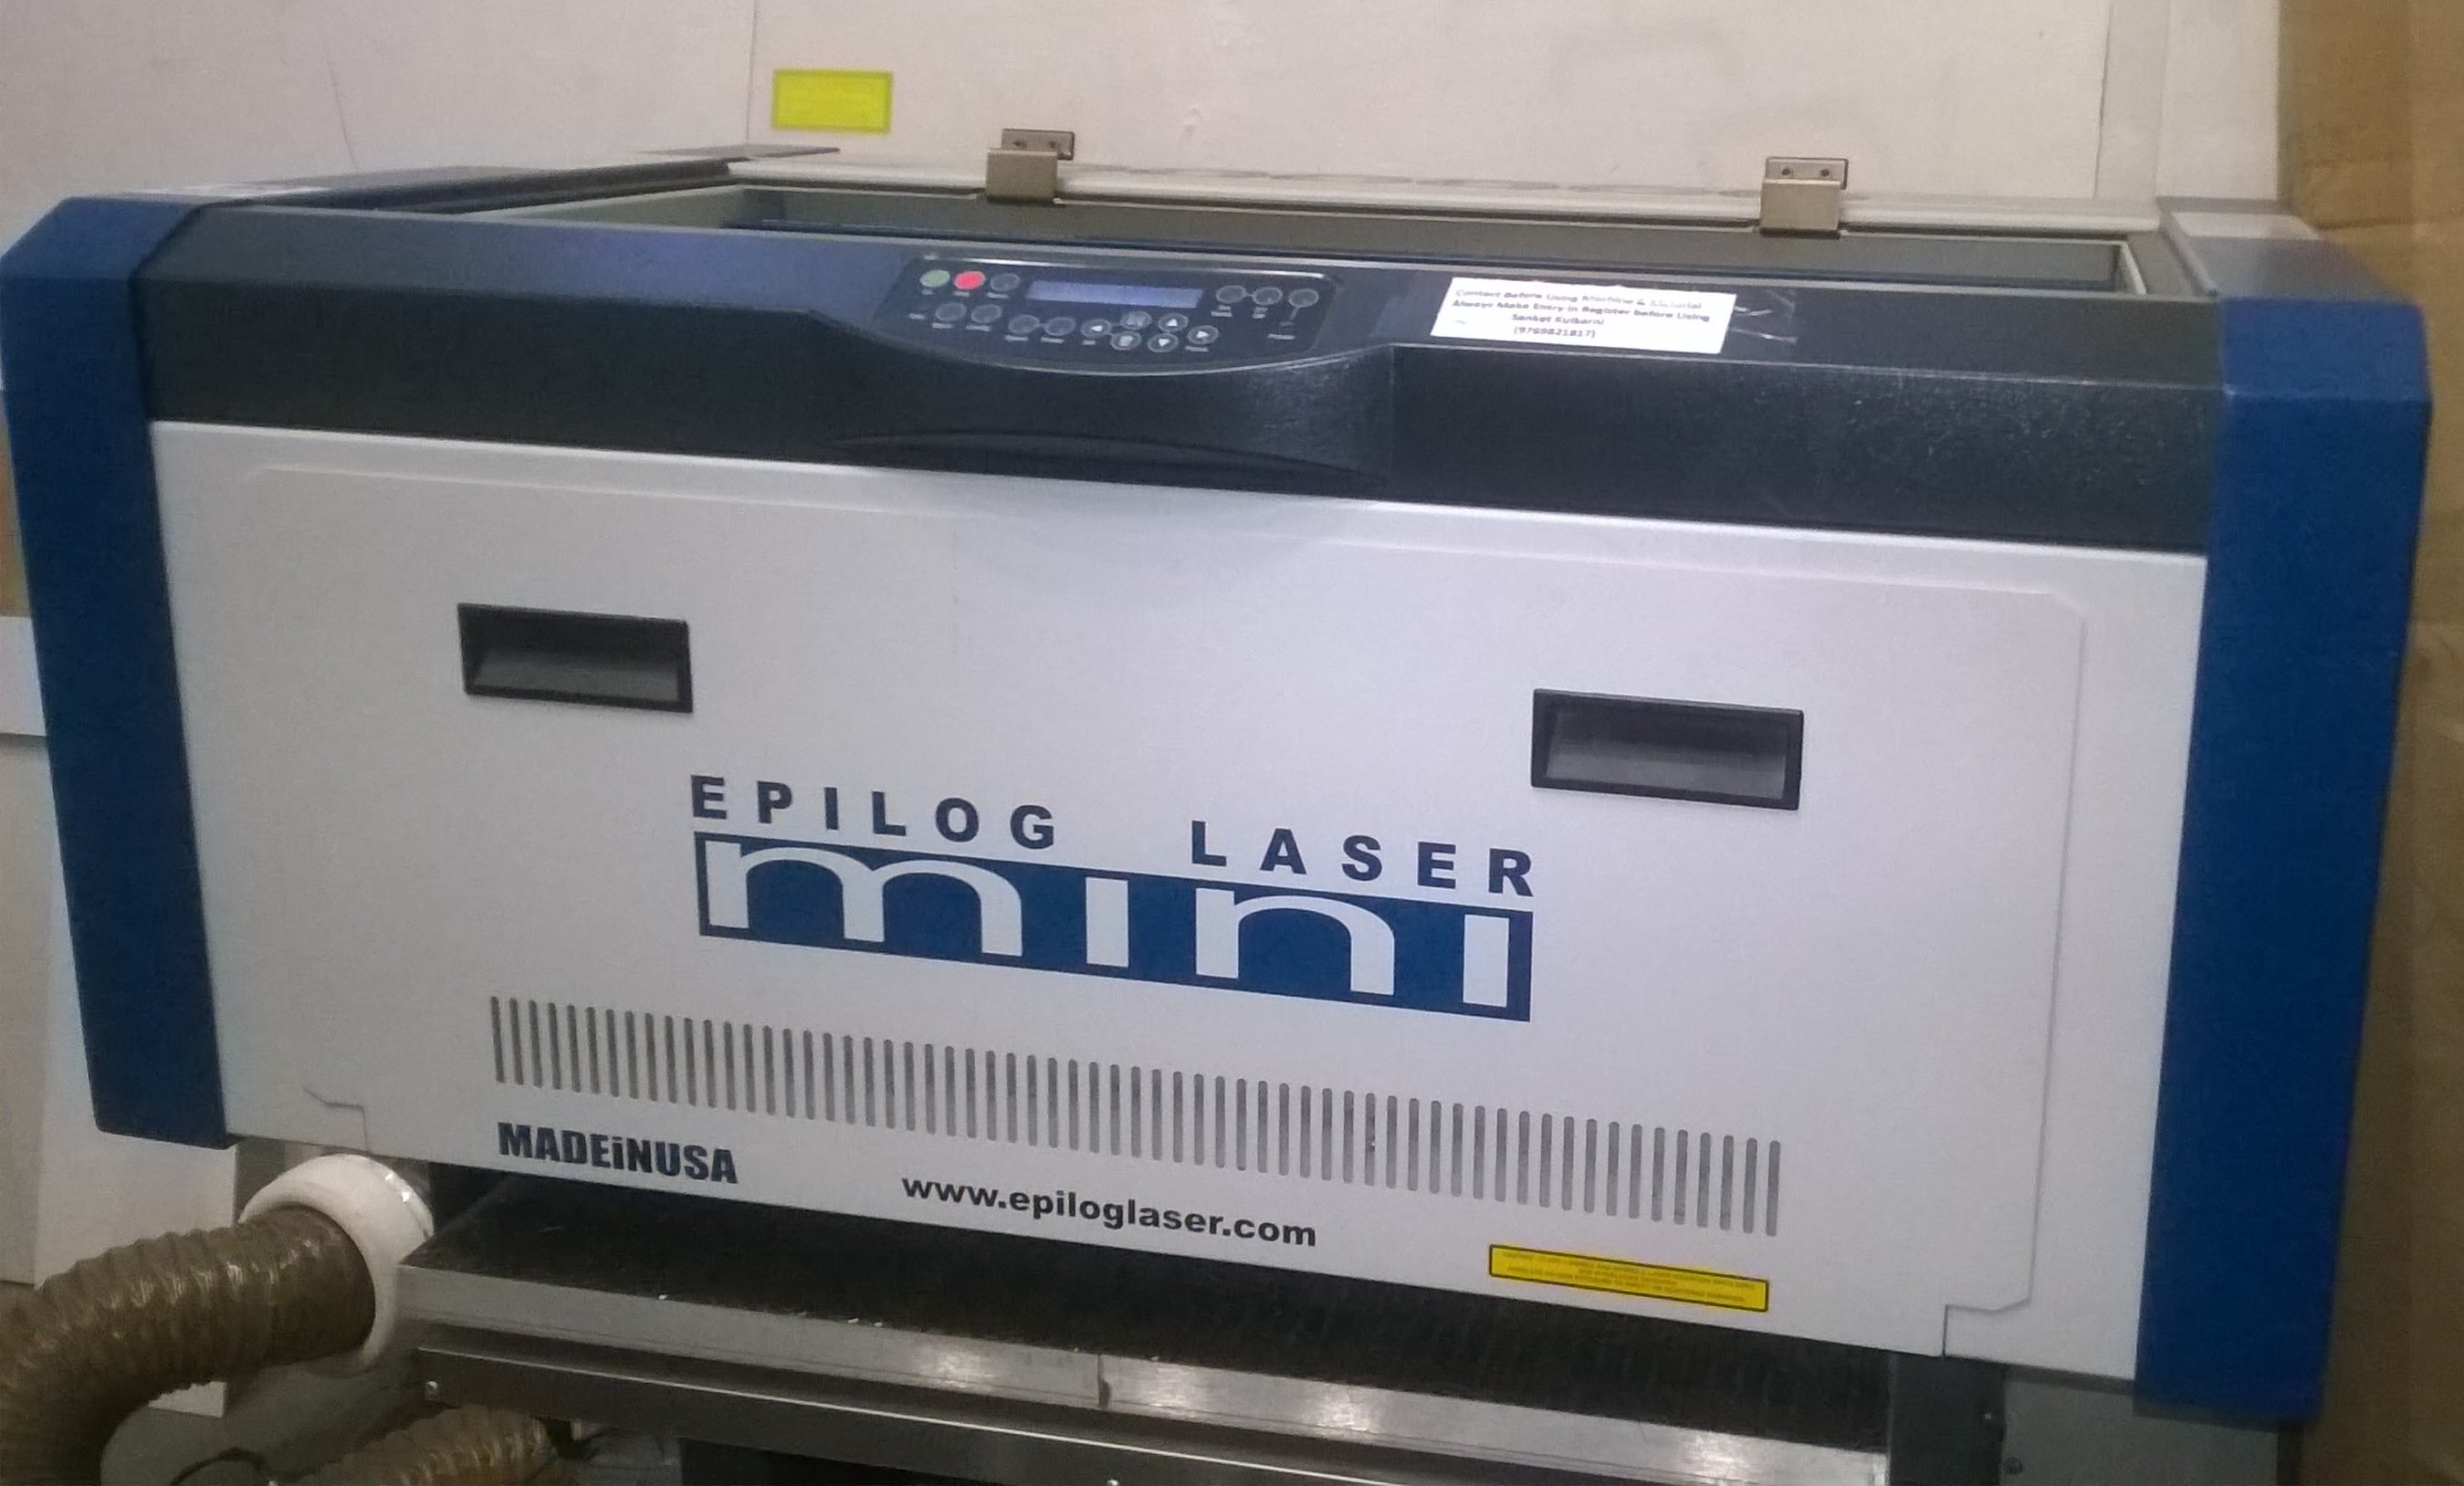
Laser Cutter :- Epilog Laser Cutter Mini 40 Watts
This week’s assignment leads us towards the actual making of the things after designing things. We do things on software’s and make them look like a real object and also can simulate them. So after all those results from software the time comes to make the object in real with the use of Tools.
So in this assignment, as it was told to be done in Group, Me and all students from Vigyan Ashram pursuing Fab Academy formed a group and designed a Mobile Stand and a Laptop Stand using Catia and Coral Draw and fabricated them using the LASER CUTTER with using Balsa Wood and Acrylic as raw material.
Material
For making the prototype and testing it in real, there were many options related to the choice of material, so as Acrylic is easily available we thought to use it for the Laptop Stand and Balsa for Mobile Stand as it was available at our Lab though being costly compared to other materials being used for Laser Cut, we used it at a very less amount as it gives good look with quality.
Group Assignment:
Learning Parametrics
This Video helped a lot to understand how parametric design are made. It was awesome to learn the possiblity of Parametic Designs. Its time saving and lets us have a firm control on our designs. I felt that I had wasted so much time and energy repeating the same designs with minor changes.
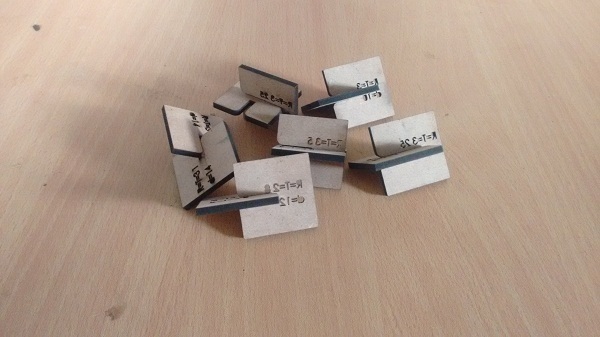
We choose chamfer joint for performing the Parametric Group assignment. It is fairly easy joint and has two or three parameters to vary. The best thing about parametrics in solidworks is that you can generate a lot of design by changing parameters. We first generated a chamfer fit design in auto cad.
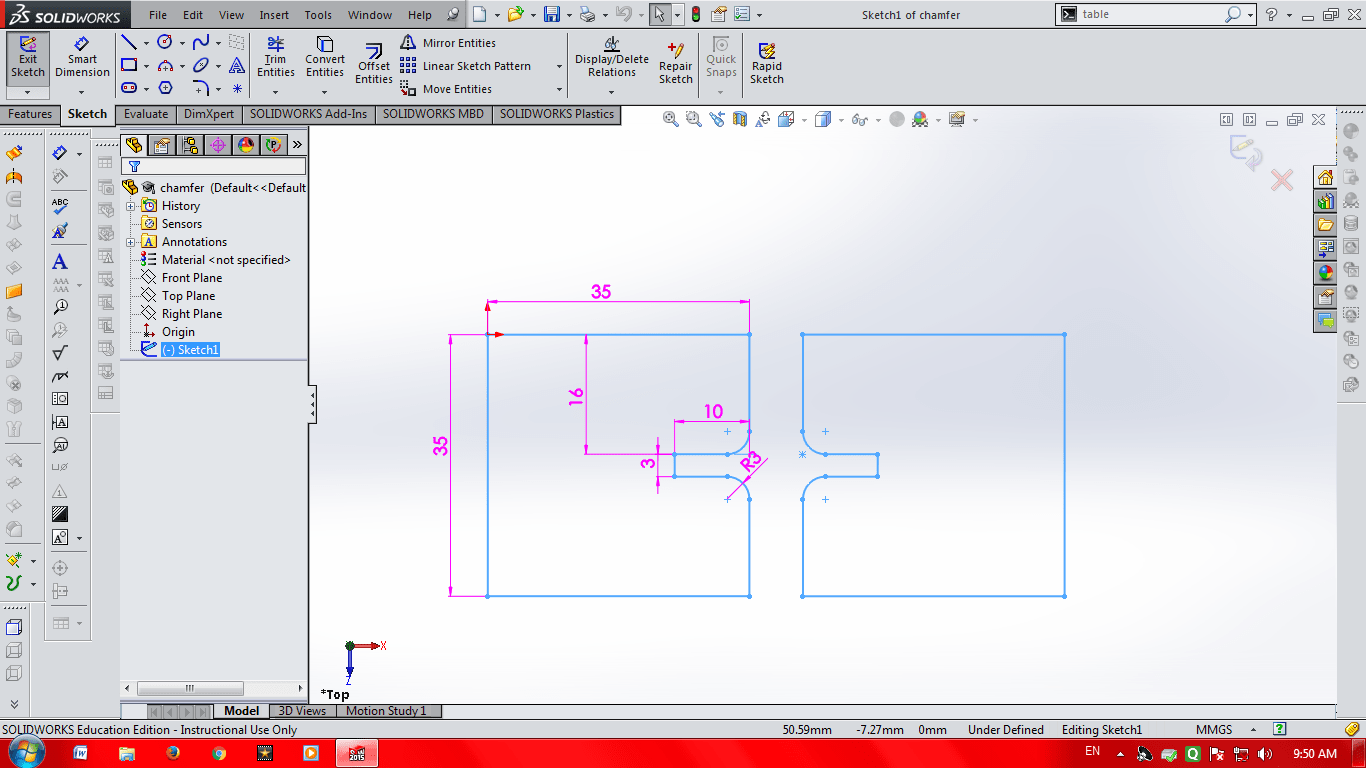
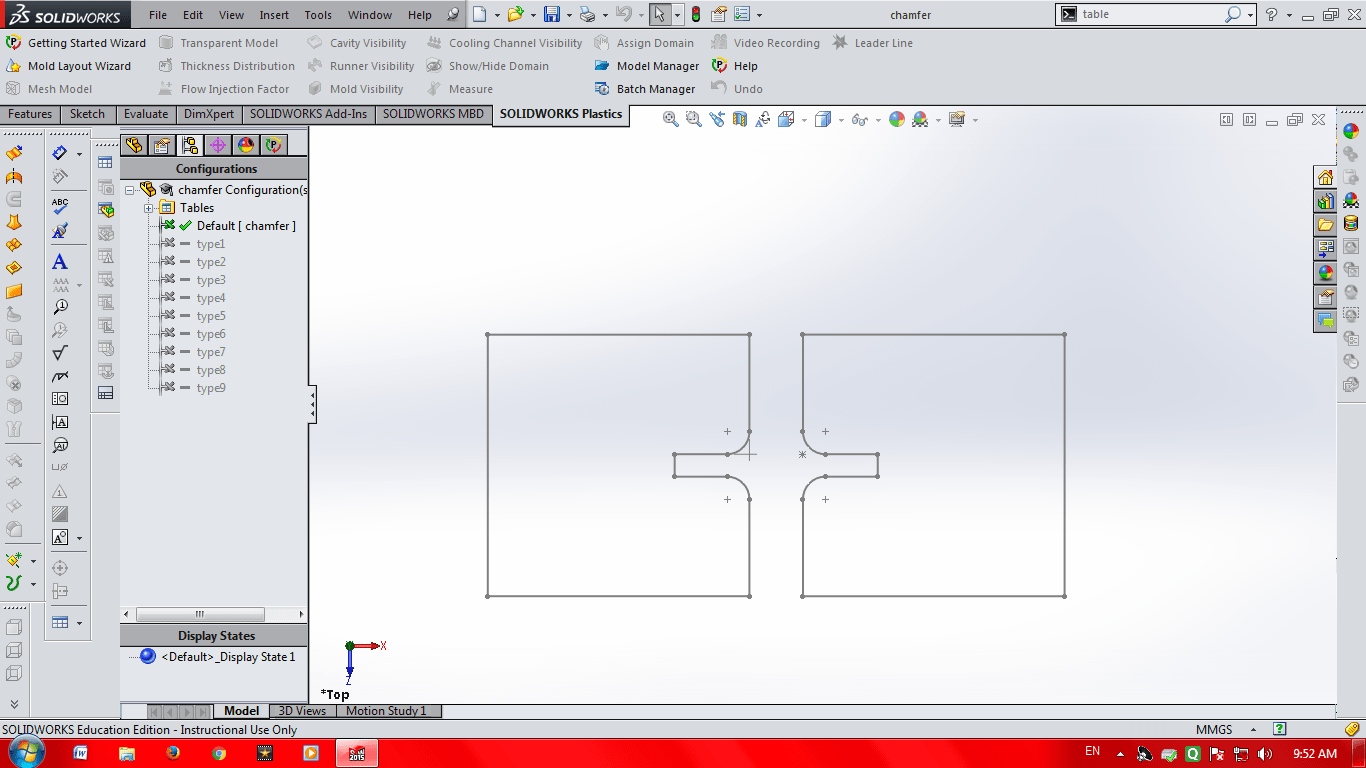
Then we inserted an excel sheet INSERT-TABLE-DESIGN TABLE in Solidworks and designed the Kit.
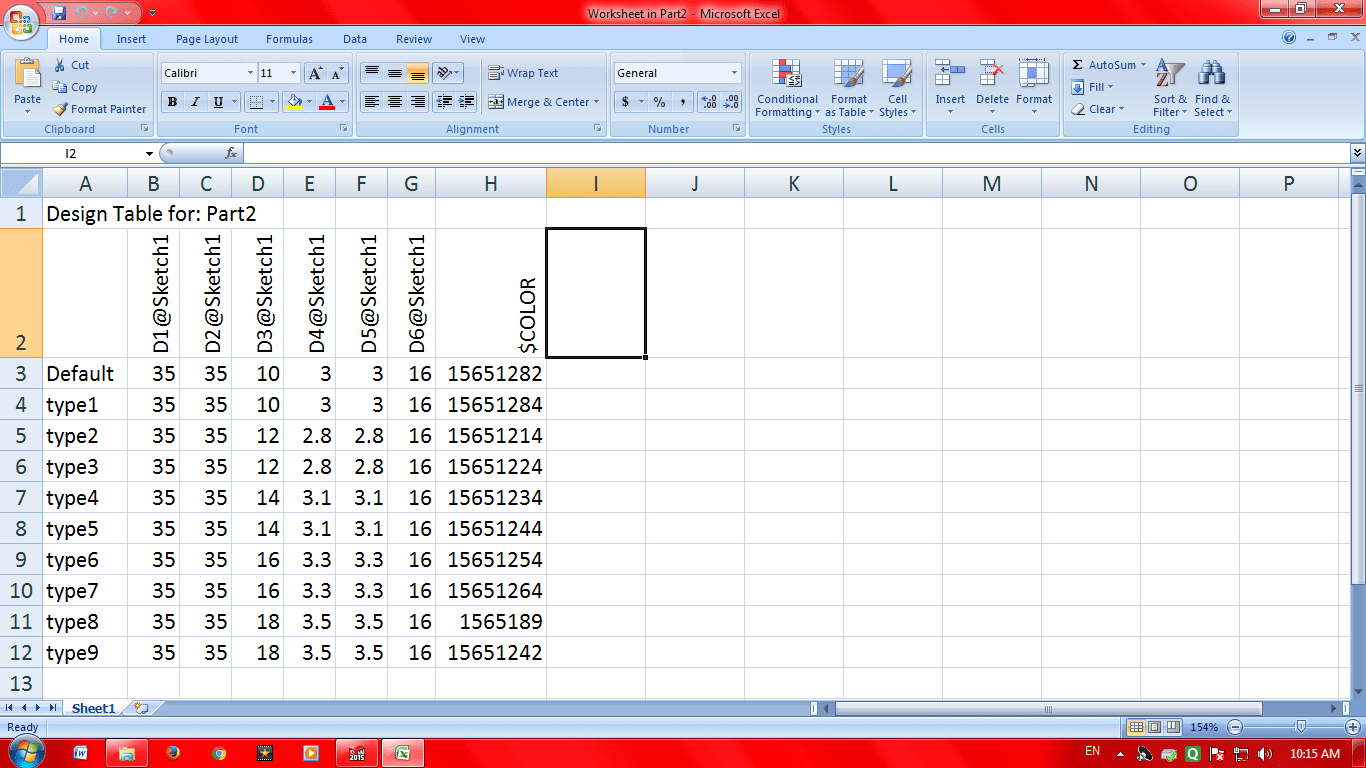
Thus by changing the dimensions in excel sheet we were able to generate multiple designs differring in their dimensions.

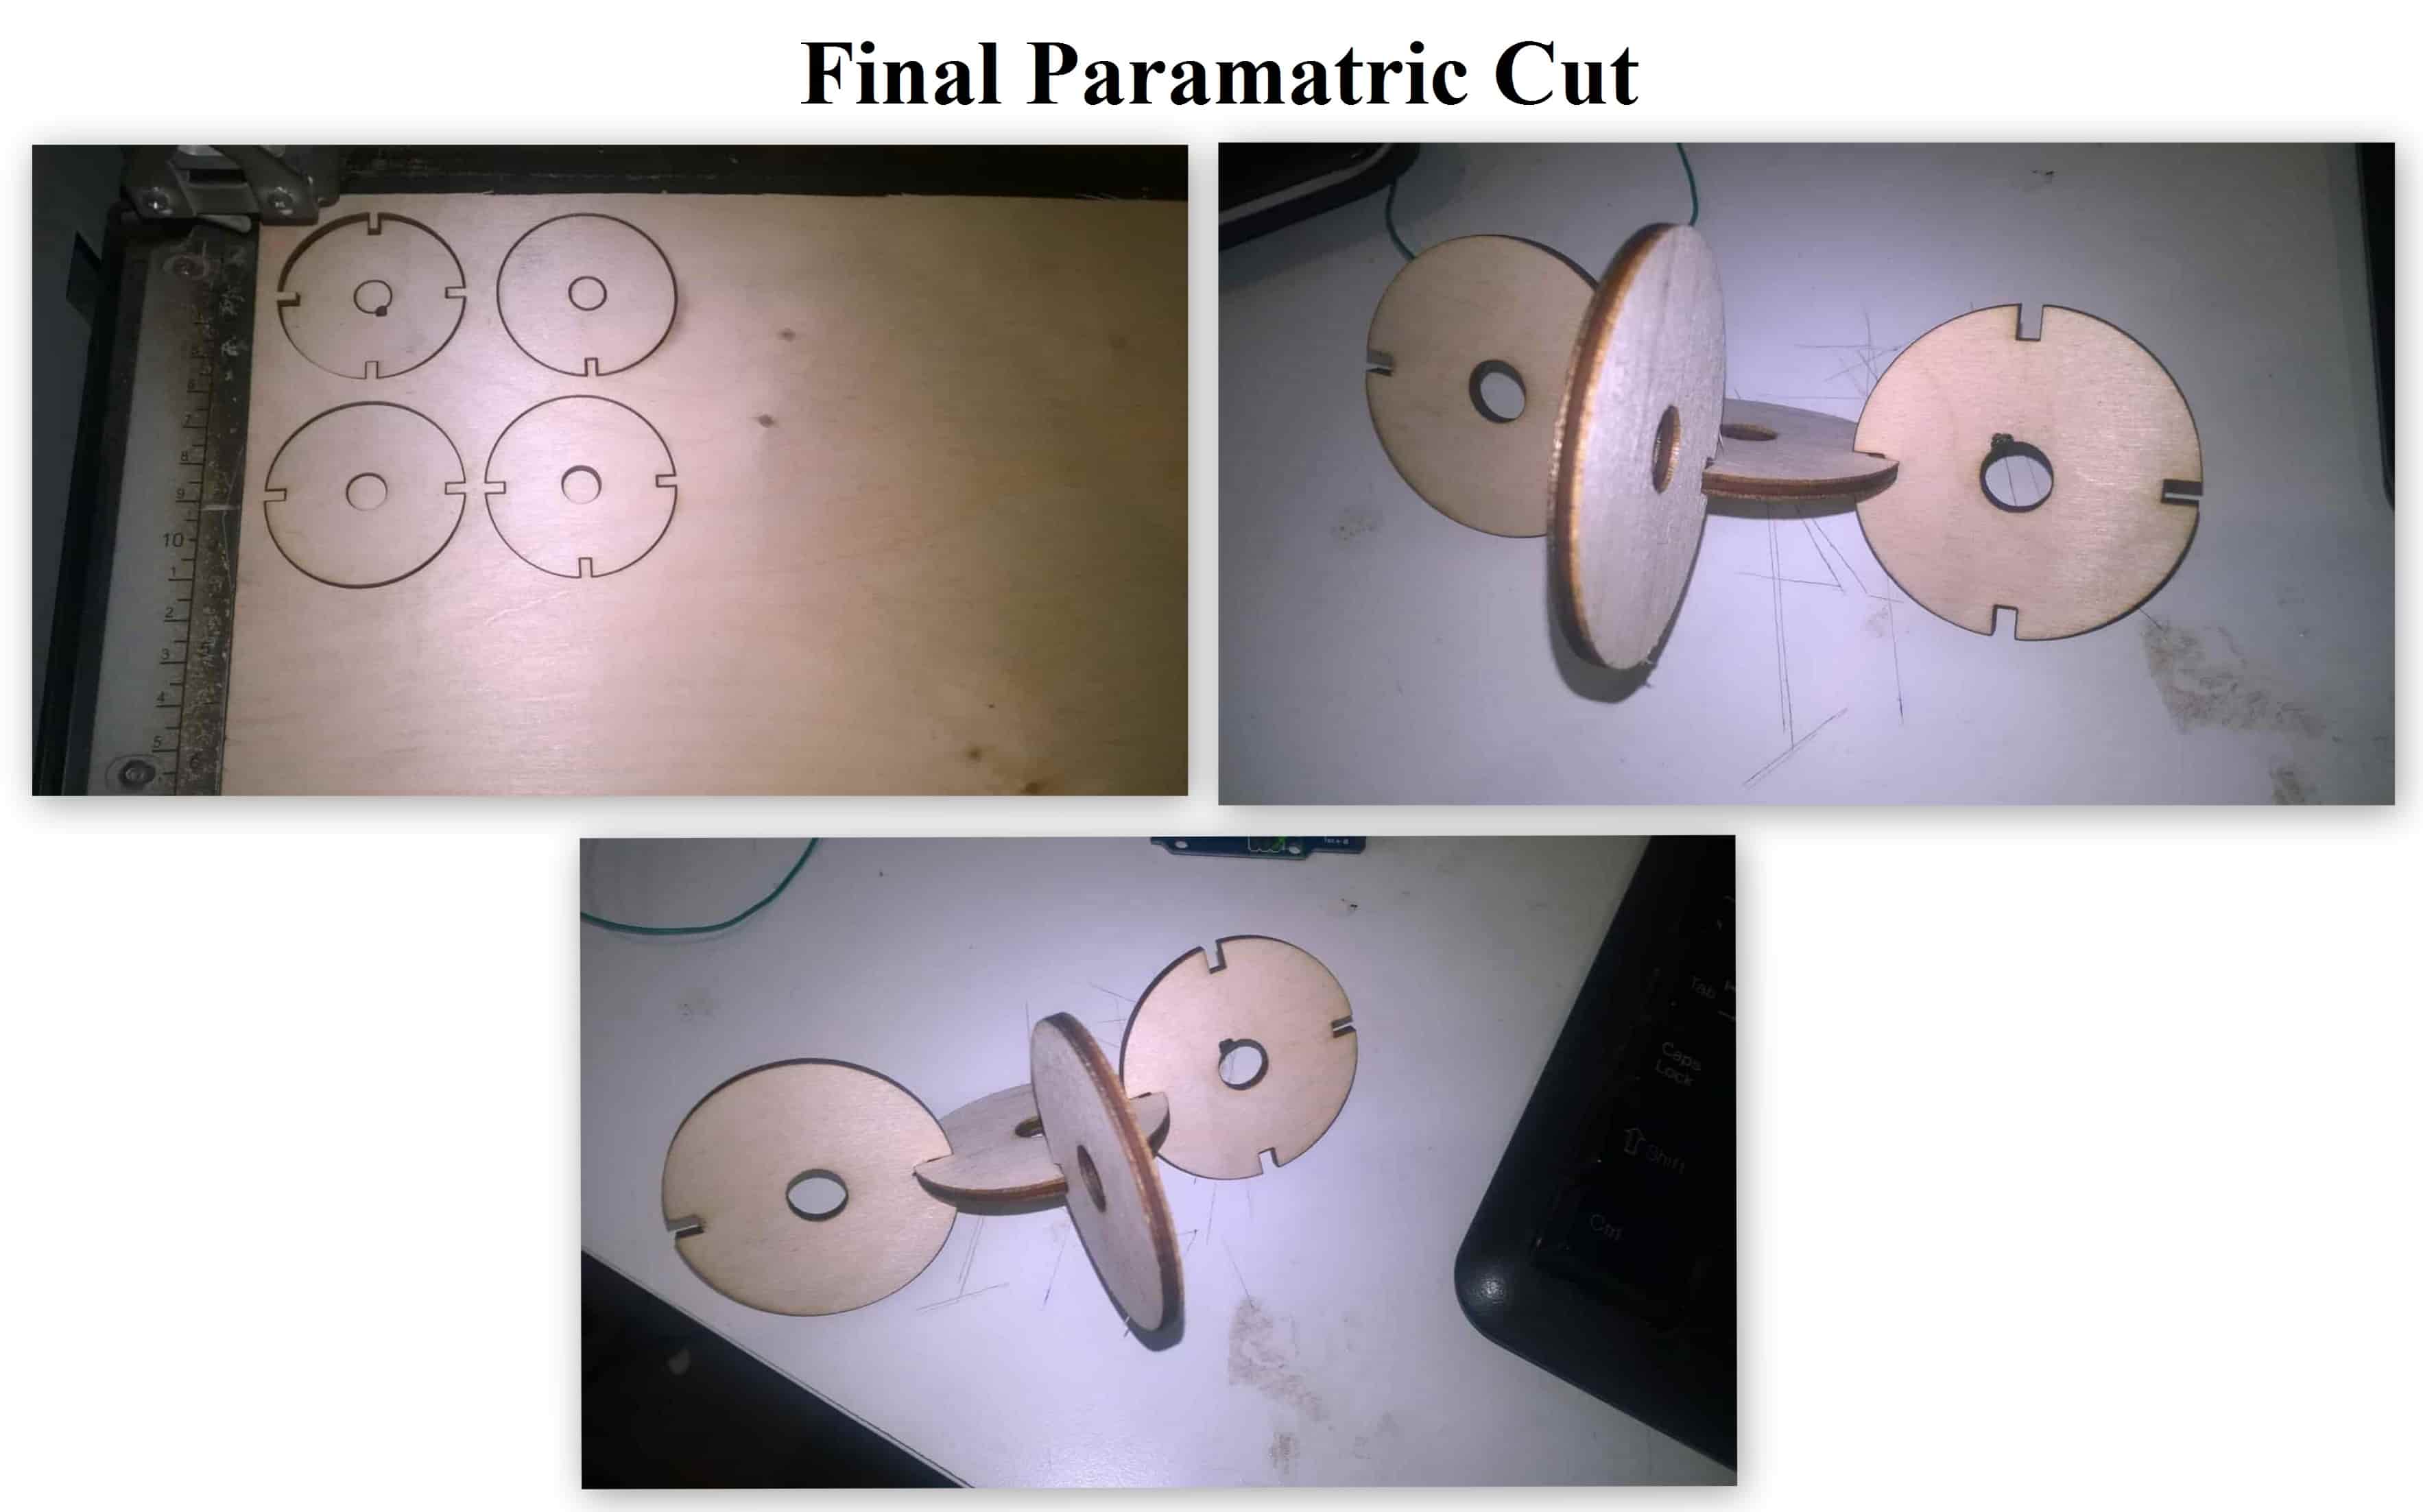
After designing we went to Laser Cut for testing the Kit. We got the design cut and found out that the design with 2.75 to 2.95 mm slot is having the best fixity and strength.
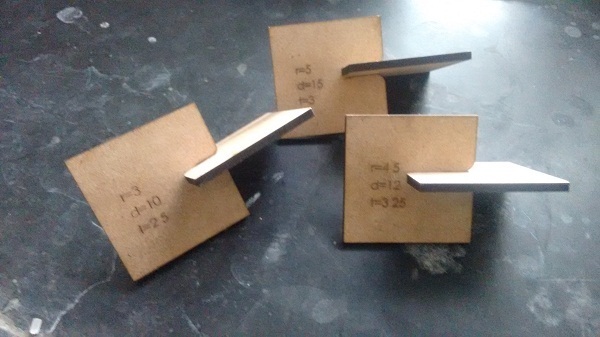
In group assignment we also tested few cut parts from laser cutter which we designed. I was testing the different parts cut on laser cutter. We made different hinges, joints, etc to test the machine. Examples are shown below.
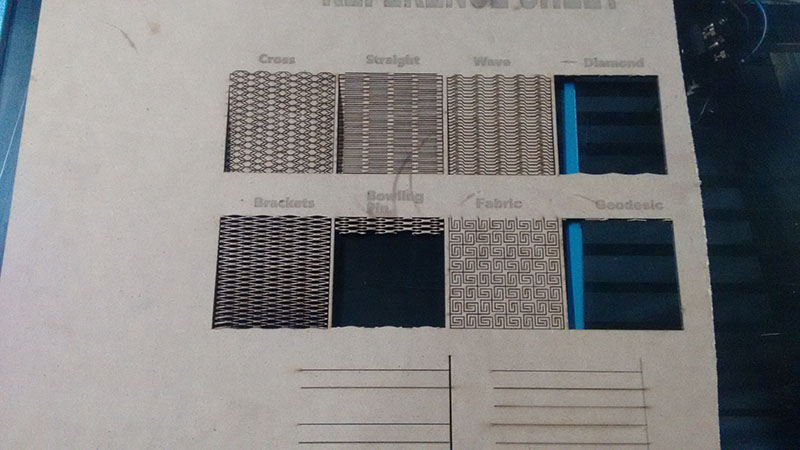
We made different joints with different parameters also to check the flexibility of the material.
Individual Assignment:
In this Individual Assignment I planned to make something by using both the operations of a Laser Cutter which is Vector and Raster means Cutting and Engraving. So in this I planned to make few things which are as followed below with designing and cutting process.
Designing:
After some brainstorming and some rough designing I came up with the idea of making Mobile Stand and a Laptop Stand as my Individual Assignment as I needed to use different types of joints in a as less objects as possible. So for final cutting design I used Catia for designing and Coral Draw for Editing and converting it to proper Vector format and Printing it on Laser Cutter.
It wasn’t that hard to design in Catia after getting a proper idea of object. So after making the 2d design in Catia I exported it to .dxf and .pdf format as I had to open it on Coral Draw later and those were the format which Coral Draw takes.
After opening the file to coral draw the file gets open on the pre defined template of 600 mm * 300 mm width and height as the Laser Cutter we have has a bed size of the same, now arranged the design to the left top corner of the page for the proper utilization of the Sheet been cut on machine.
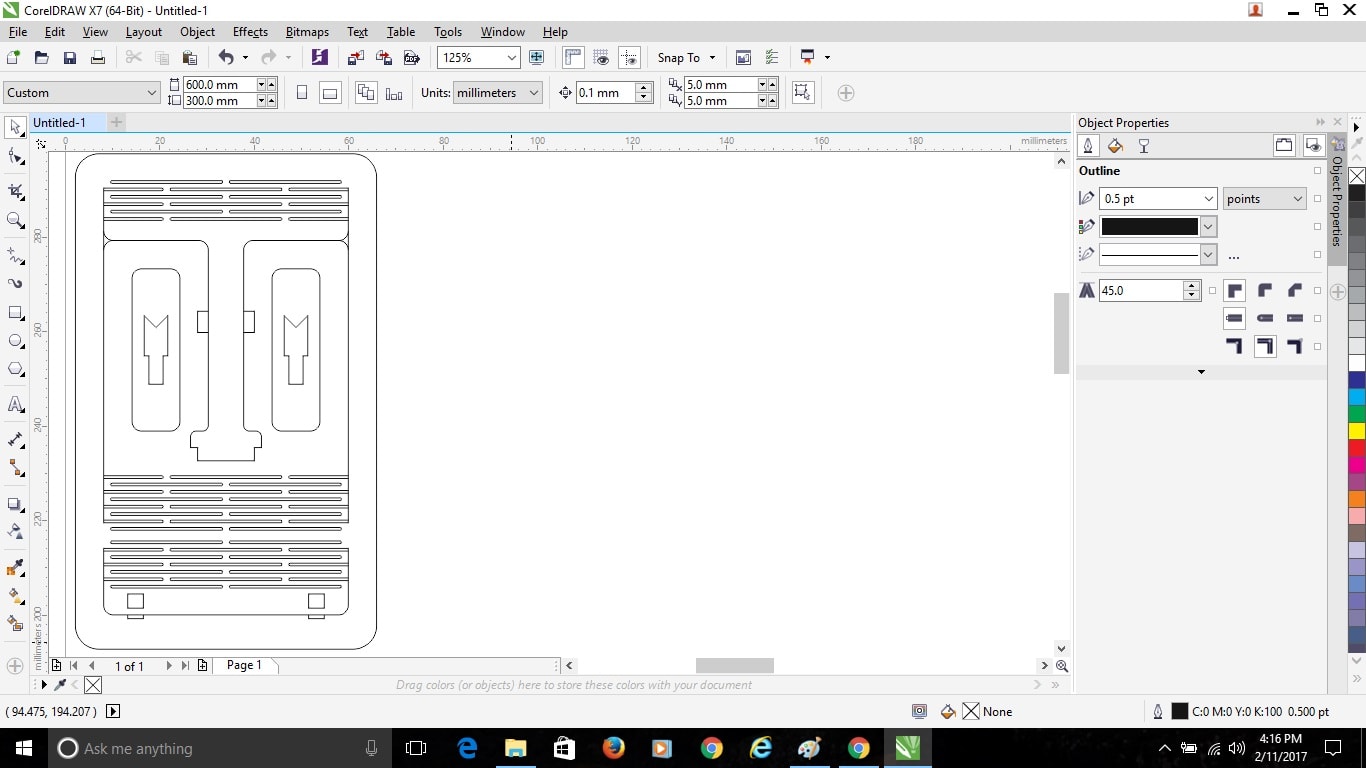
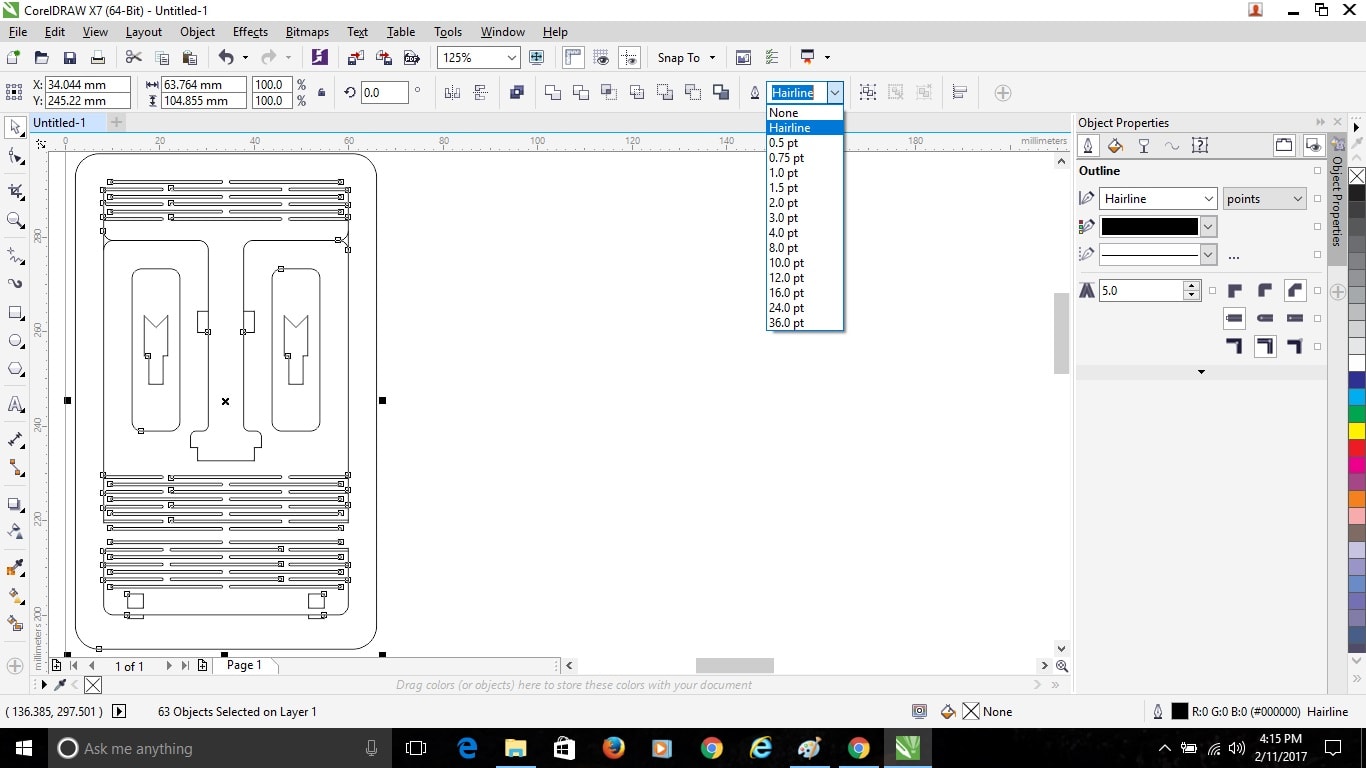
Select the whole design on the page by pressing “Ctrl+A” and convert the design outline to “Hairline” by going to the Pen shaped icon on the toolbar.
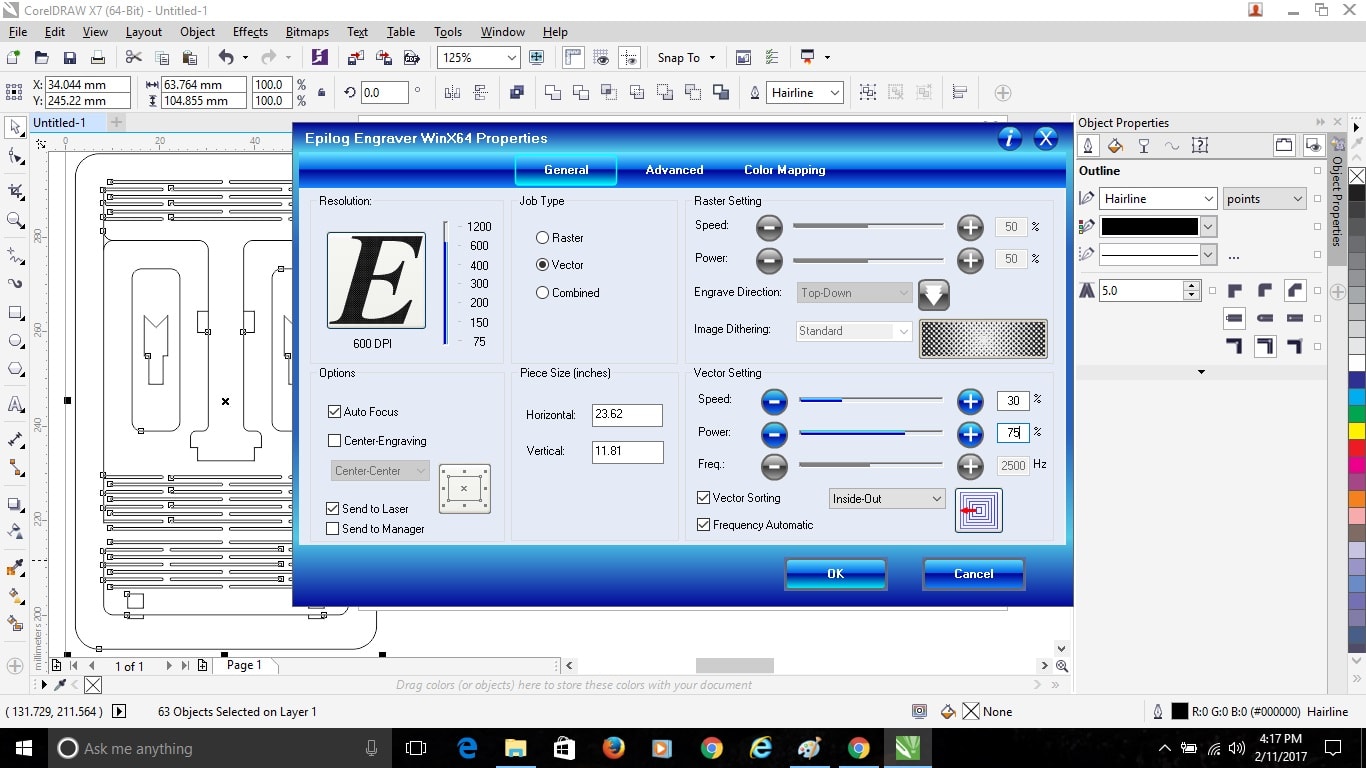
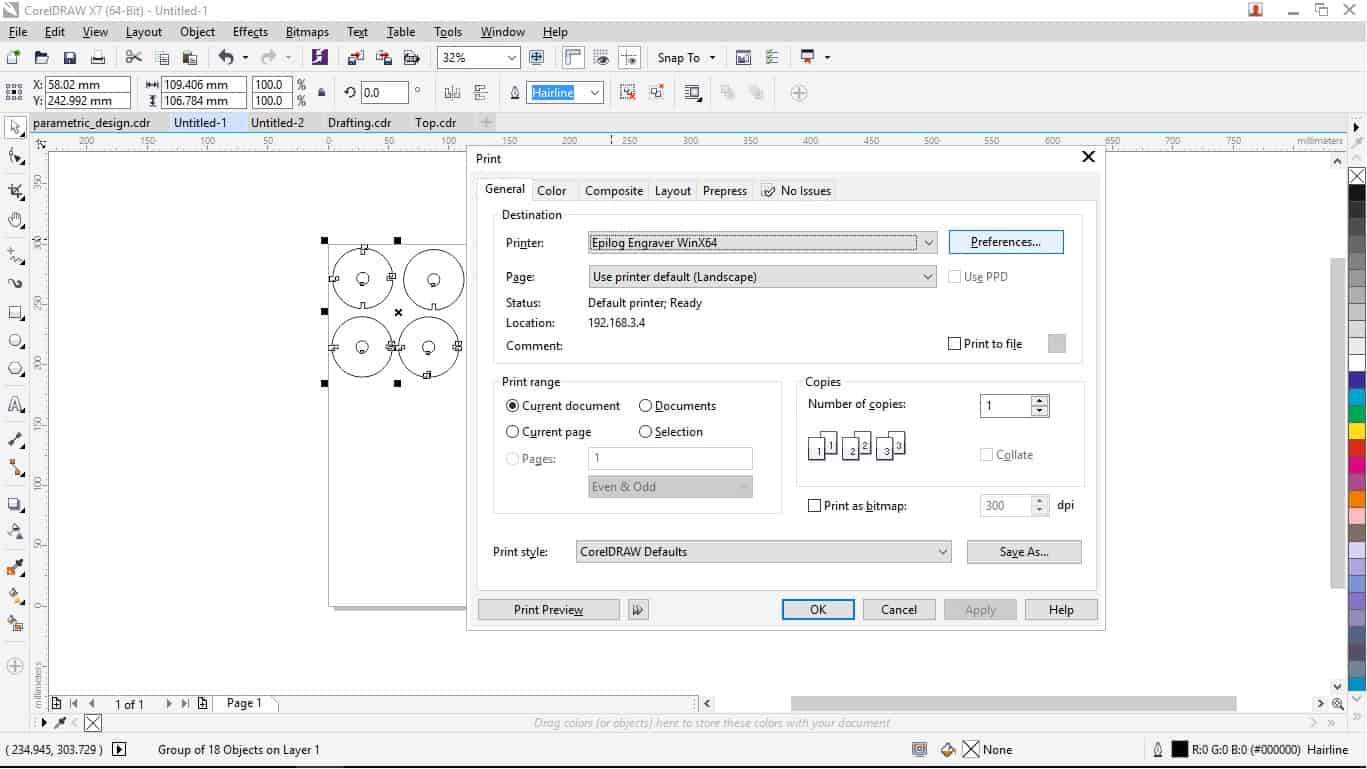
Now it’s time to cut it on the Laser Cutter, so to start cutting gave the command of print by “Crtl+P” and the printing dialog box popped up. In the print dialog box then go to “Preferences” which will give all the setting of Laser Cutter Machine which is required for cutting.
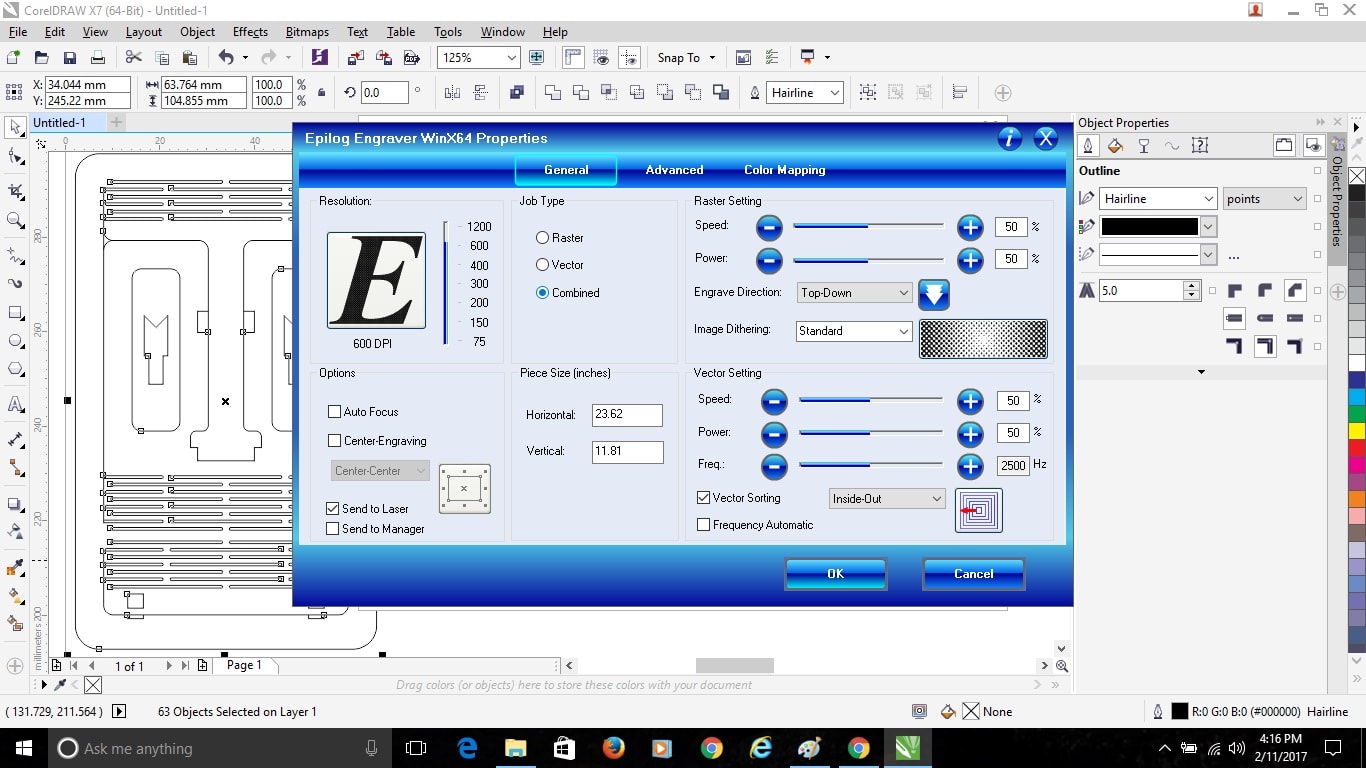
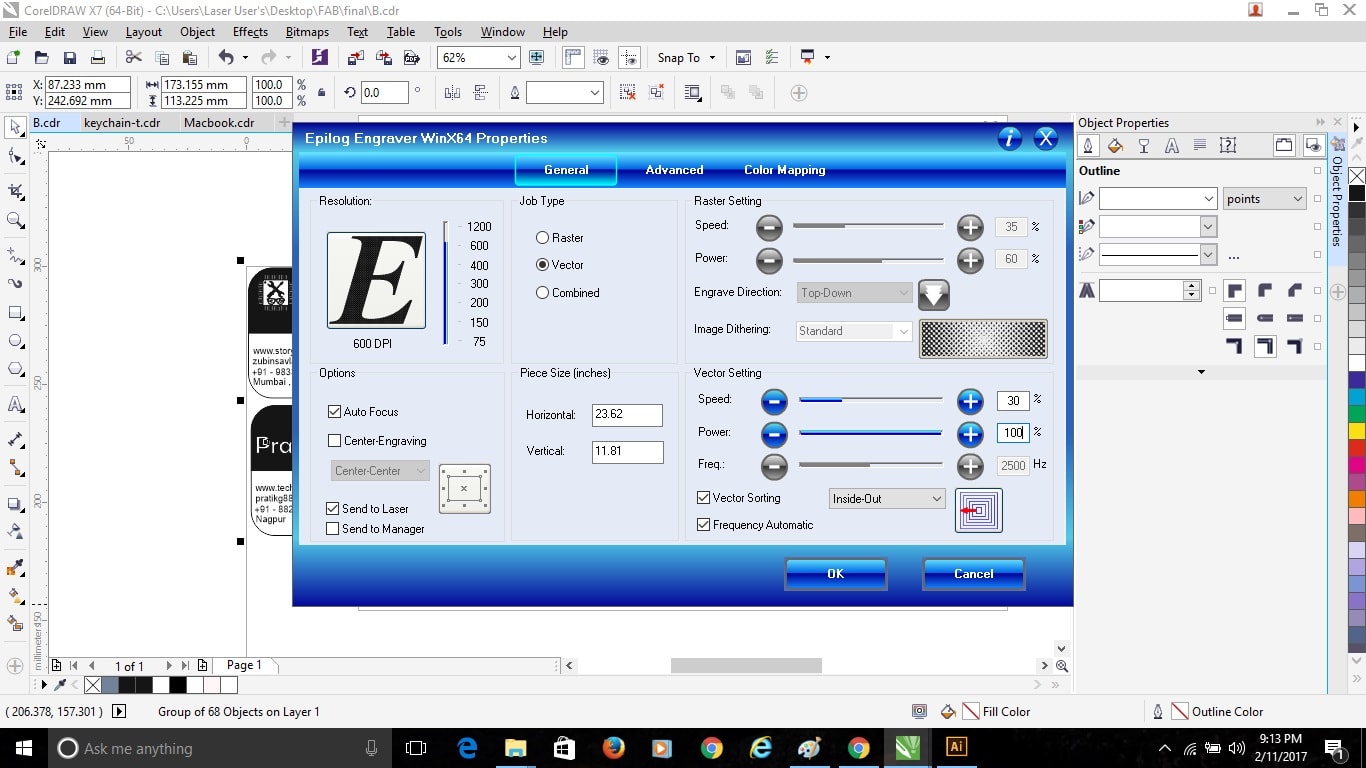
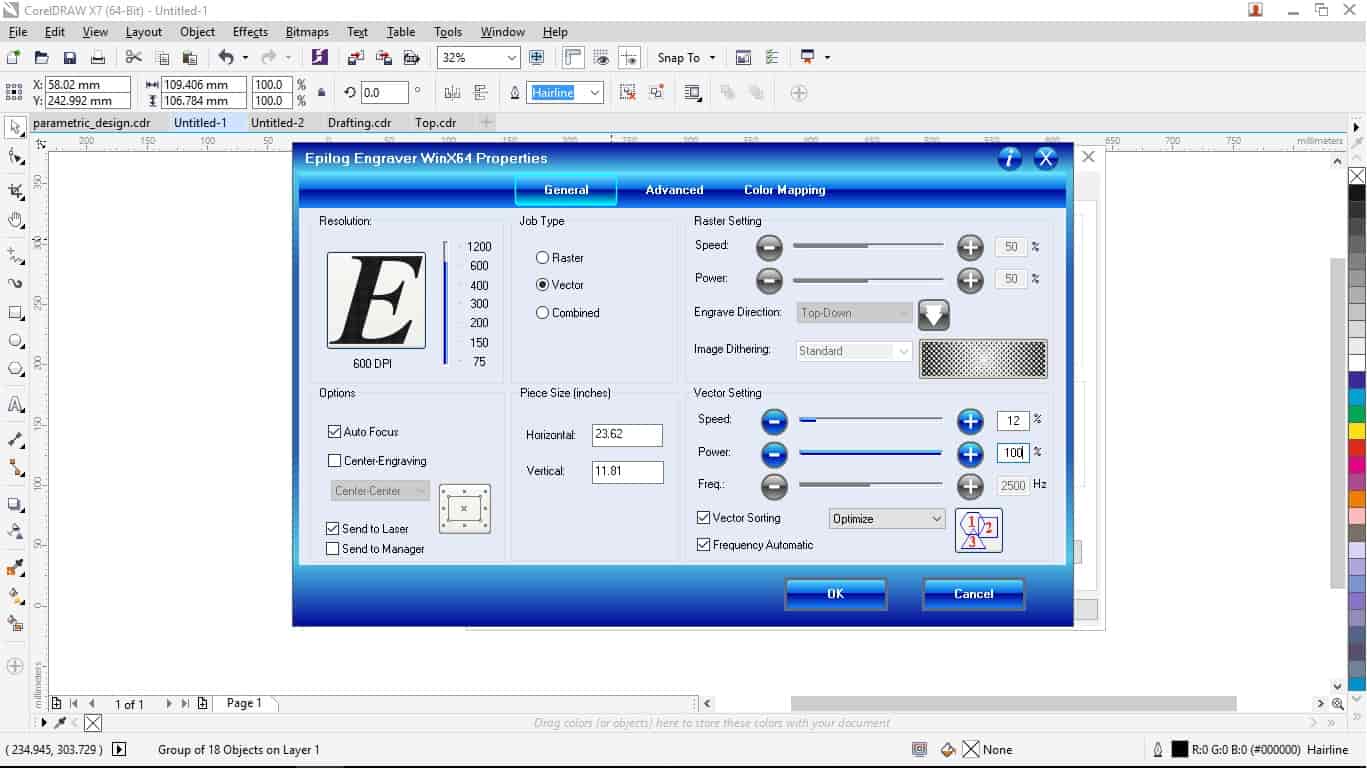
In the Epilog Laser Cutter window as this part was just to be cut I selected the “Vector” option and clicked the “Auto Focus” on (Auto Focus allows the sheet to get settled at a particular distance from the Laser while cutting by sensing the Sheets Thickness). After that I selected the Speed and Power accordingly for the material been cut. Material I used for cutting was Balsa Wood so I Kept “Speed = 30 and Power = 75”, and then clicked the Frequency Automatic box and switched it on and just pressed “OK”.
After pressing “OK” on Epilog Laser Cutting Window I got back to the normal Print window on the screen in that just increased the number of copies as it laser doesn’t pass through in just a single cut, so as my Balsa Plank was of 3 mm thickness I gave number of copies as 2 and then press “OK”.
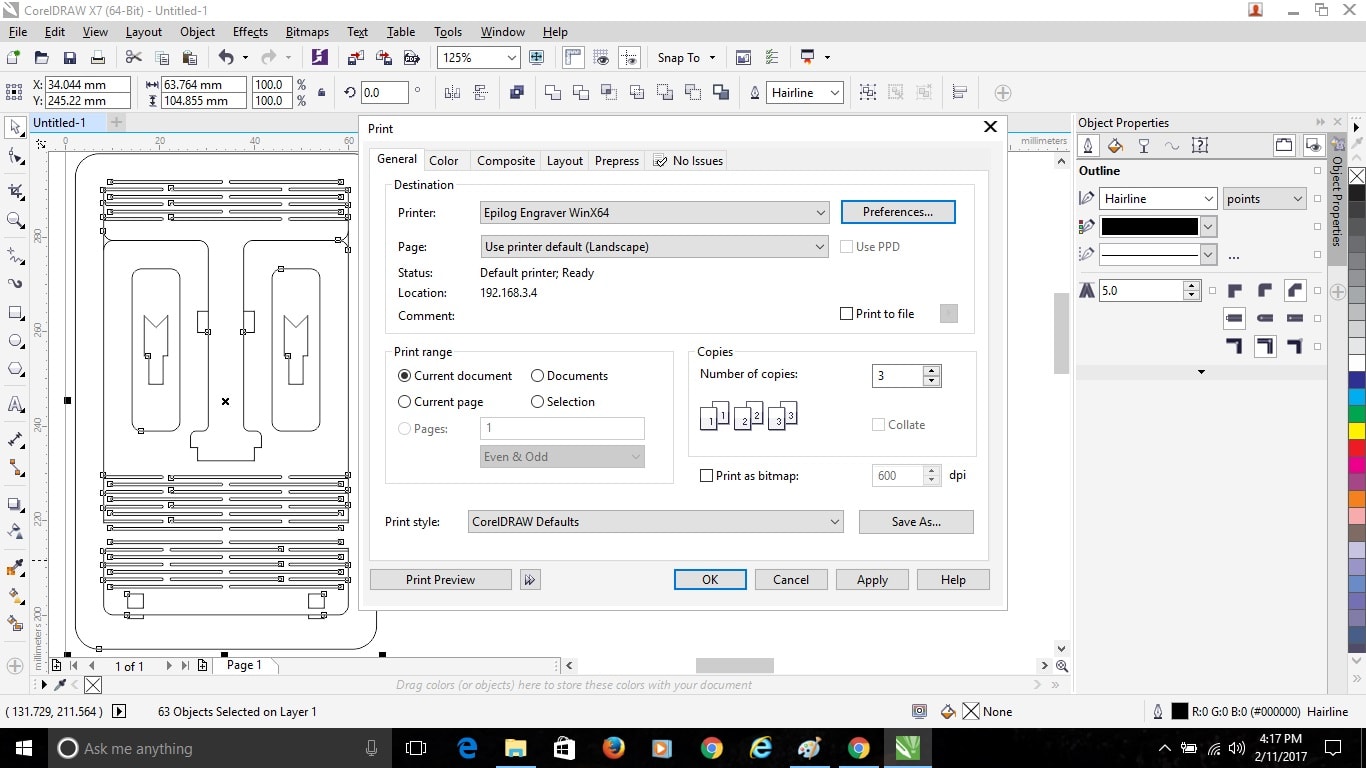
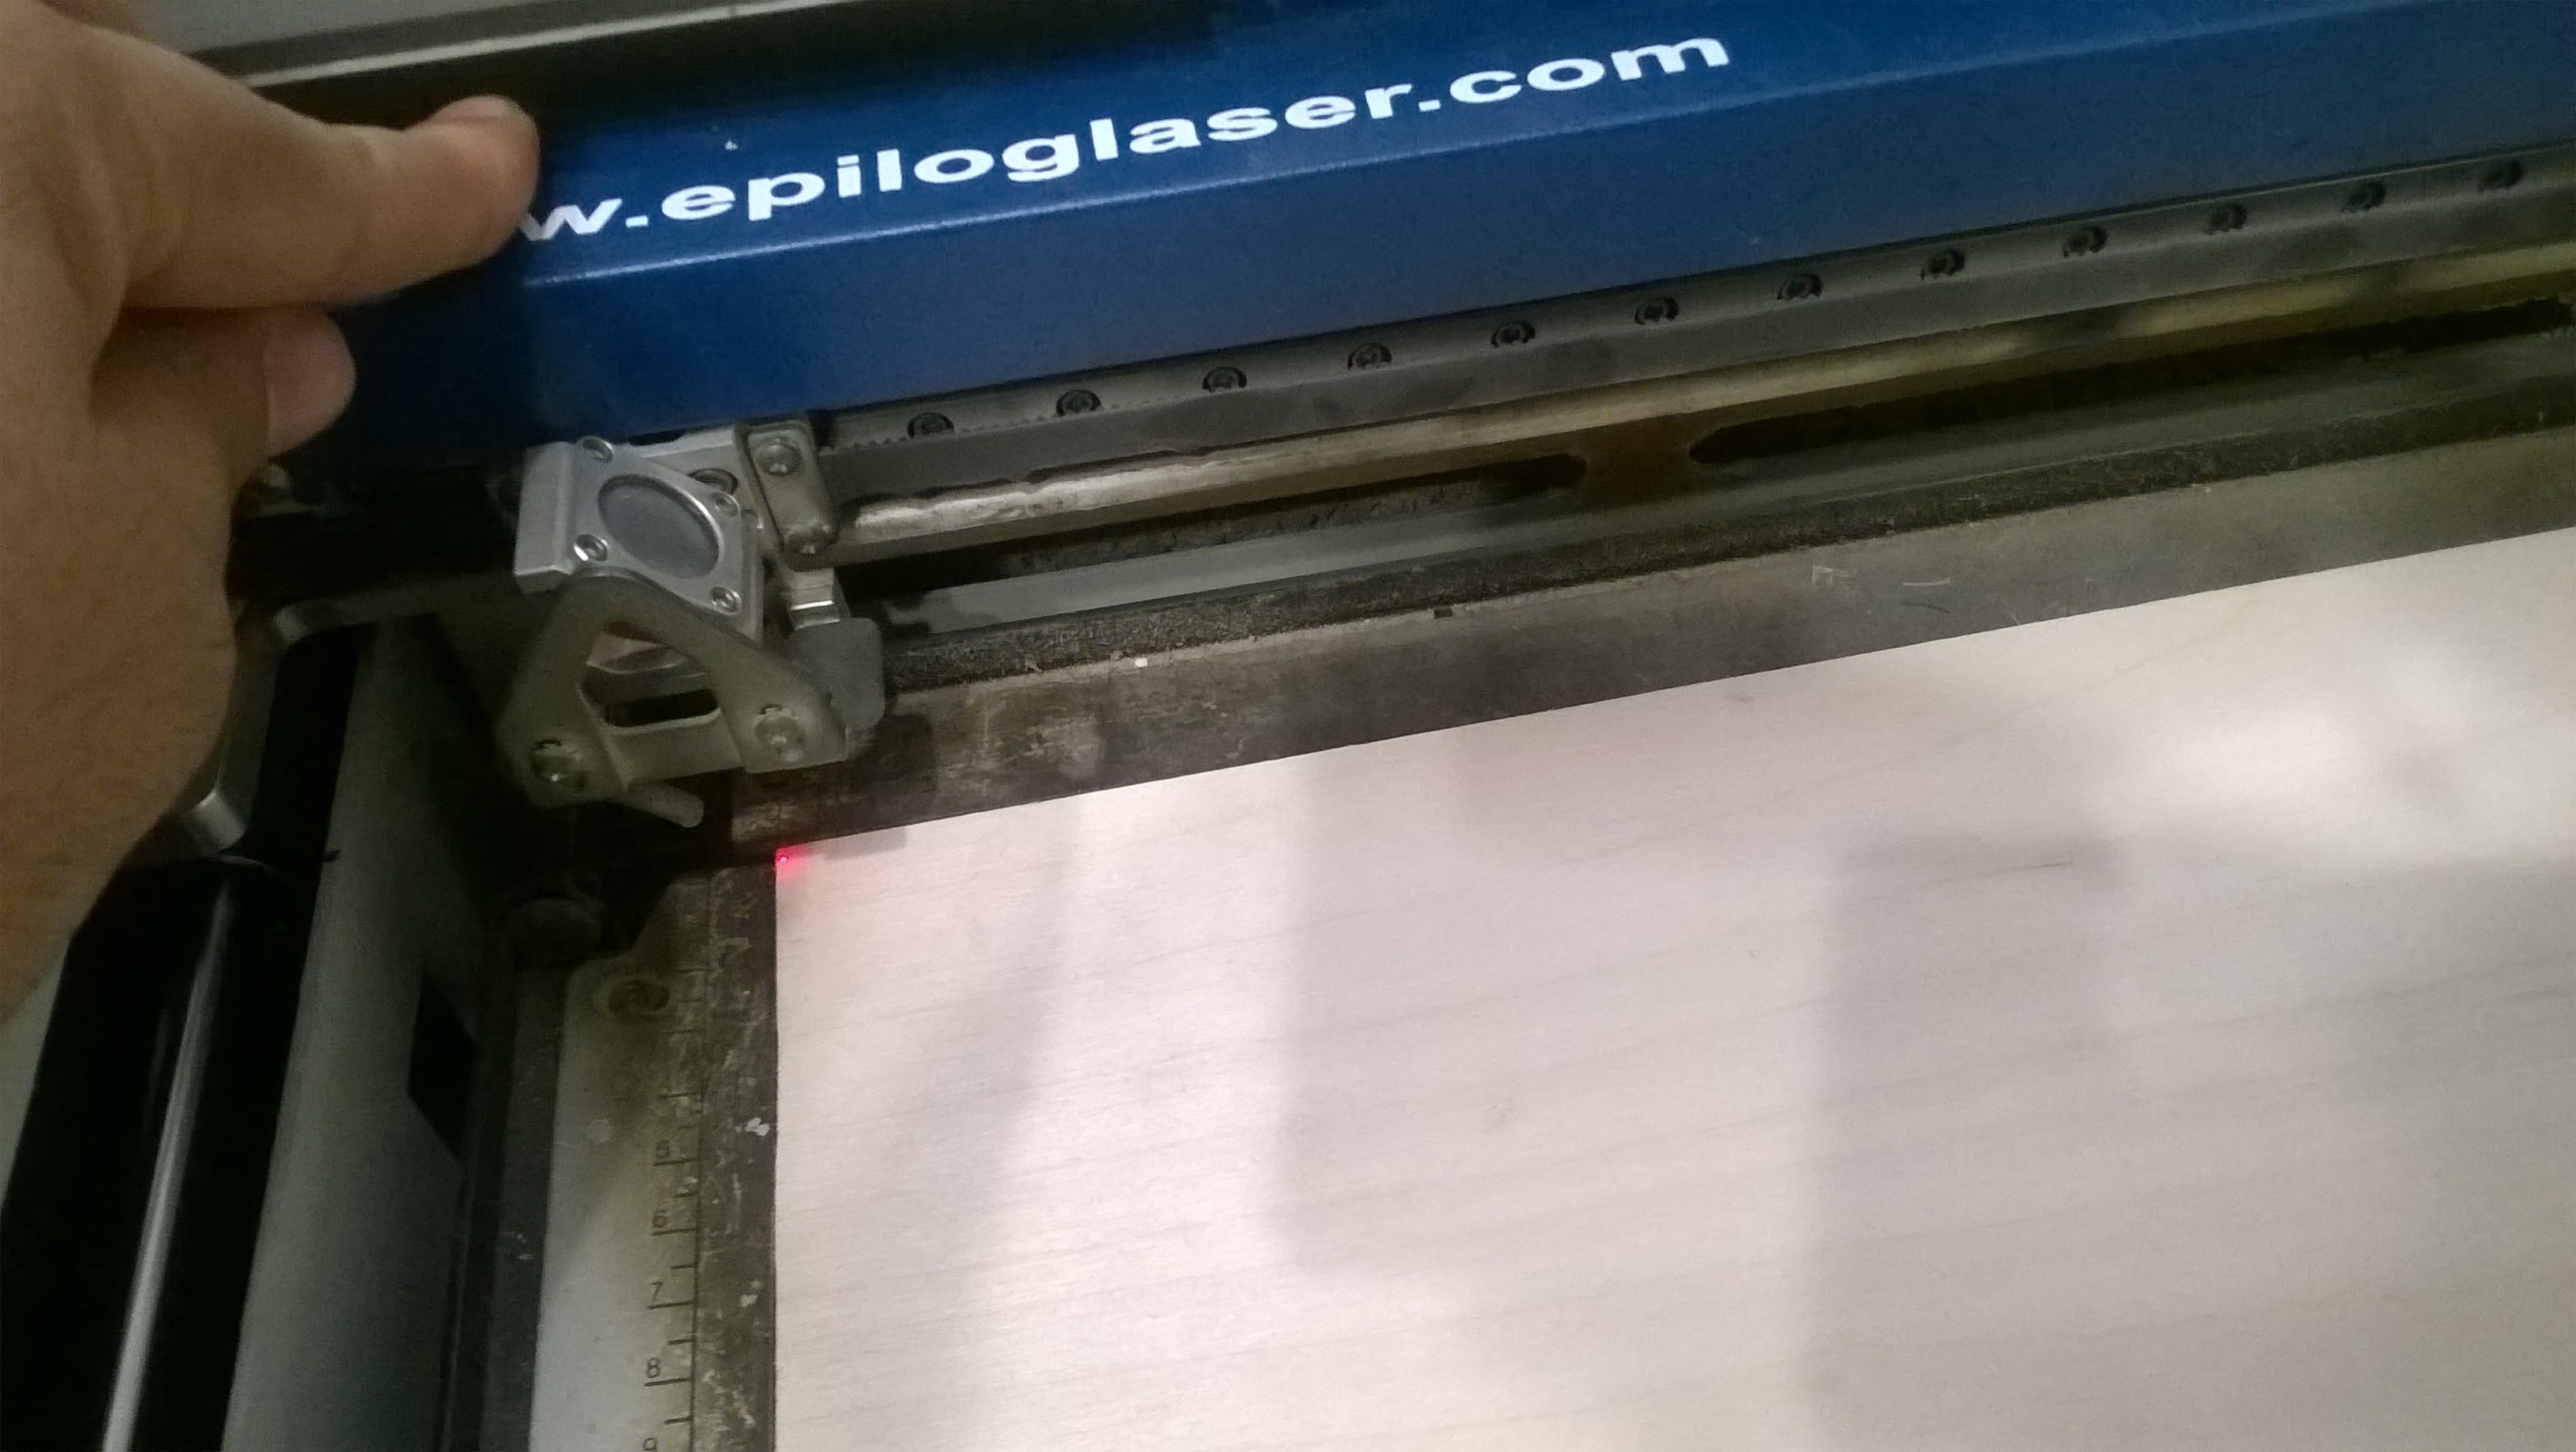
But before Clicking OK for printing, I switched on the machine, compressor for sucking air and Filter to purify that Hazardous air of Laser Cutting machine. Now I clicked OK for printing. After this all the work on Laptop ends, so now I shifted to the Laser Cutter Machine. Now I placed my Balsa Wood Plank of 600*300 mm inside the Laser Cutter.
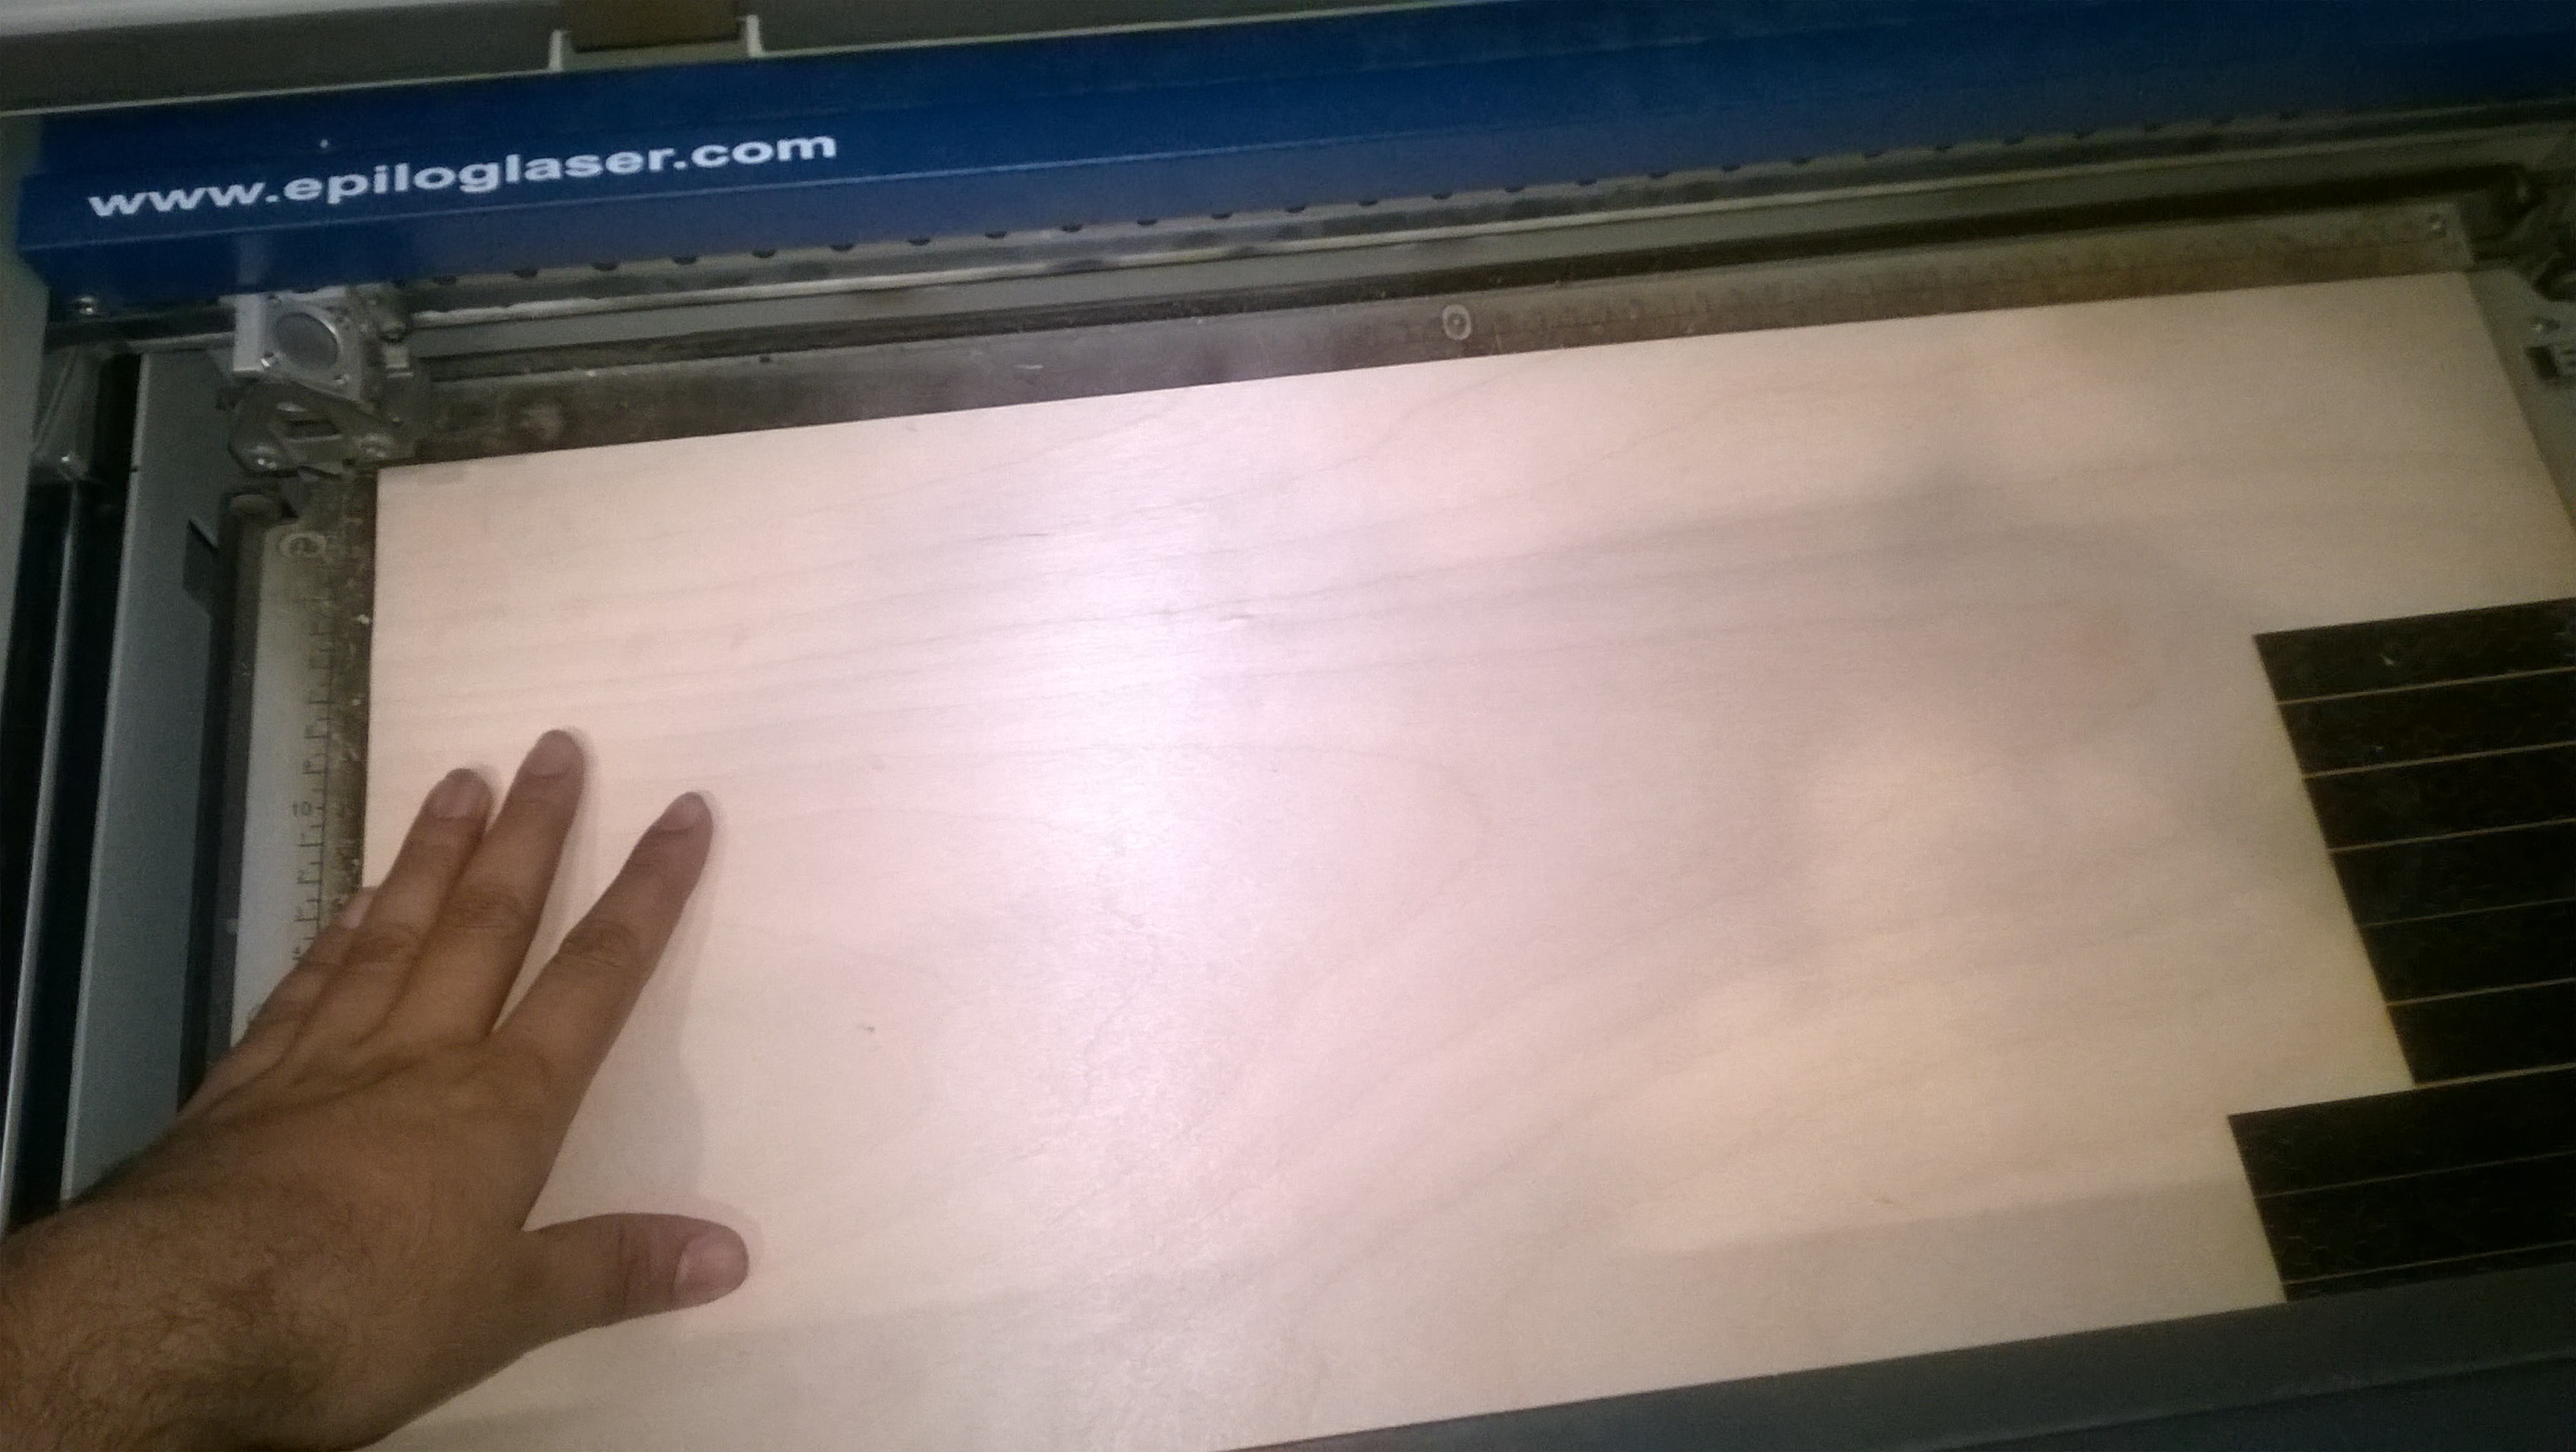
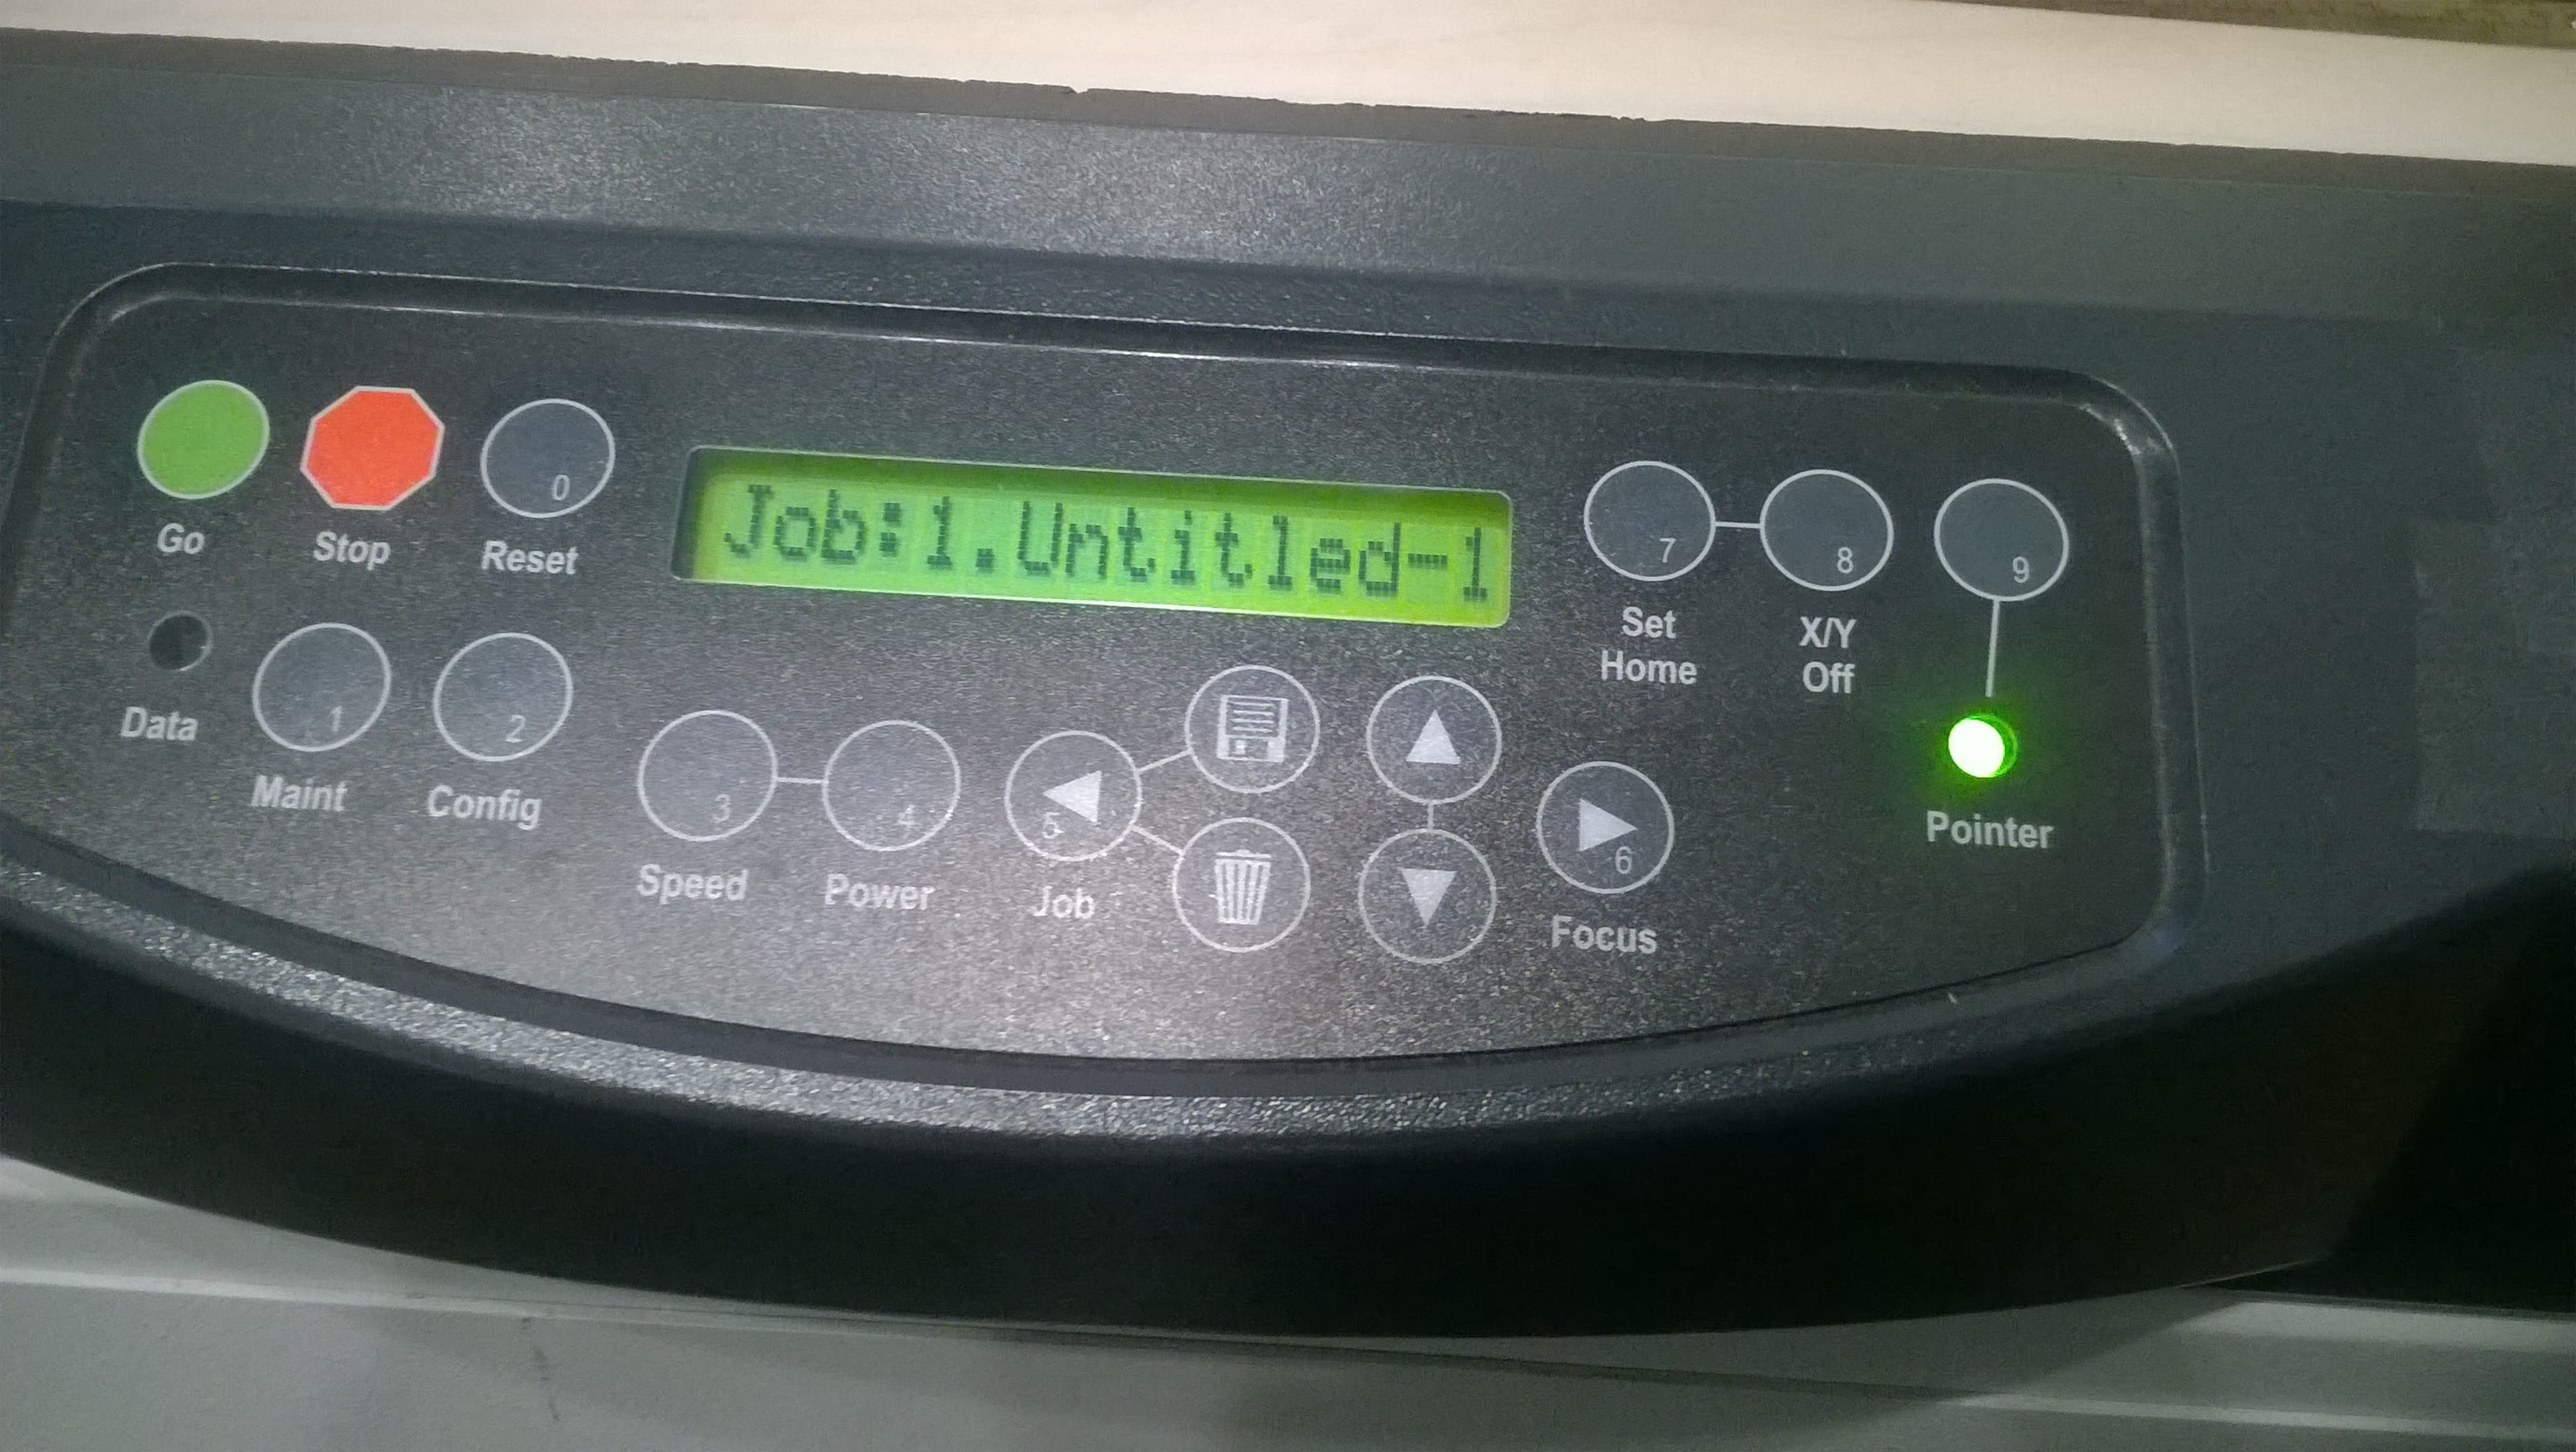
After Placing the plank properly inside the machine I put the “Pointer” button ON which is over the machine, as I put the button ON is switches the Green light ON so it’s not difficult to identify.
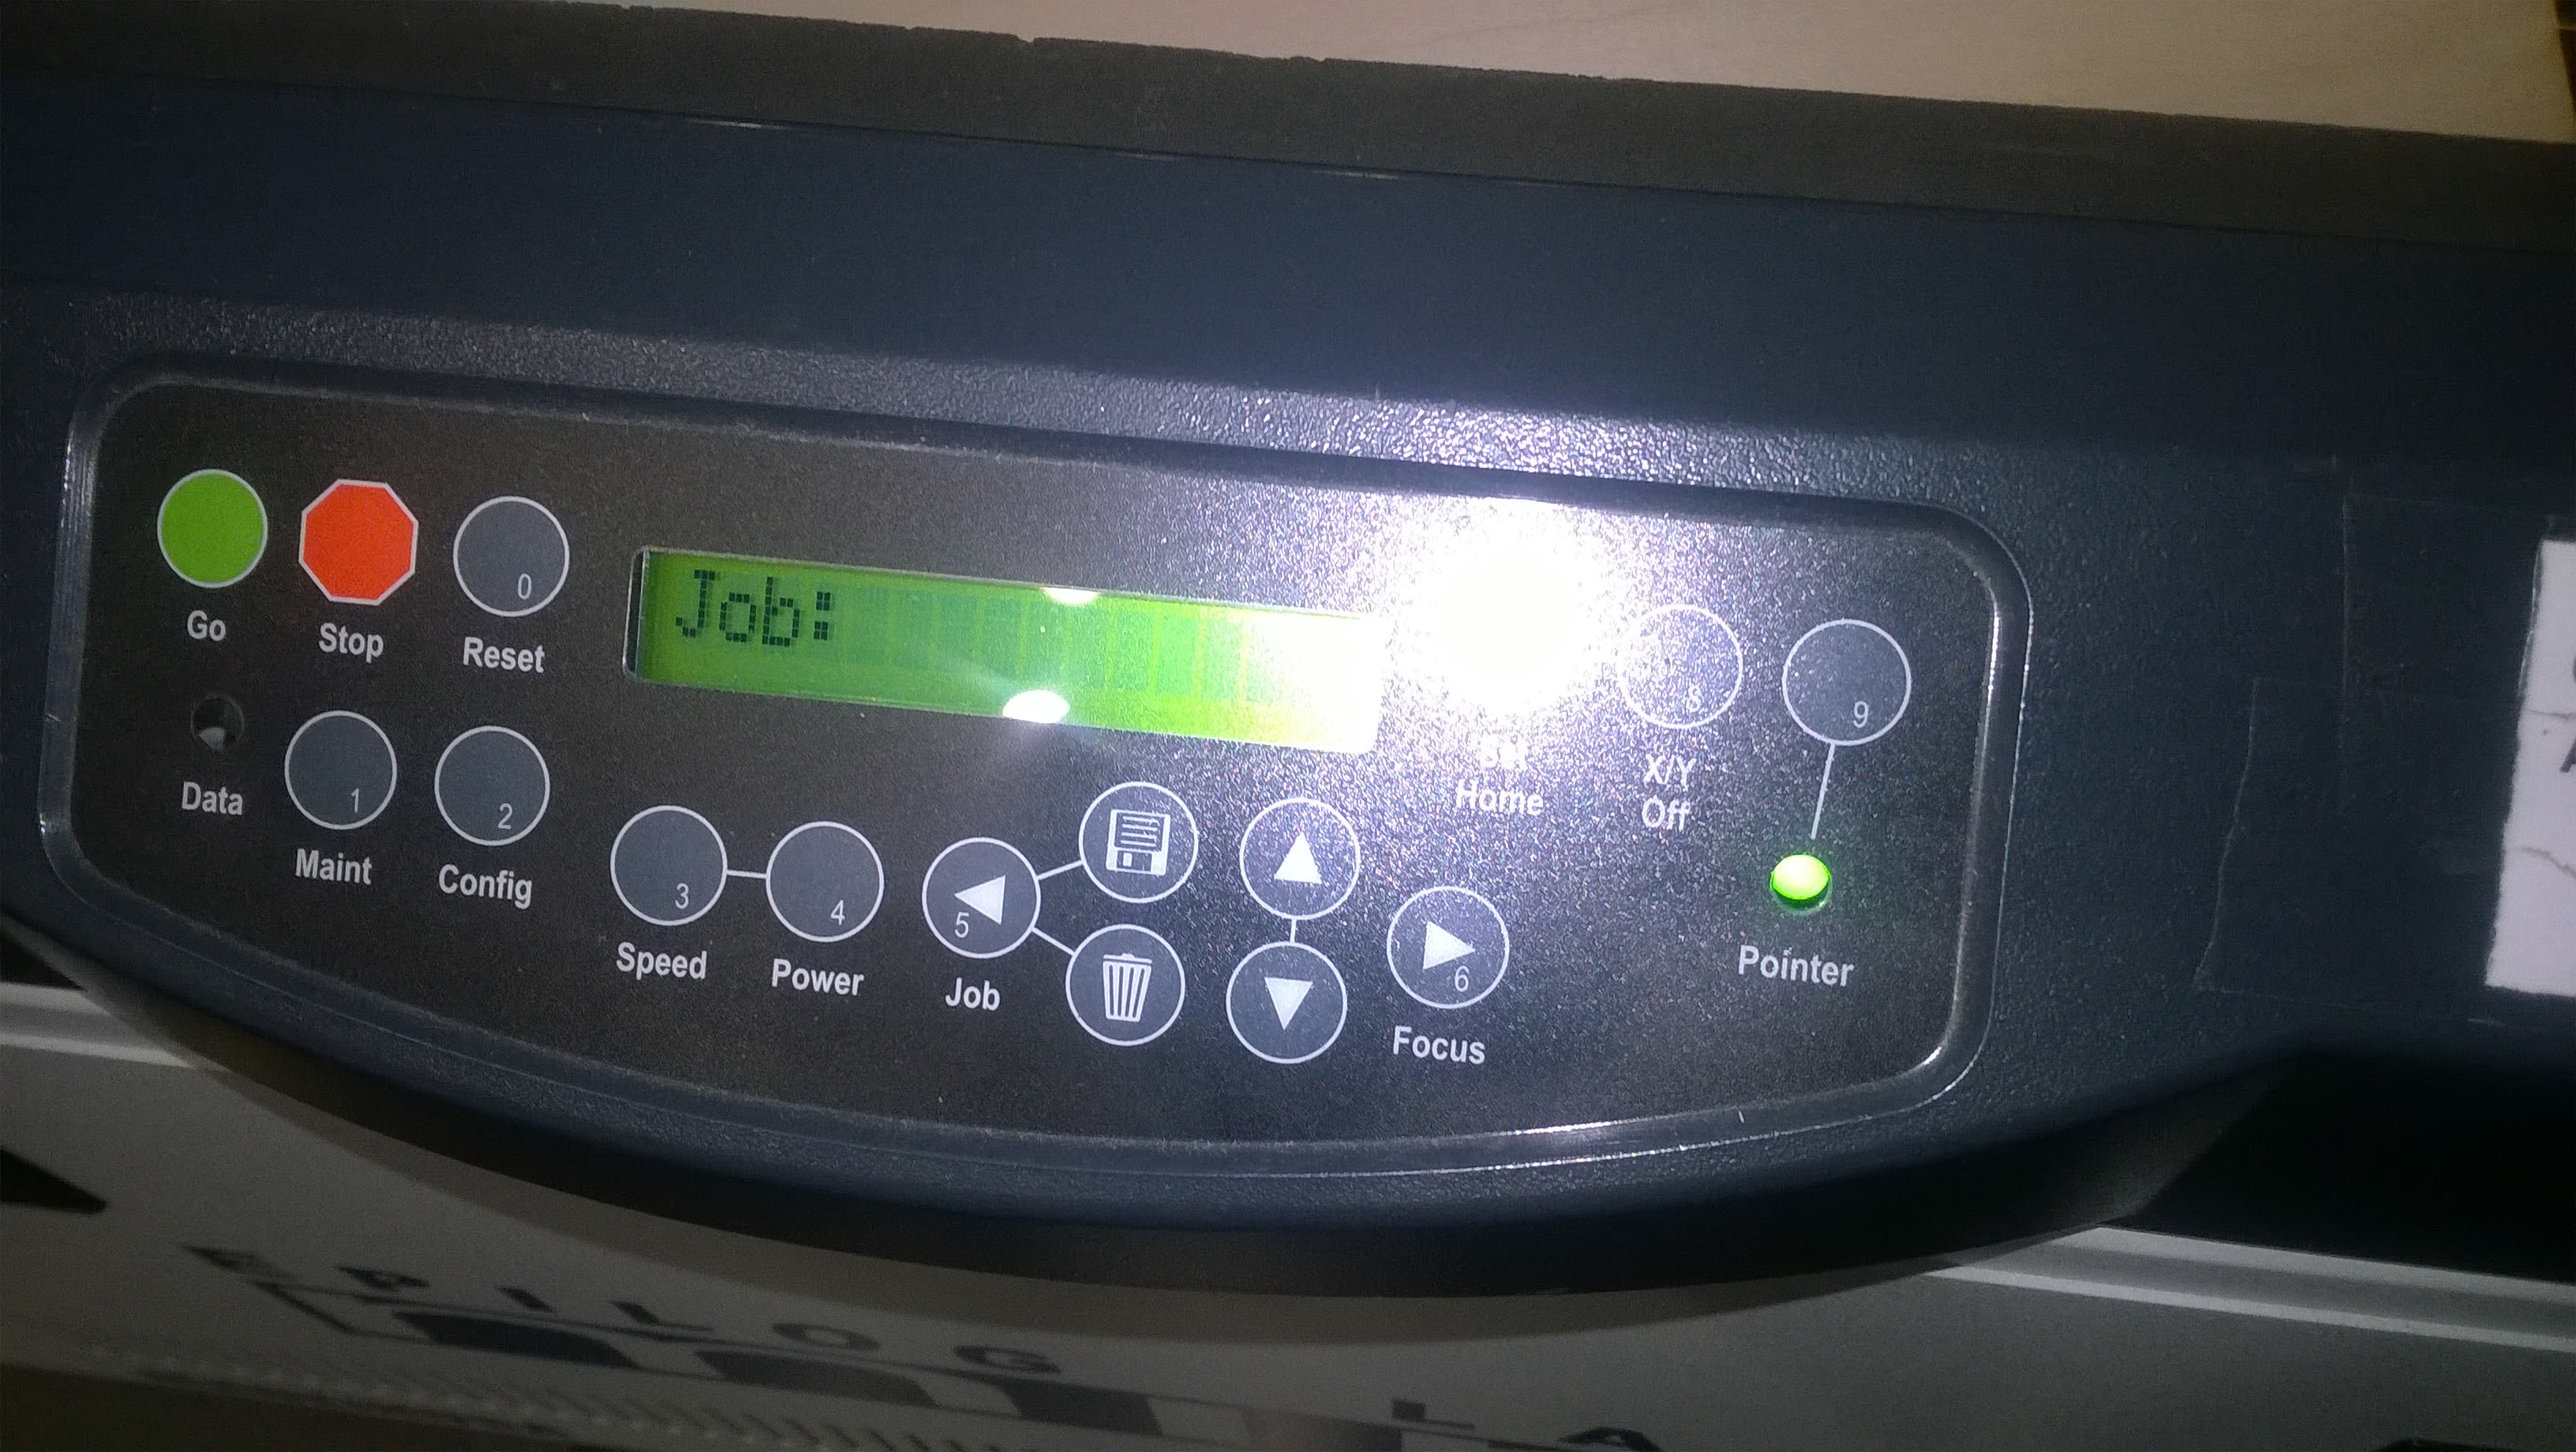
Now, to Set the X-Axis and Y-Axis of the laser pointer inside the machine Press “X/Y Off” button then press “Go” button now the X-axis and Y-Axis have been disabled and I can now adjust the printer where ever I want inside the Machine. So here I set my X-axis and Y-axis at the top left corner of the Balsa Wood Plank.
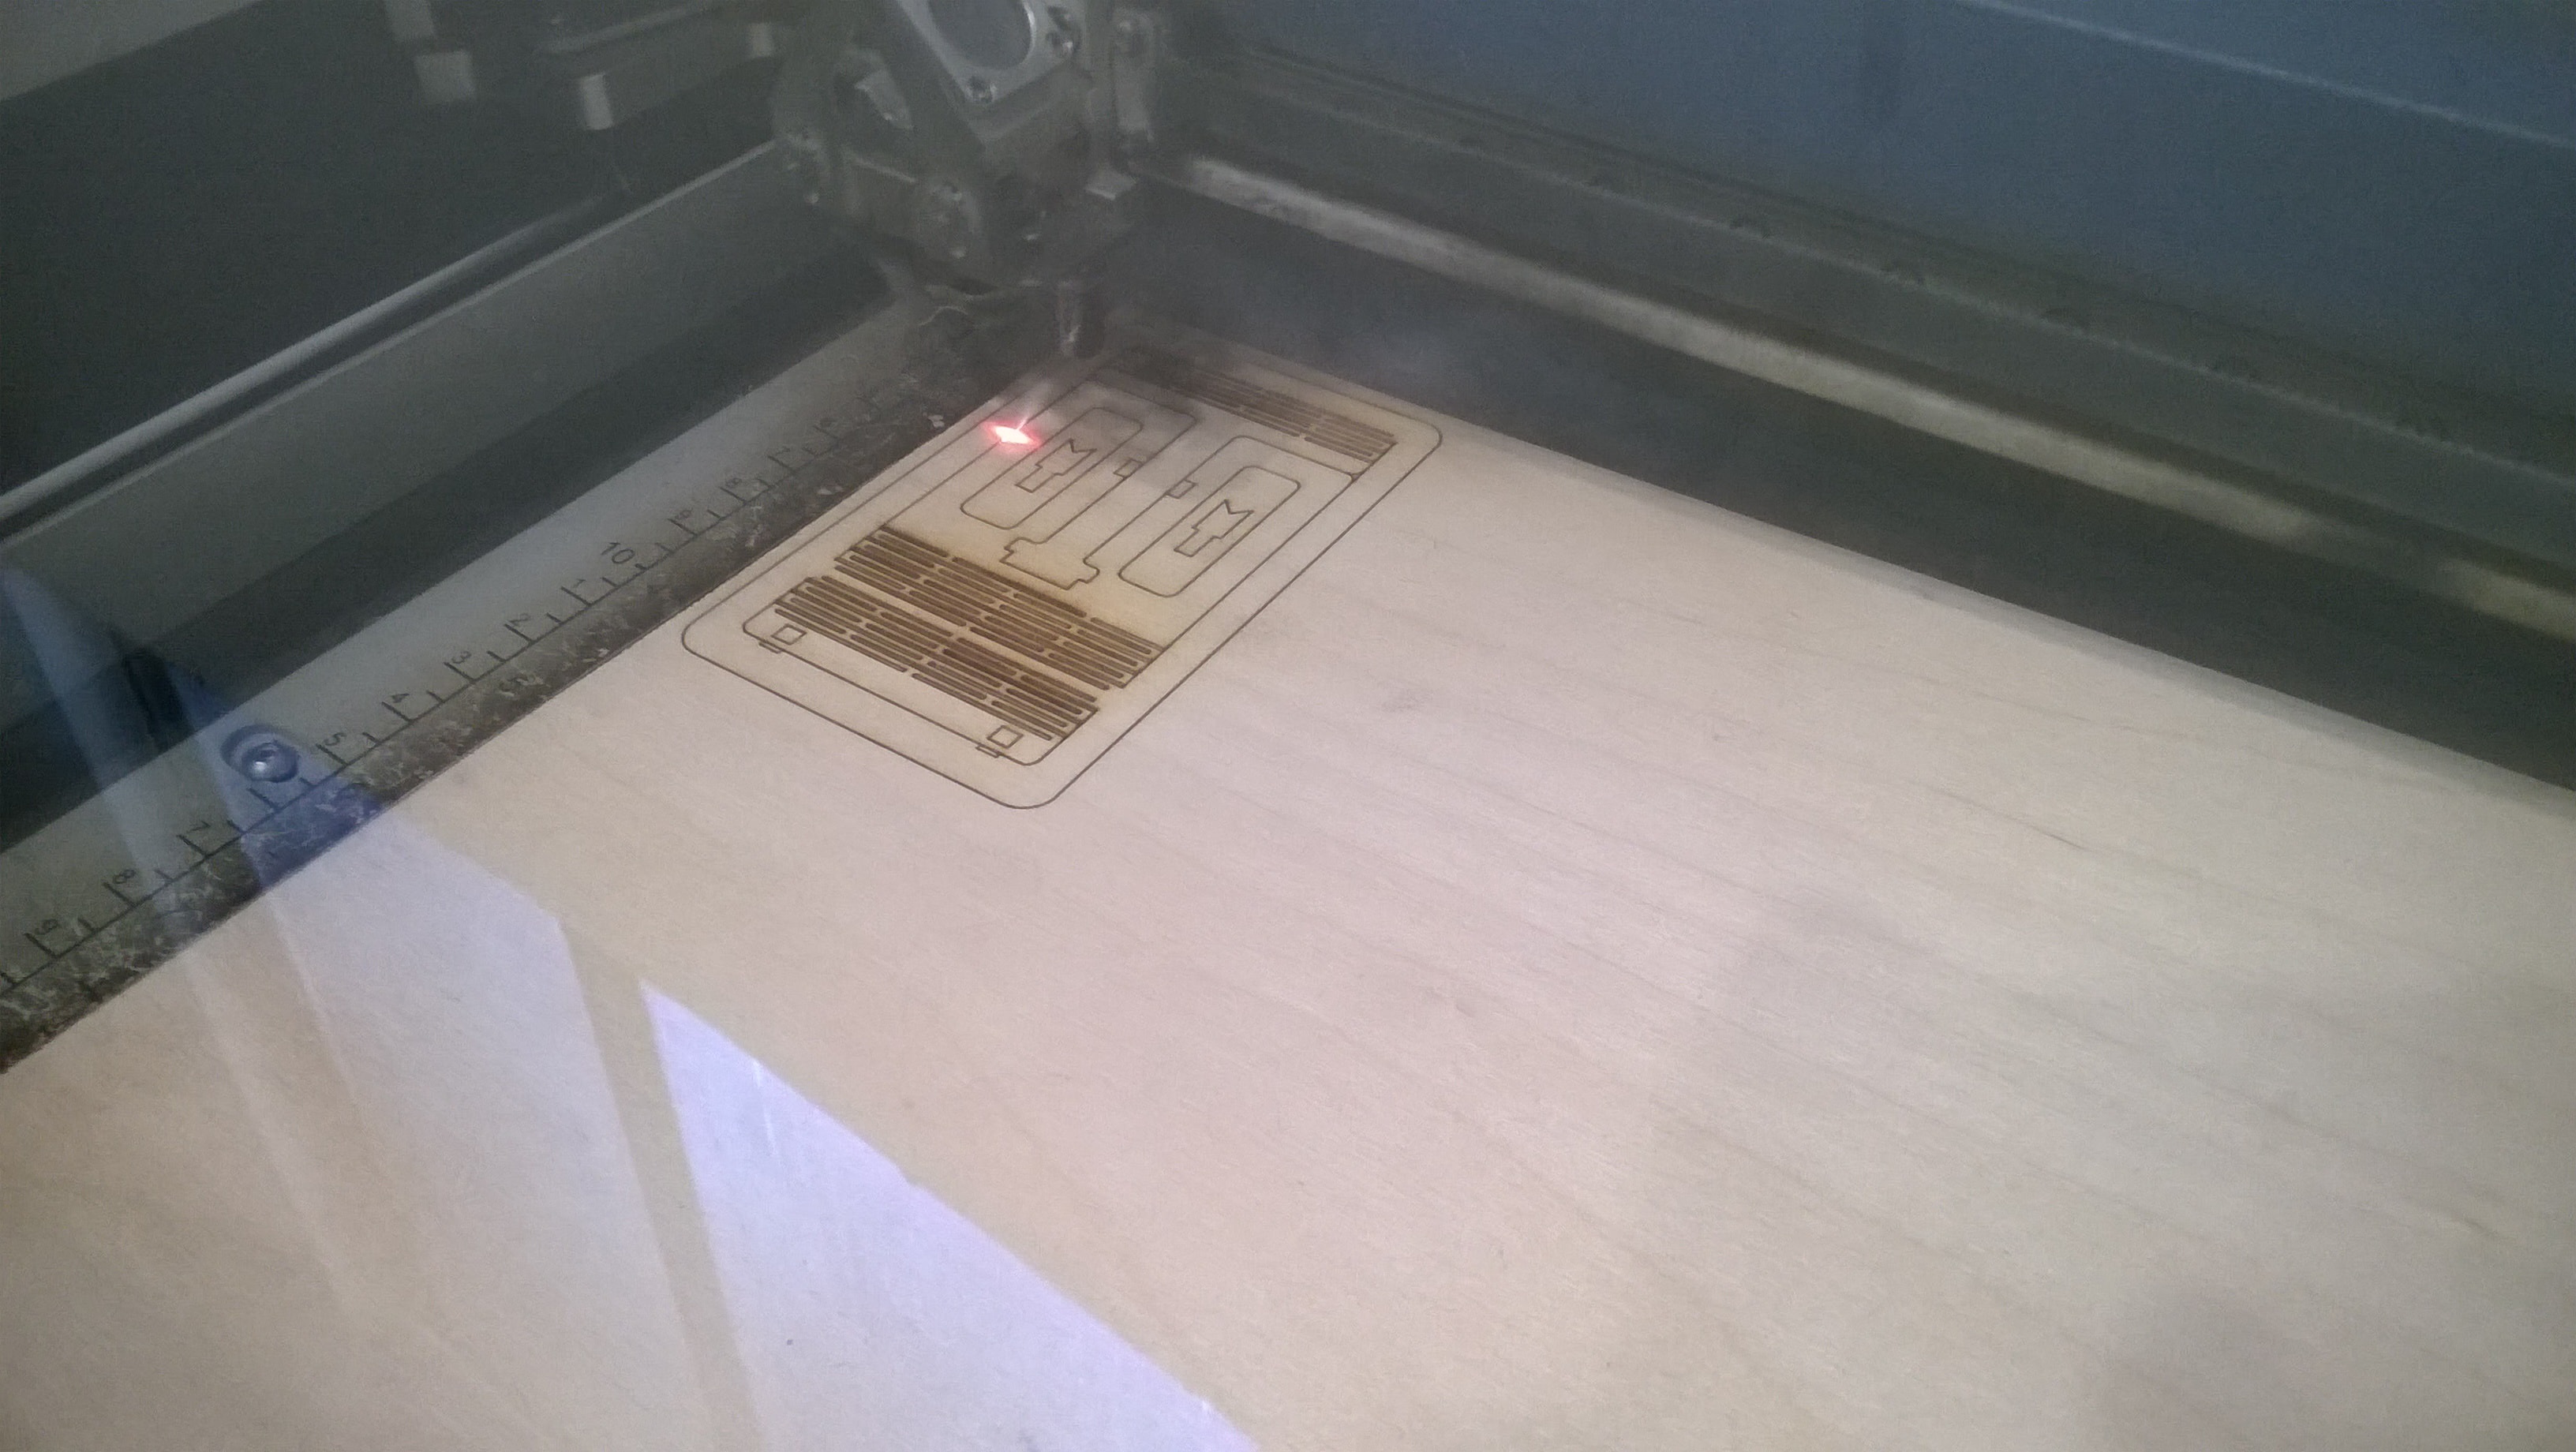
After setting the laser pointer at the desired location on the plank just press “Set Home” button on the machine and it will fix the laser pointer where I have kept it. Then as I gave the print command from the Laptop the File name will be displayed on the screen which means that the Laser Cutter is ready to cut now, so now just have to press the green “Go” button and the machine started cutting the design.
Laser Cutter while cutting:
Final Part
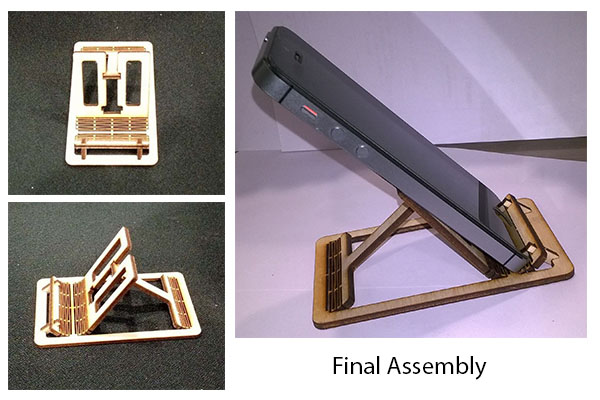
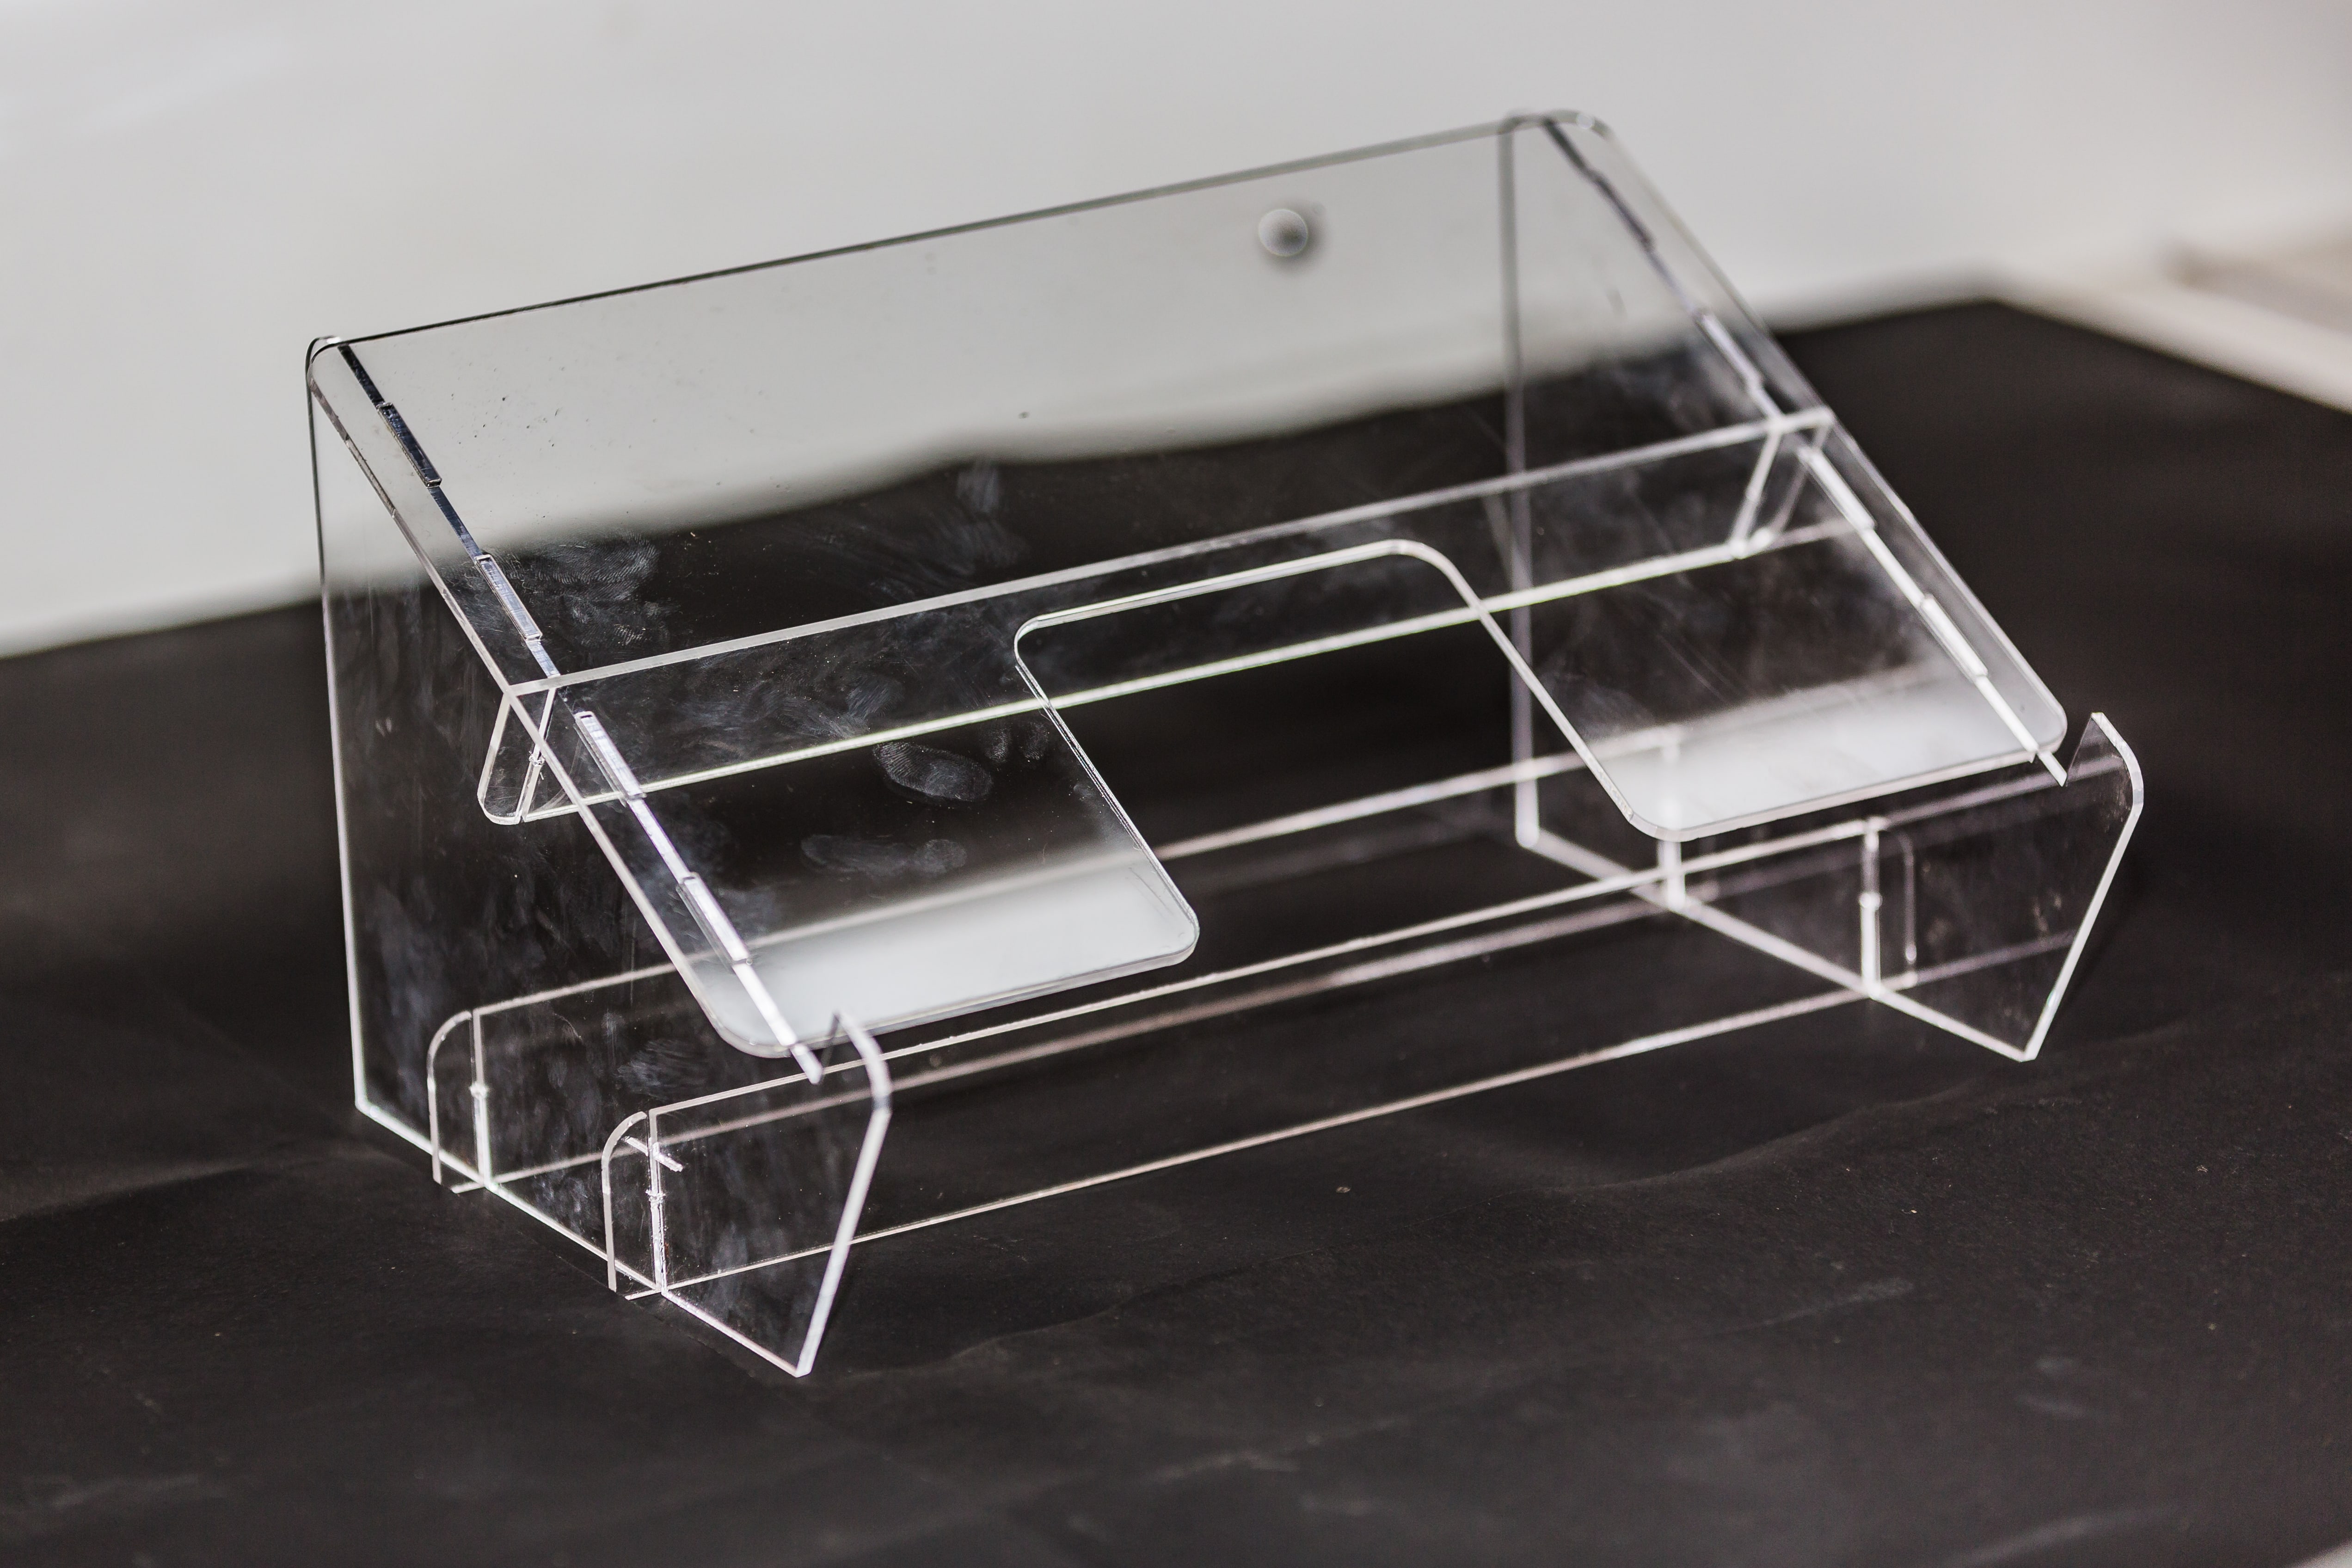
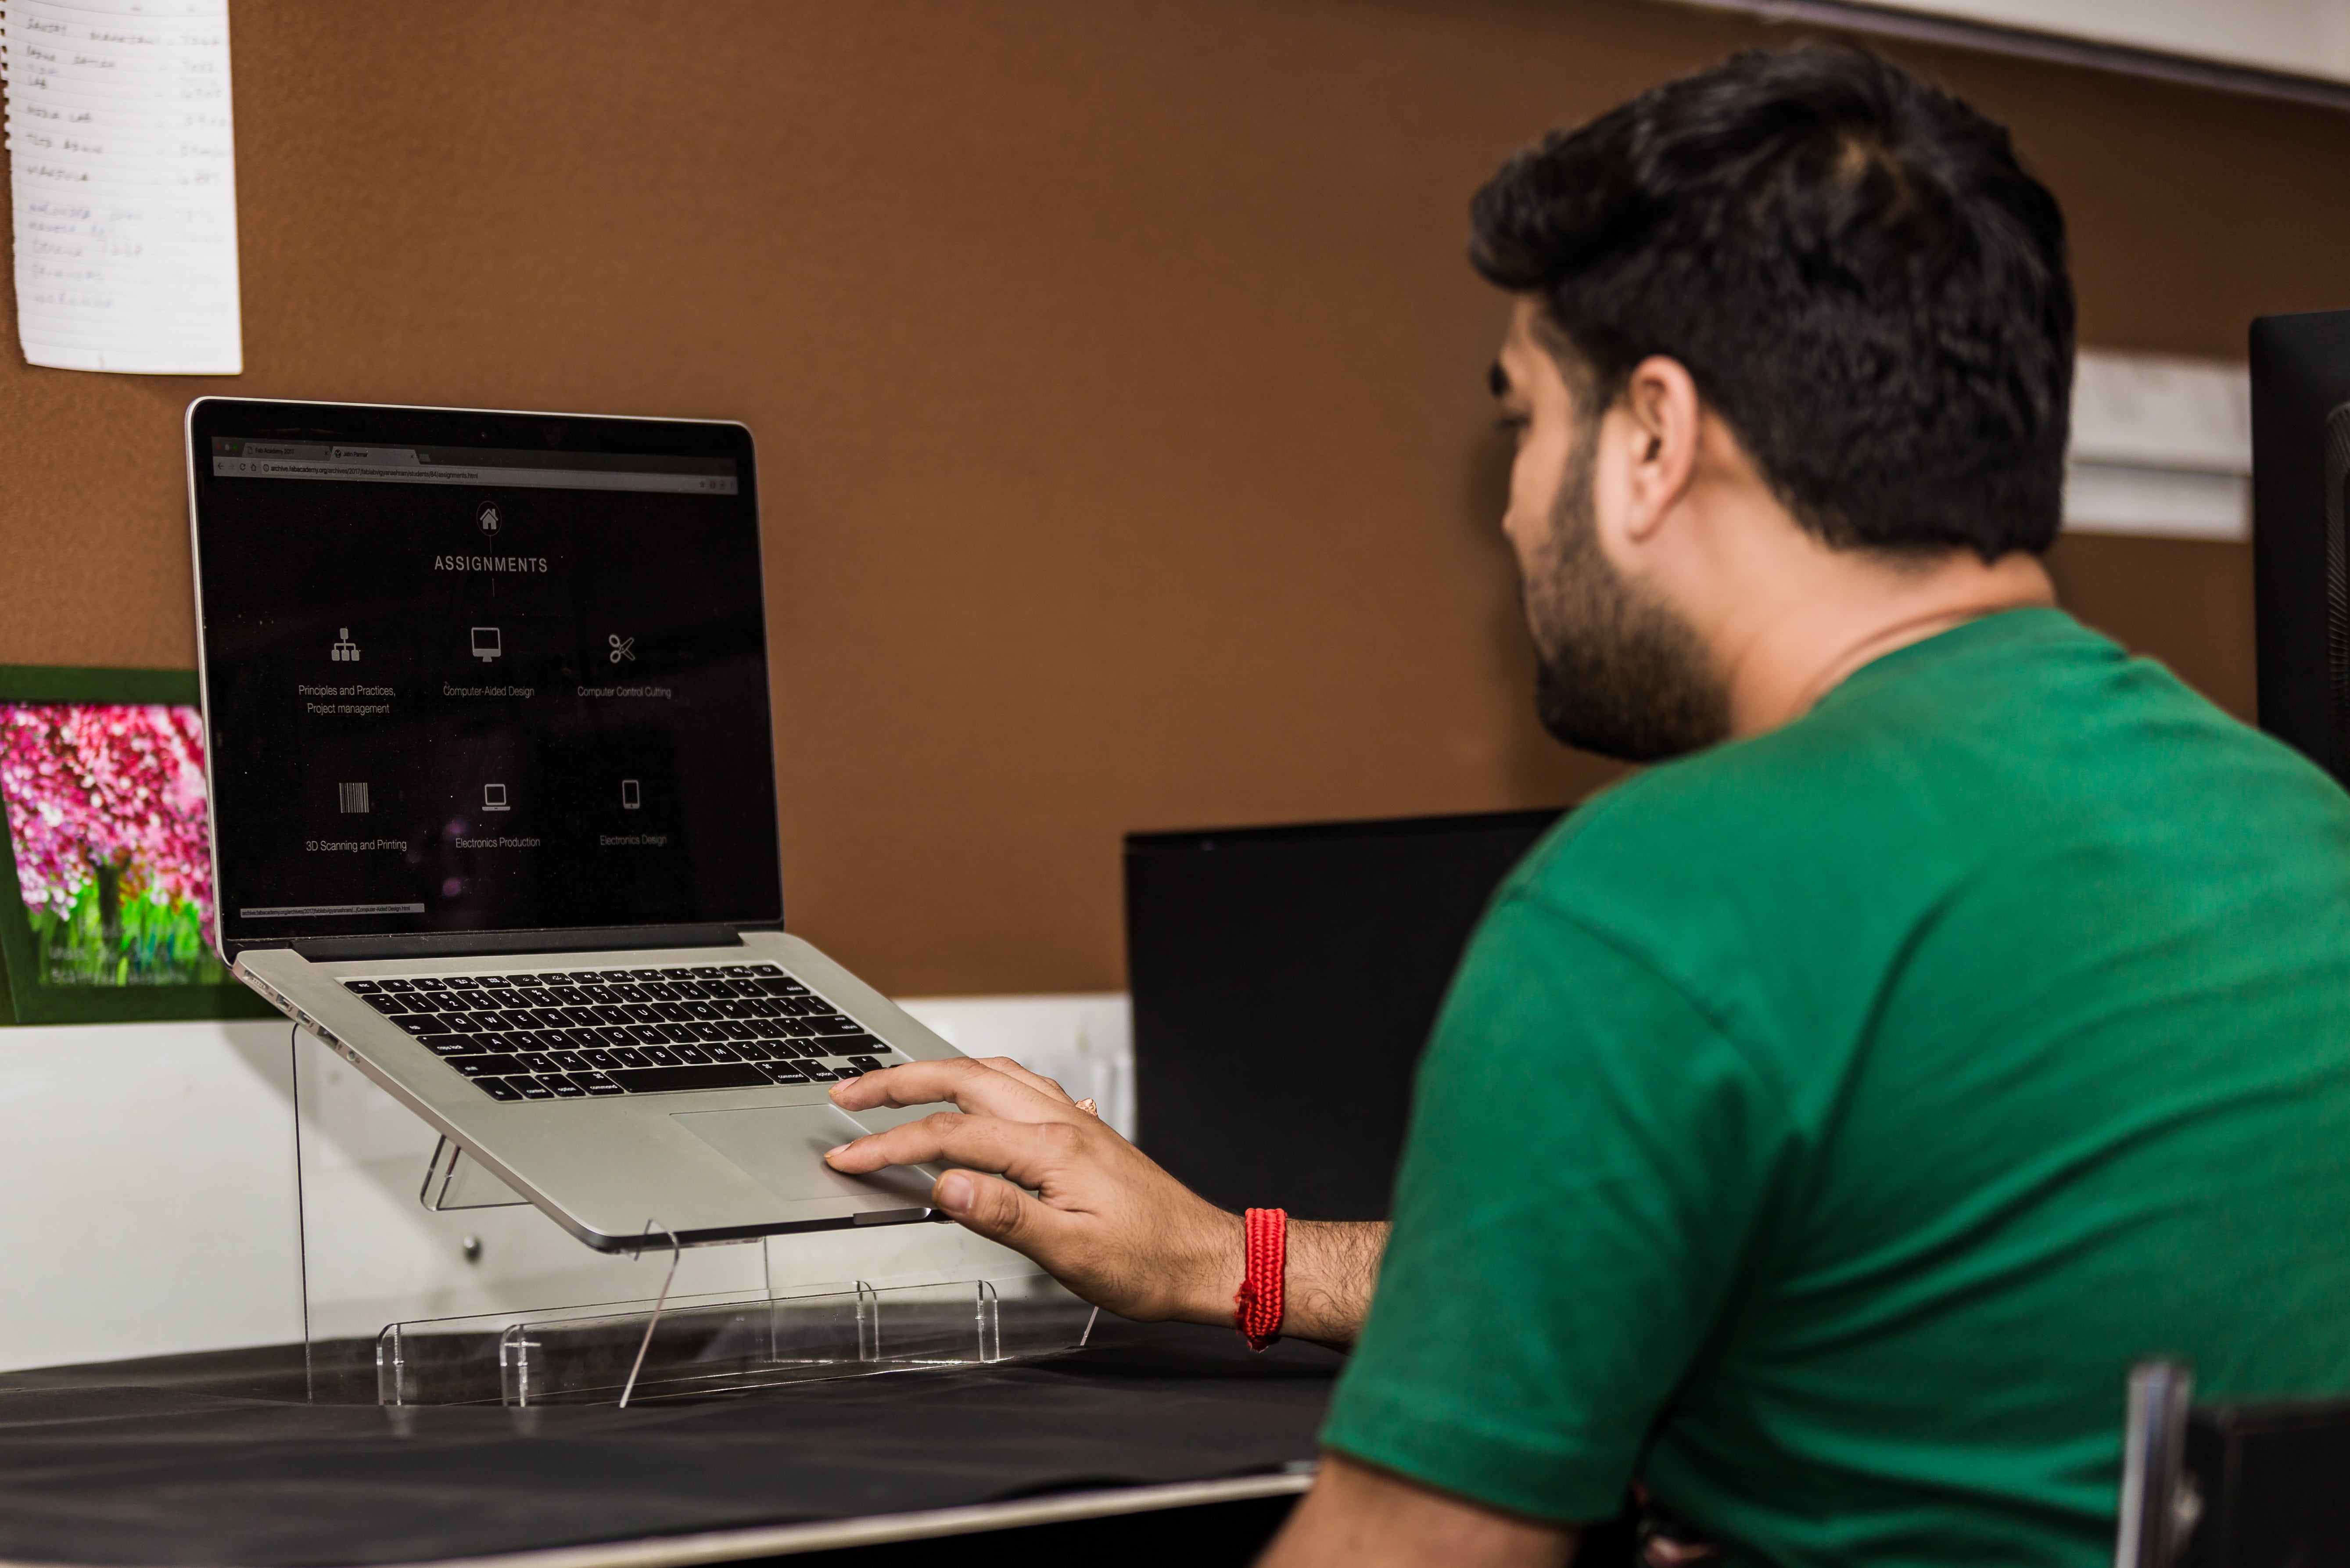
Laptop Stand:
The Process followed was just same as that of the above one for Mobile Stand. The difference in this was just that I used a Transparent Acrylic Sheet of 3 mm thickness and for that speed nad power for cutting differed, so here the I kept “Speed = 12 and Power = 100”.
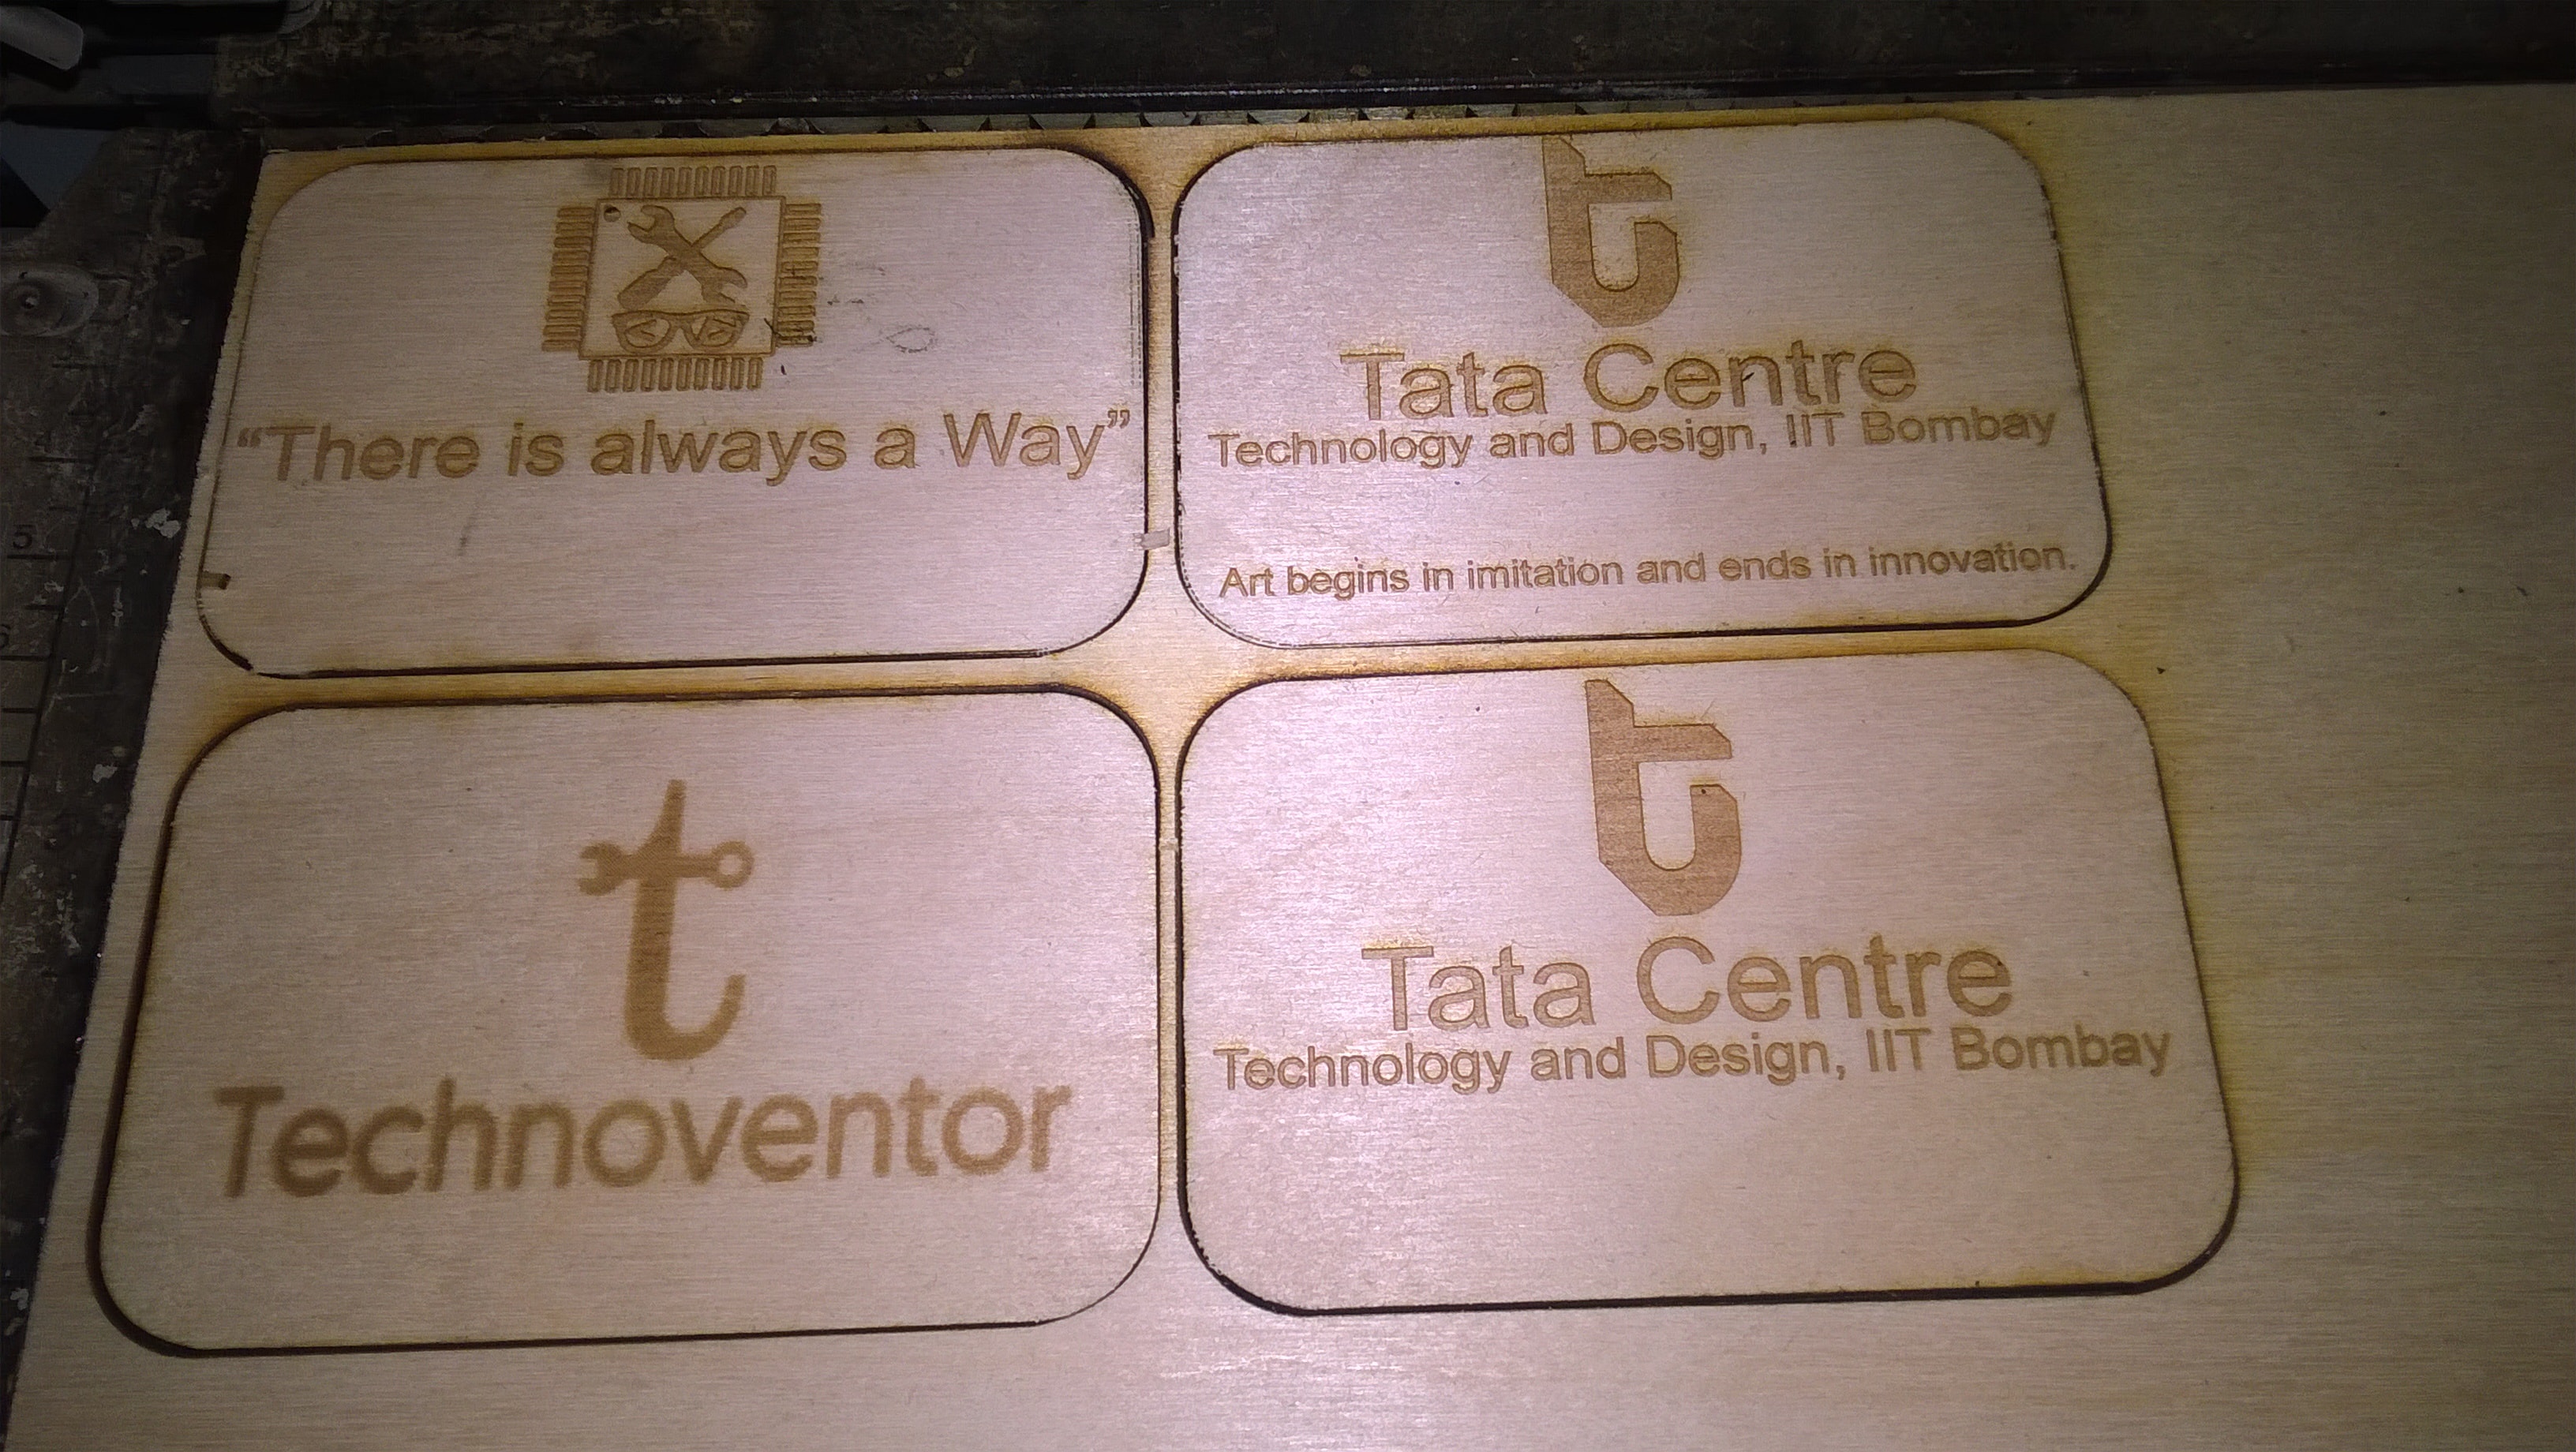
In this Individual Assignment I planned to make something by using both the operations of a Laser Cutter which is Vector and Raster means Cutting and Engraving. So in this I planned to make few Business Cards for me and for few friends working in the Lab. In this for designing I used Coral Draw and tried to make the design as good as possible as I don’t use Coral Draw much and have just learned it during this course. So the process after designing and printing is just as similar as before (described above in Group Assignment), I’m now just sharing some screenshots below of the process.
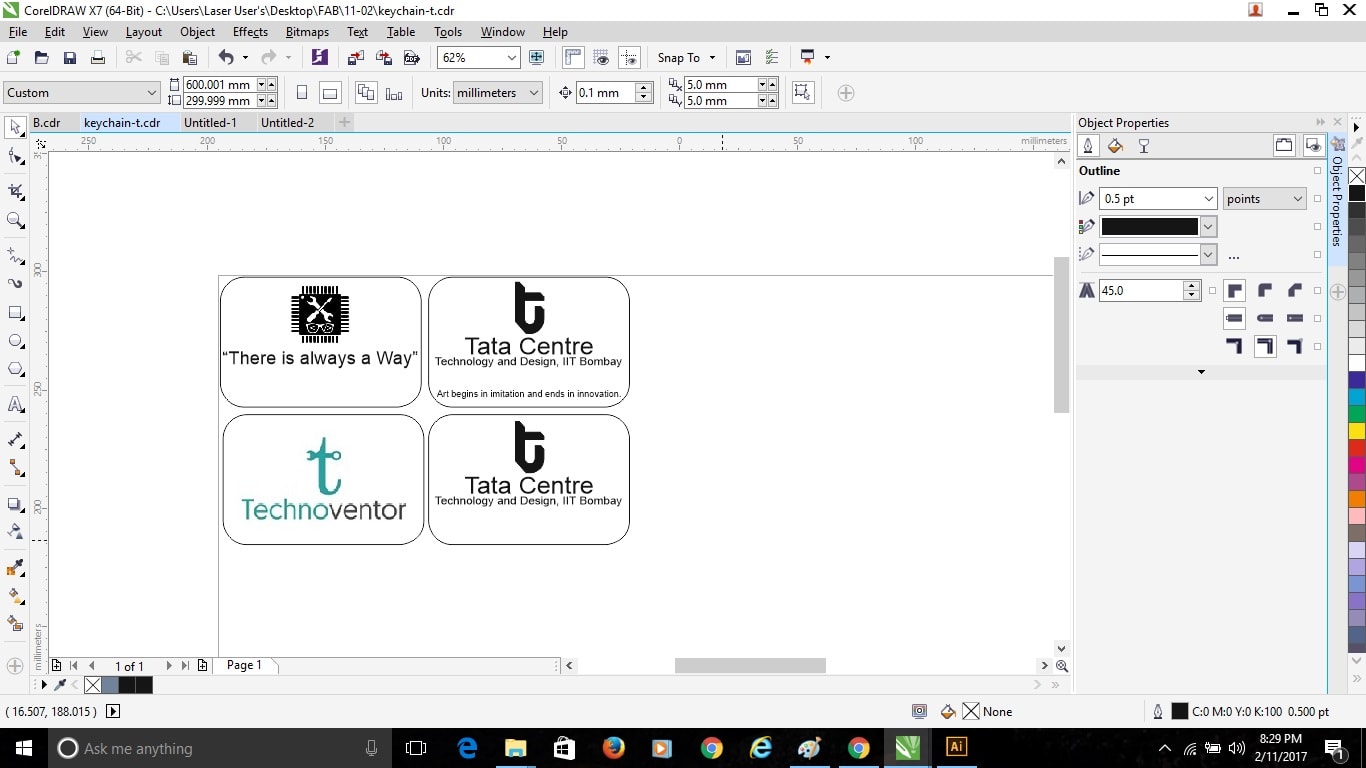
Front Side Design:
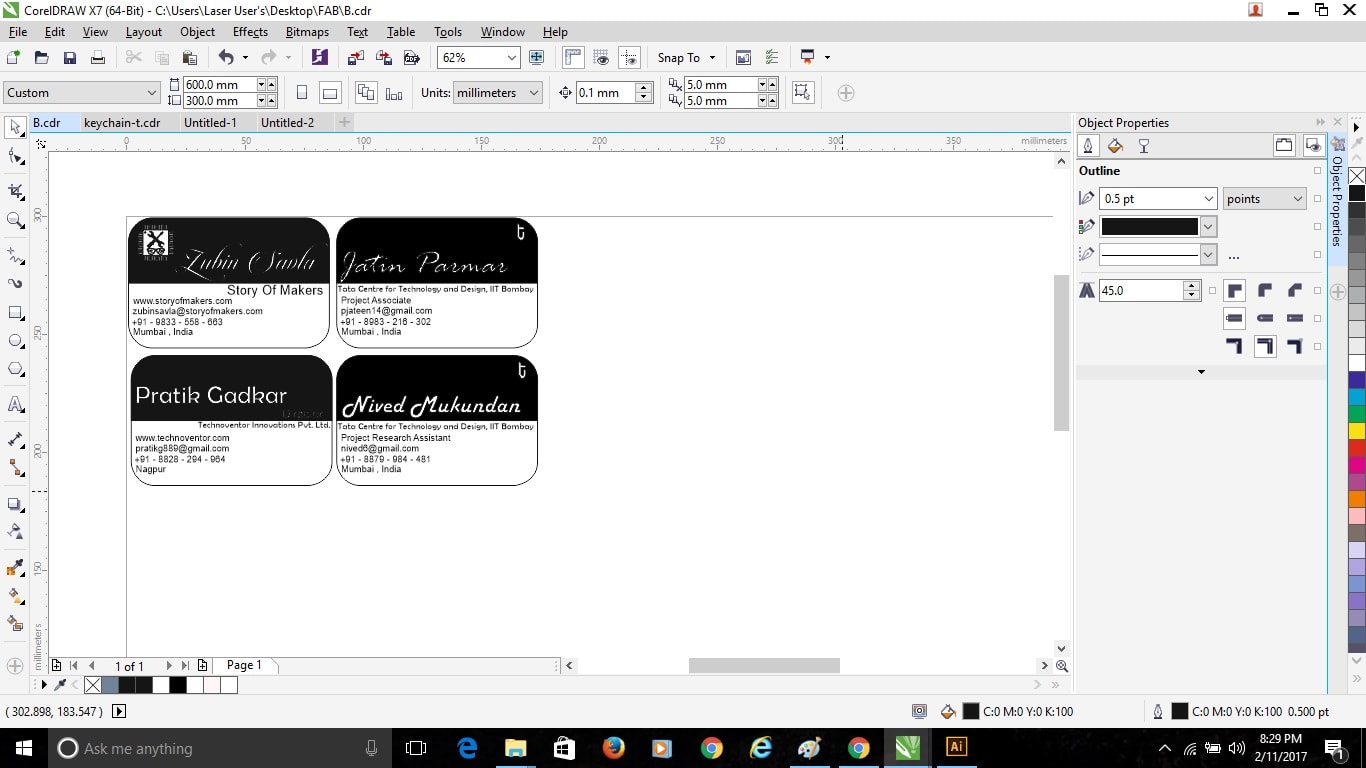
Back Side Design:
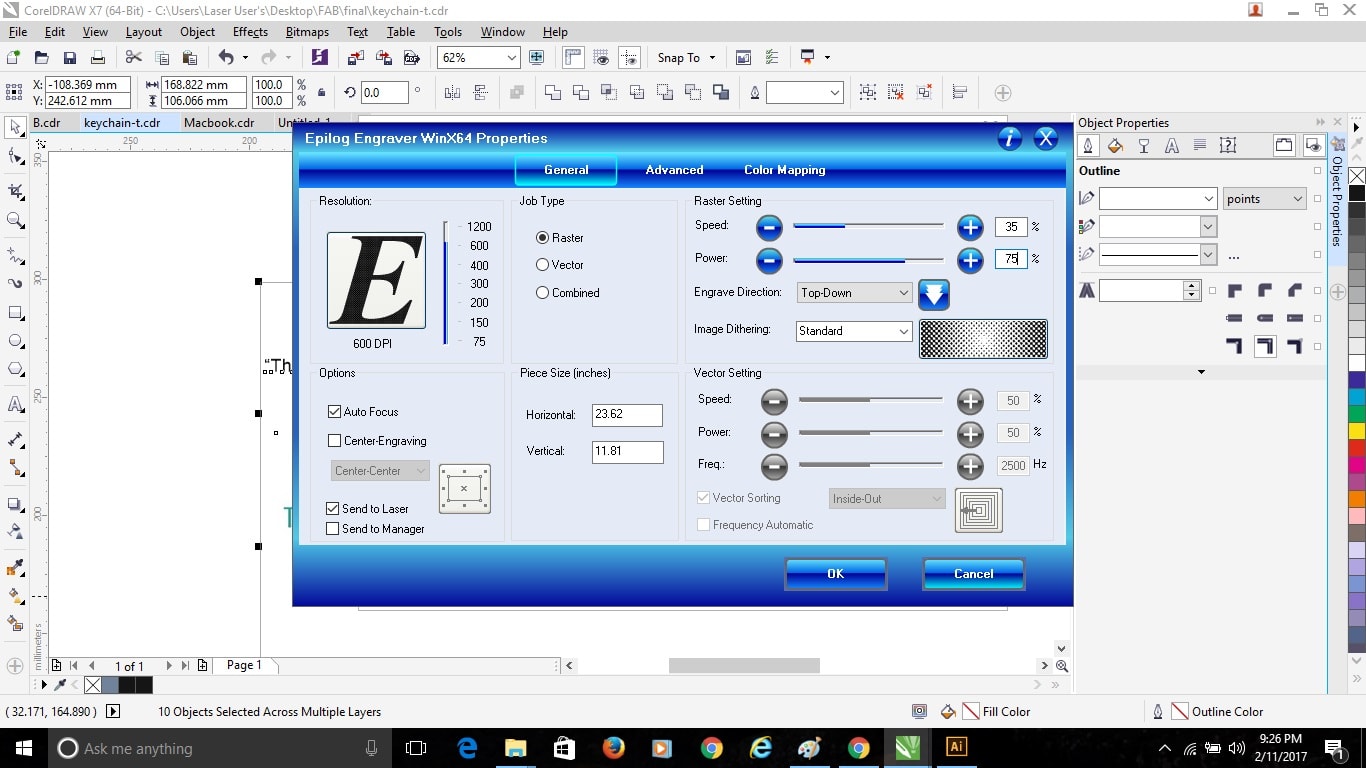
Now here in the Back side design, one card has a different color logo and text apart from Black, so here in Laser Cutter different color shades defines the depth of engrave on the part.
Here the combination of Speed and Power defines the sharpness of cut. As the Power is high, there are chances of catching fire and improve cutting of the object. In case of paper, Balsa wood and cardboard it is very important to keep power low and speed high as these catches fire very easily compared to acrylic.
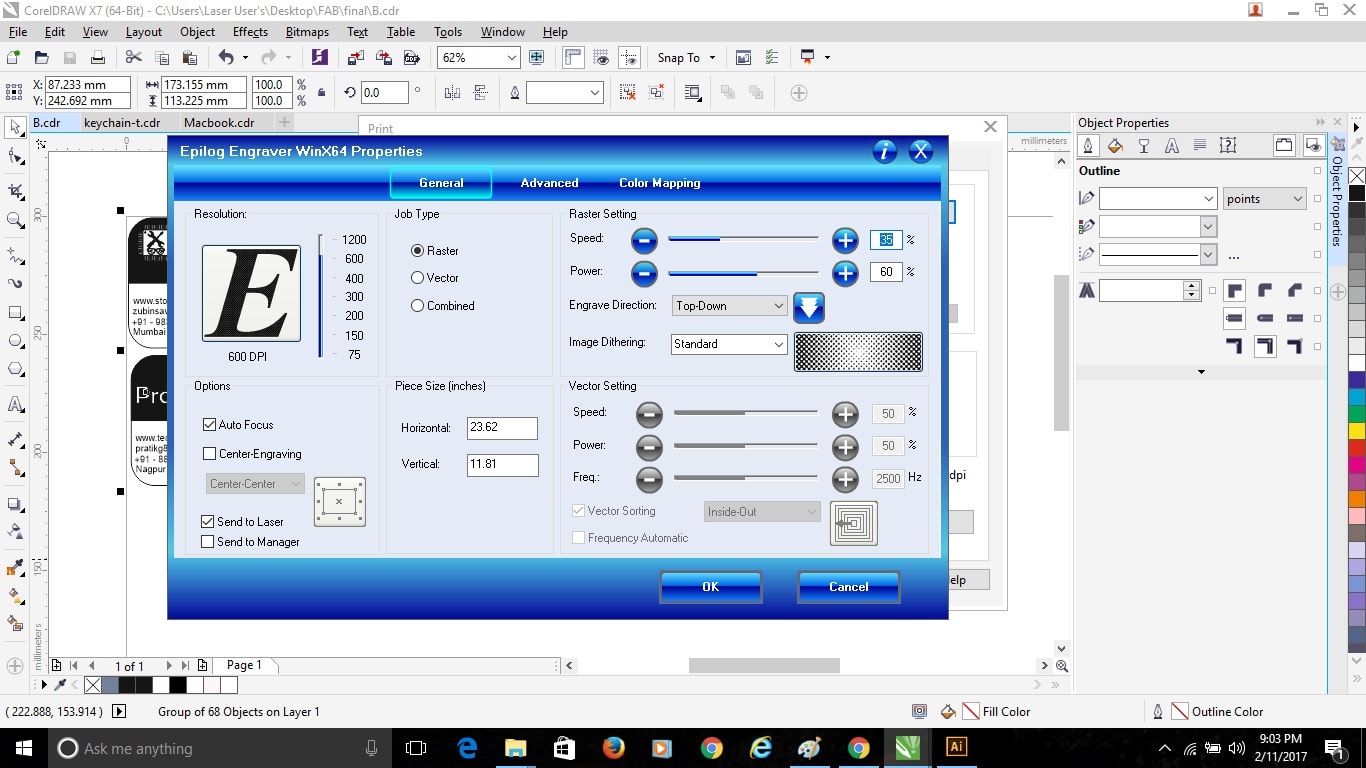
Here as I was first going to engrave on the Balsa Wood, so I first selected the Raster option and clicked Auto Focus ON and set the Speed and Powerv for Raster, I took “Speed = 35 and Power = 60” for Engraving.
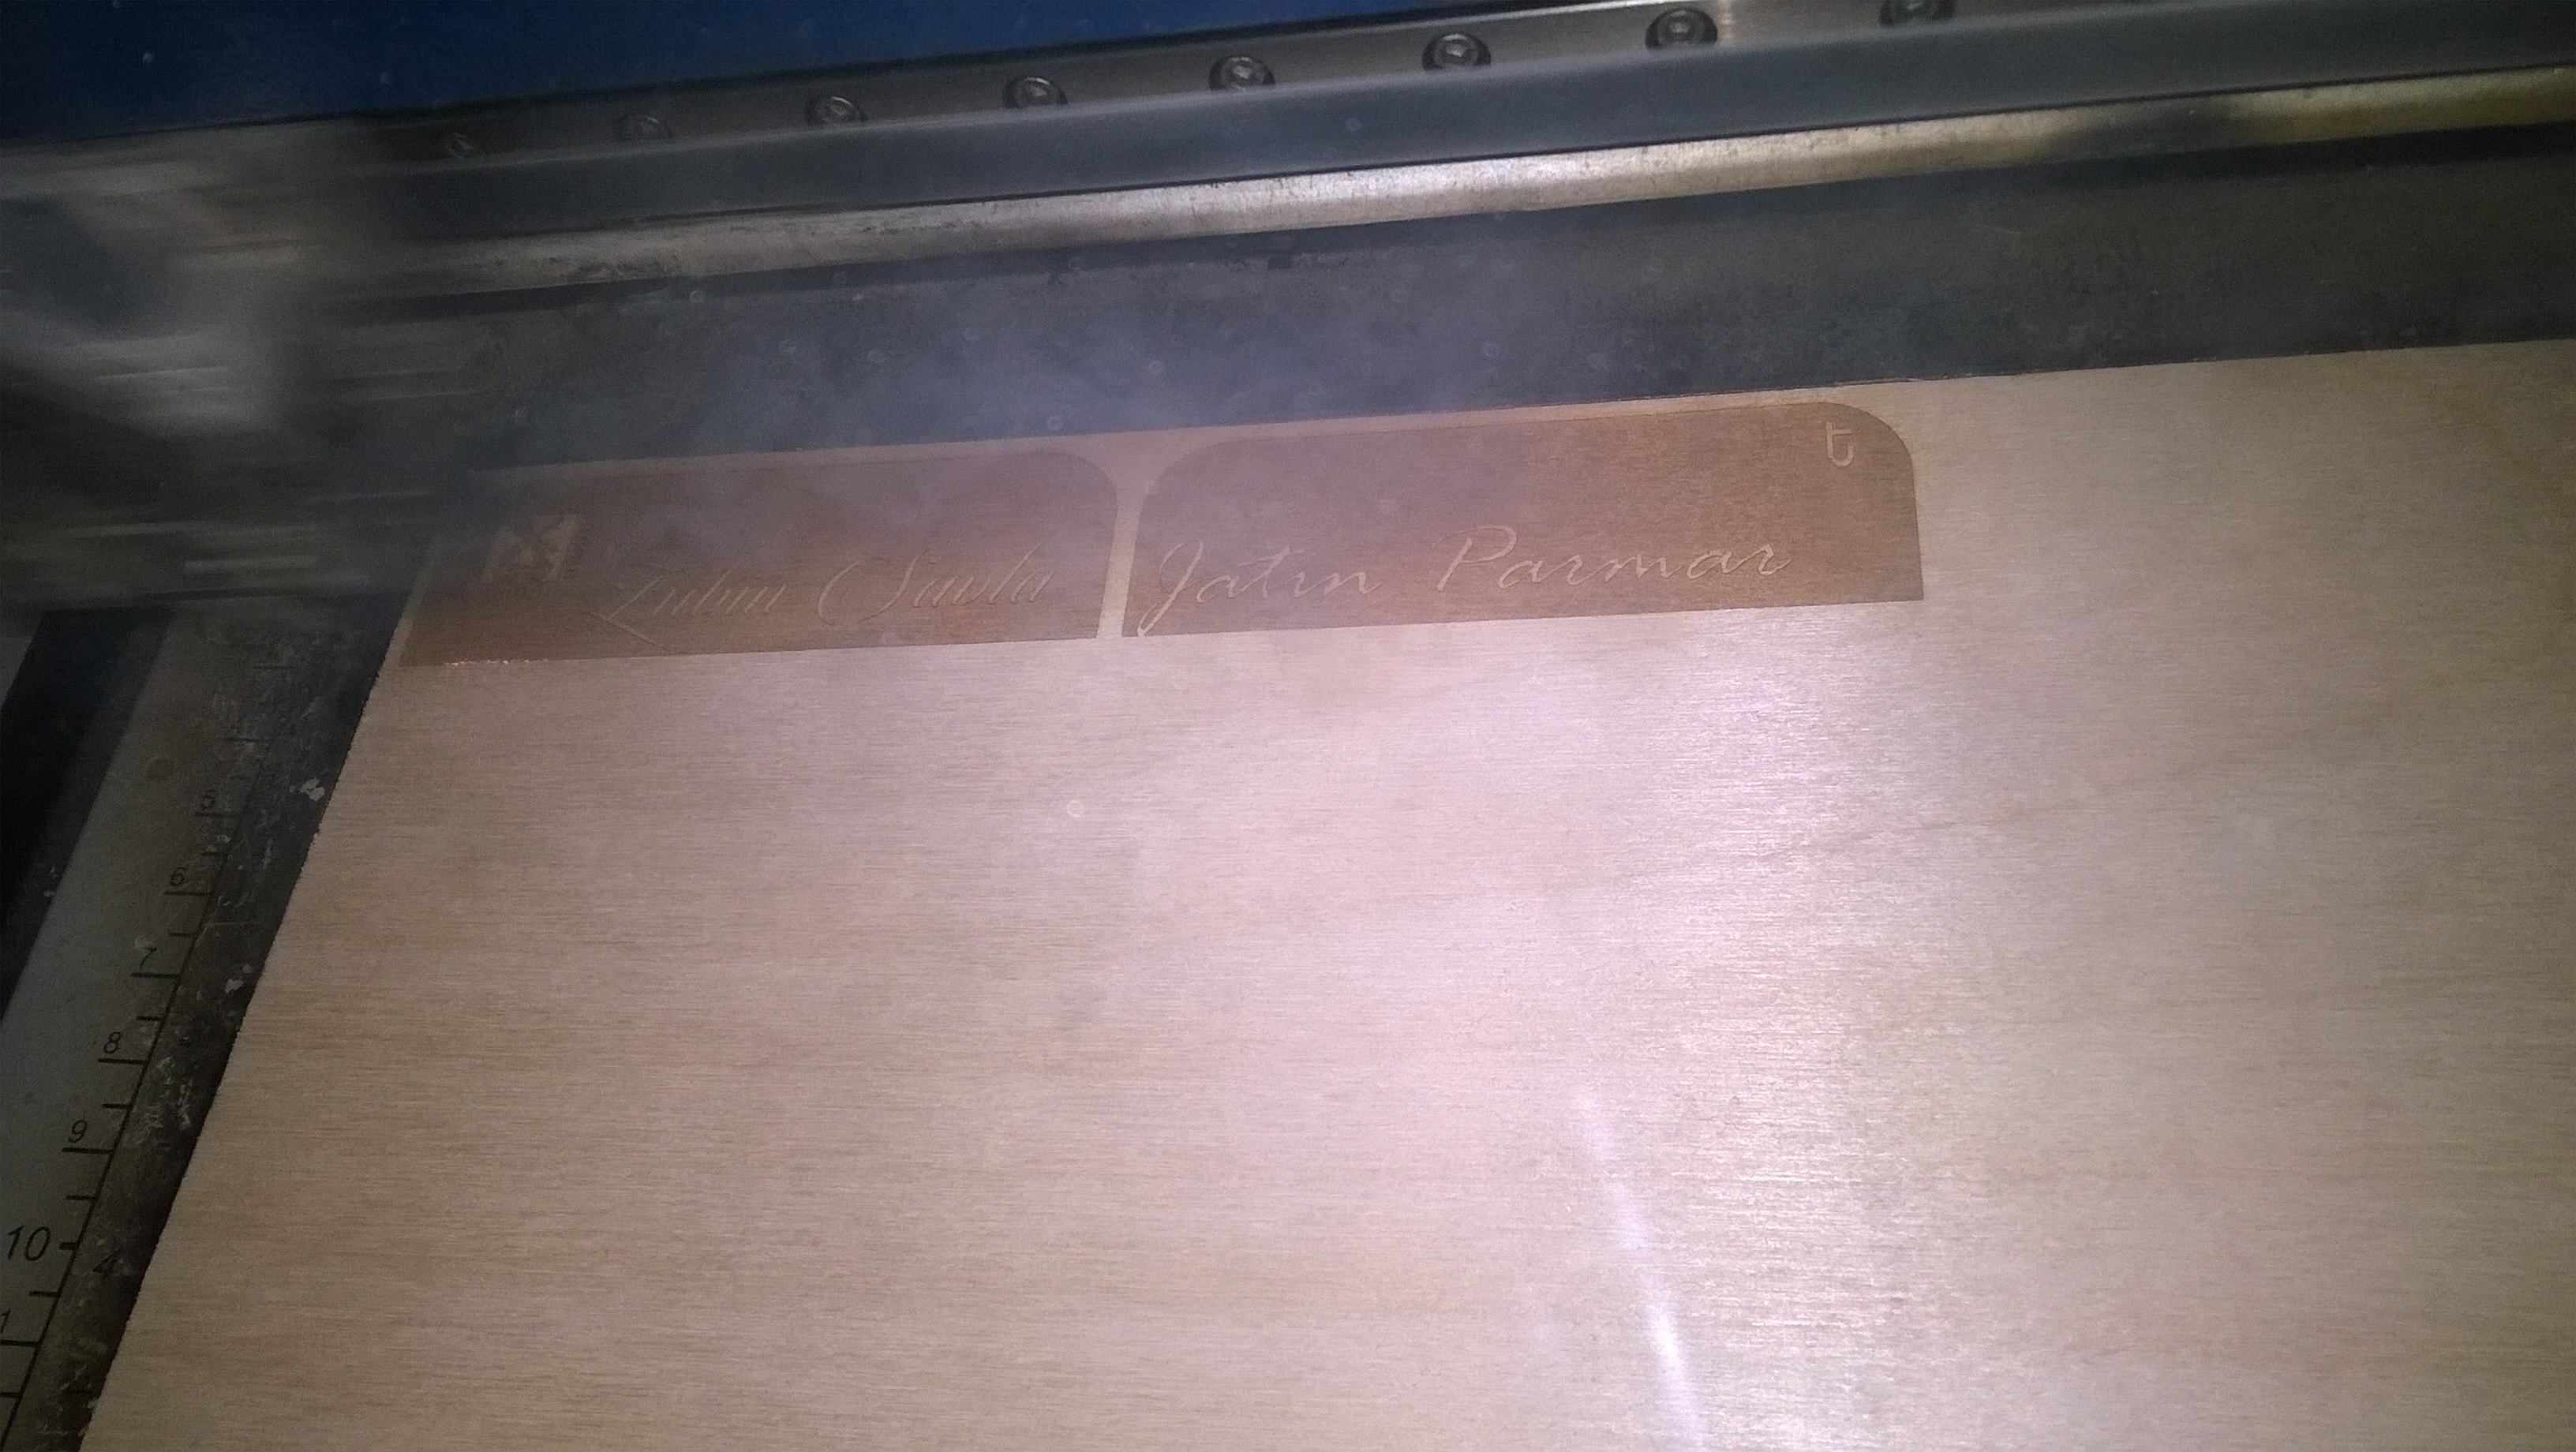
So after finishing the front side I flipped the Cards and gave the same Raster command for Engraving back side of the Cards.
Now followed the same procedure on the machine and started cutting and engraving on Balsa.
Final Object:
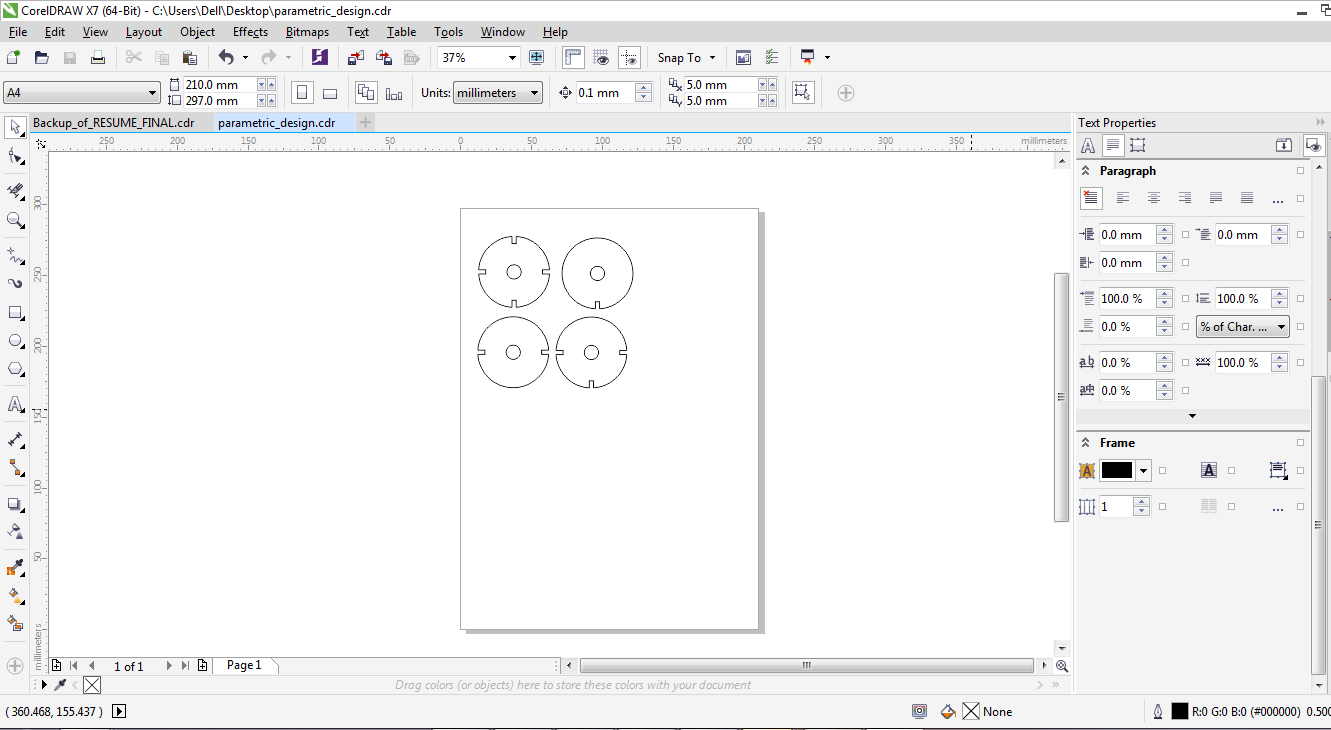
Parametric Design
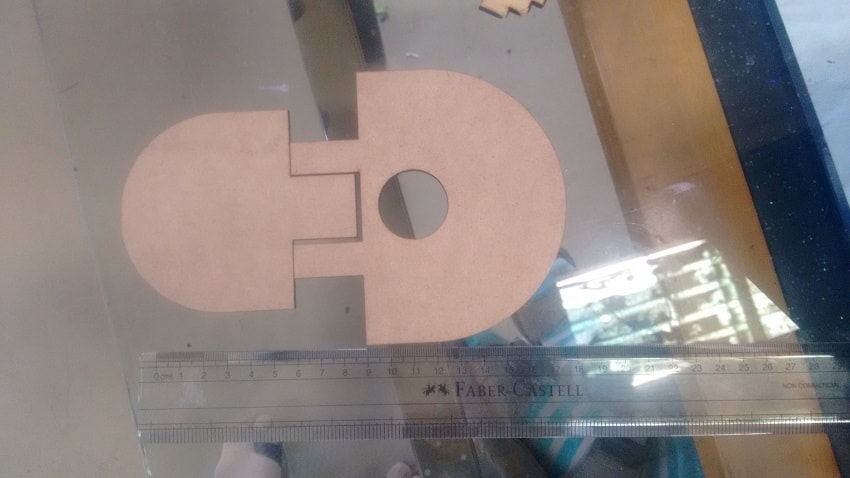
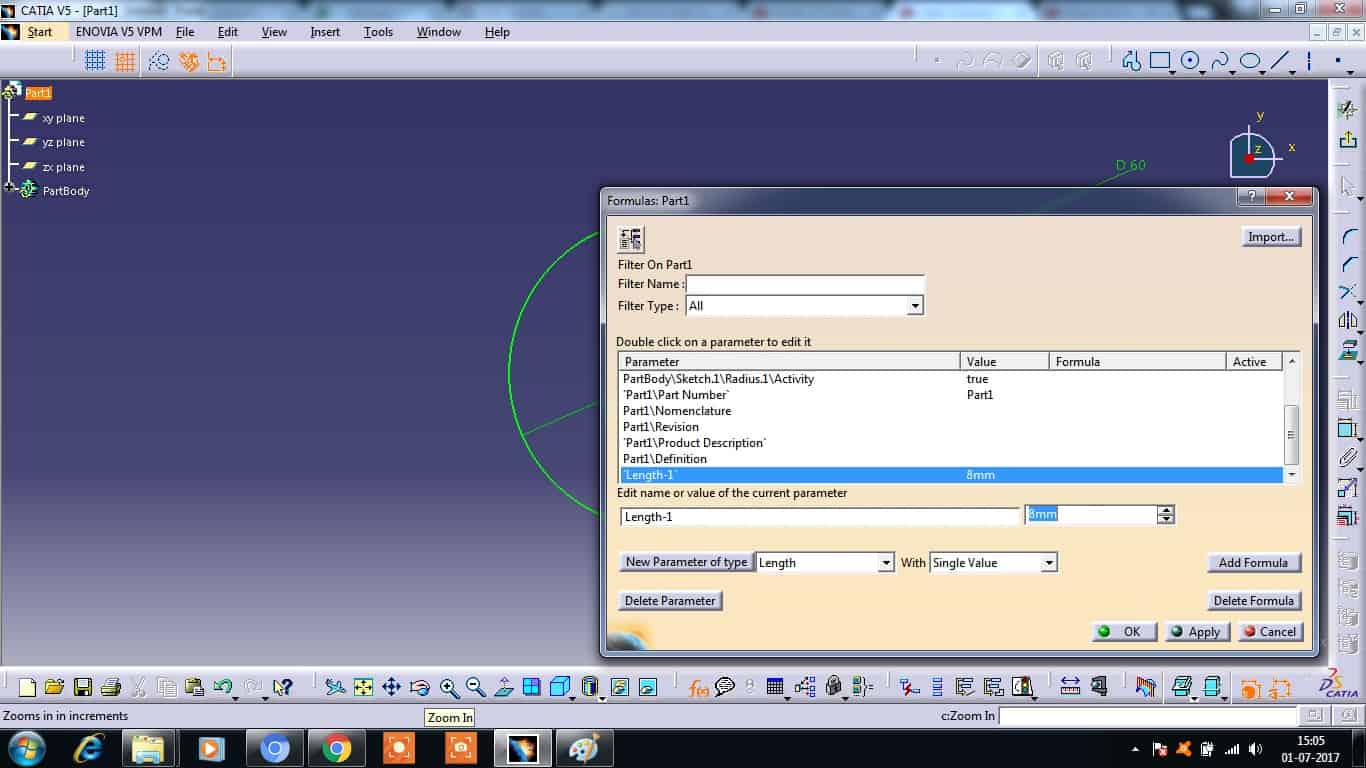
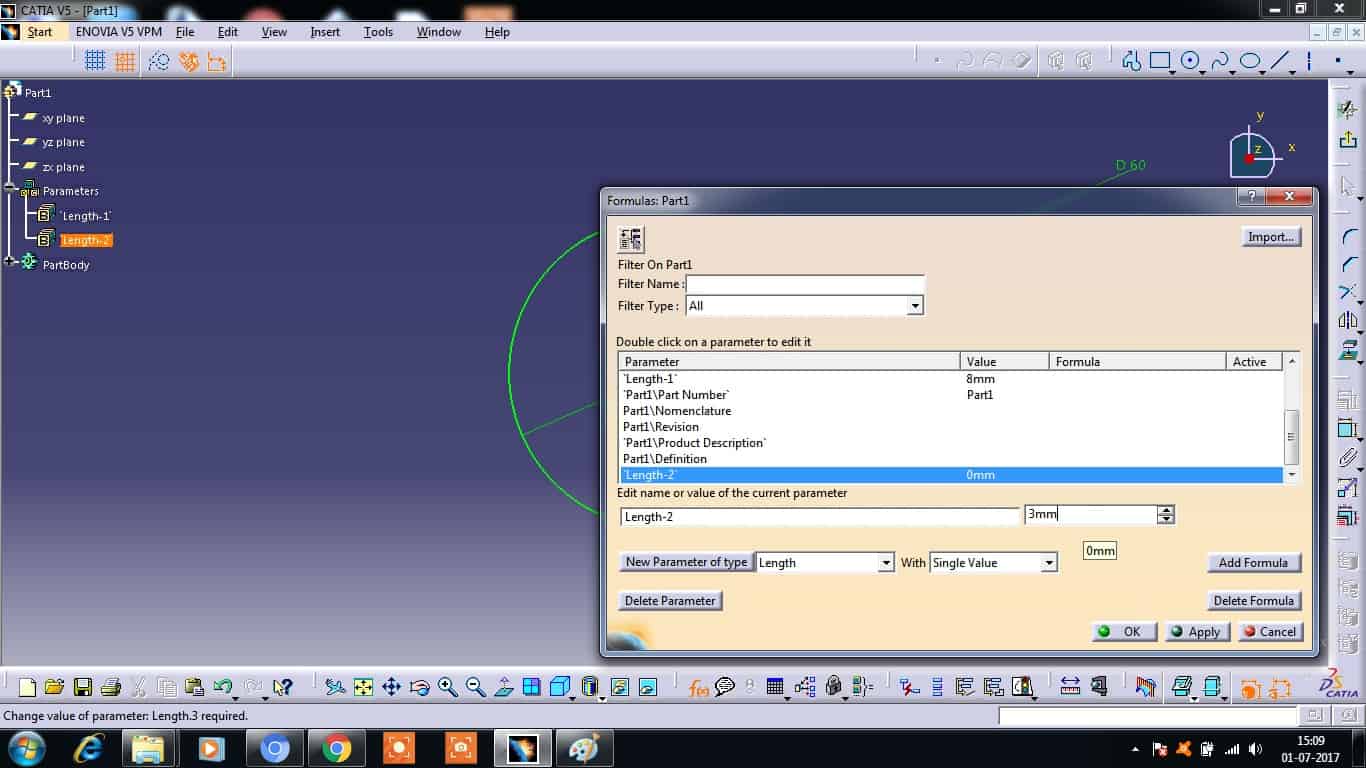
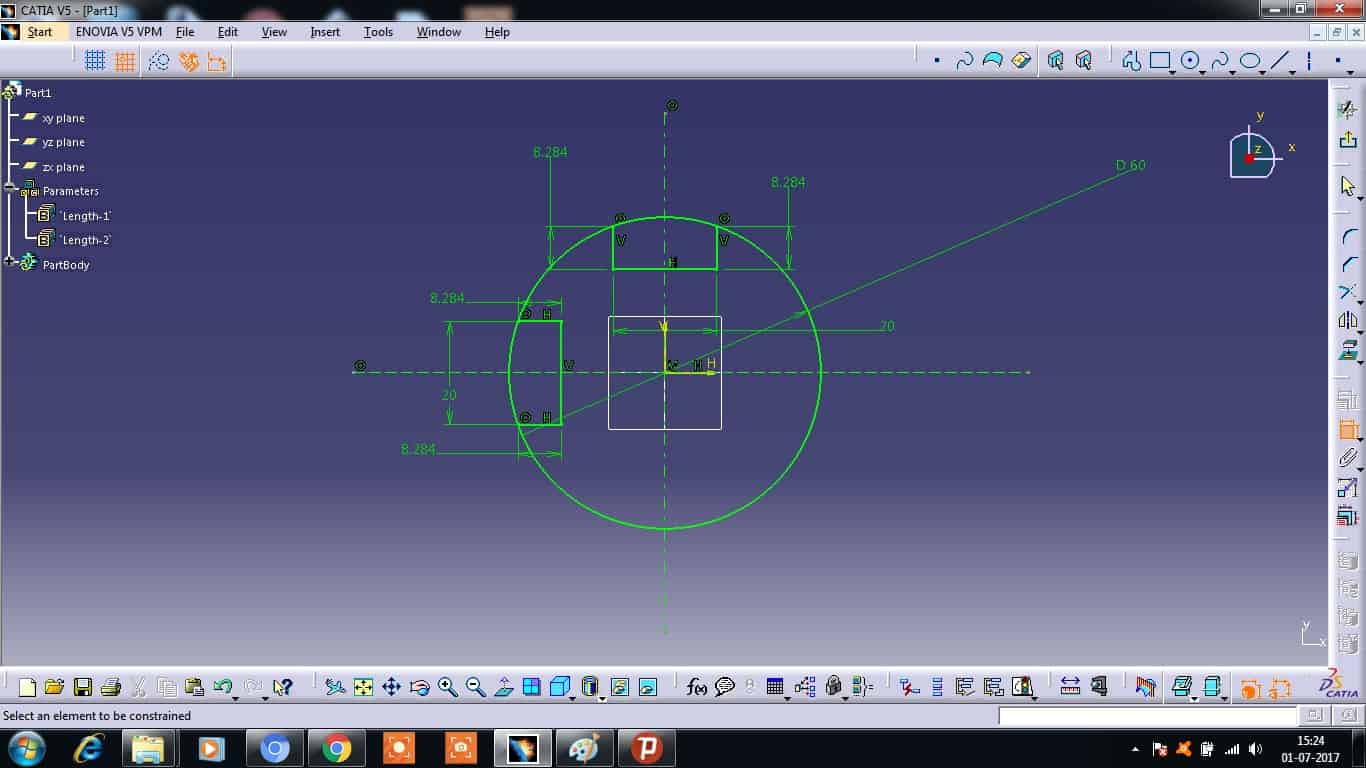
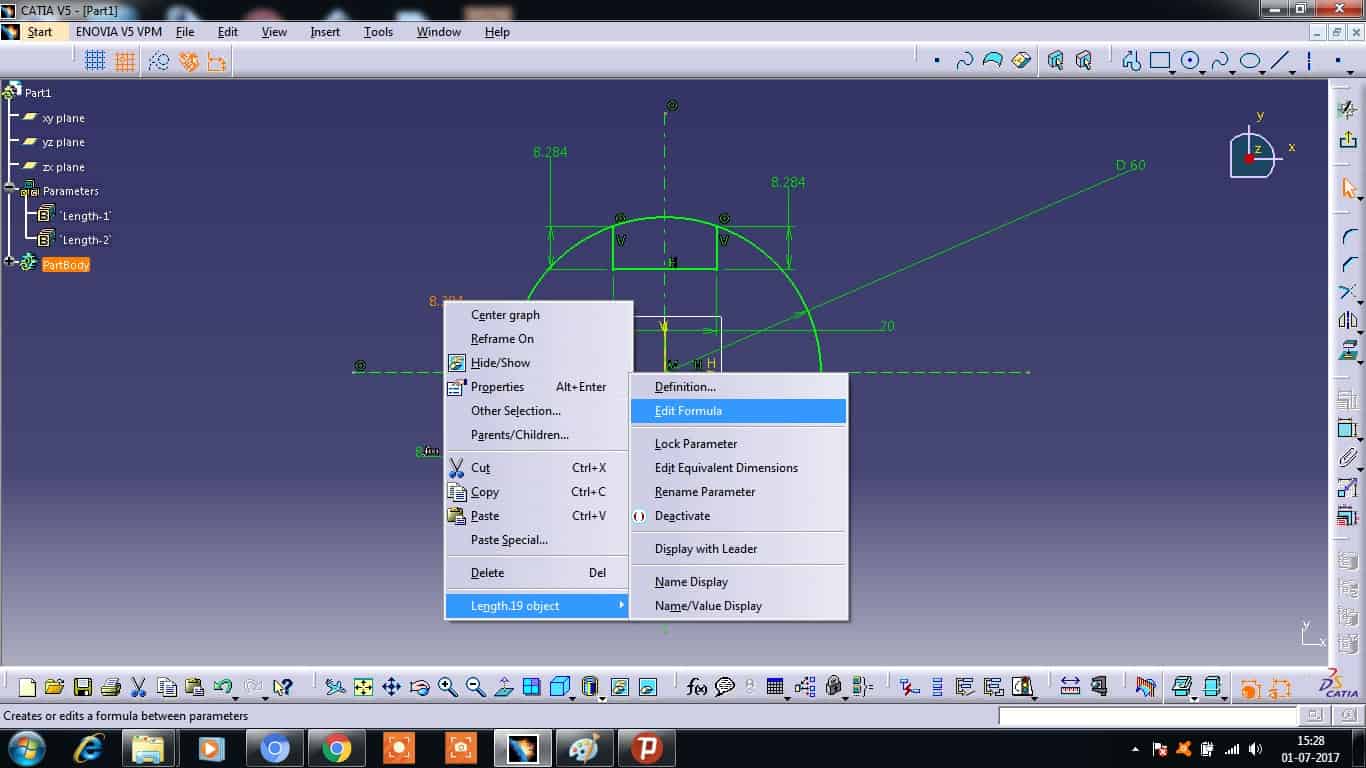
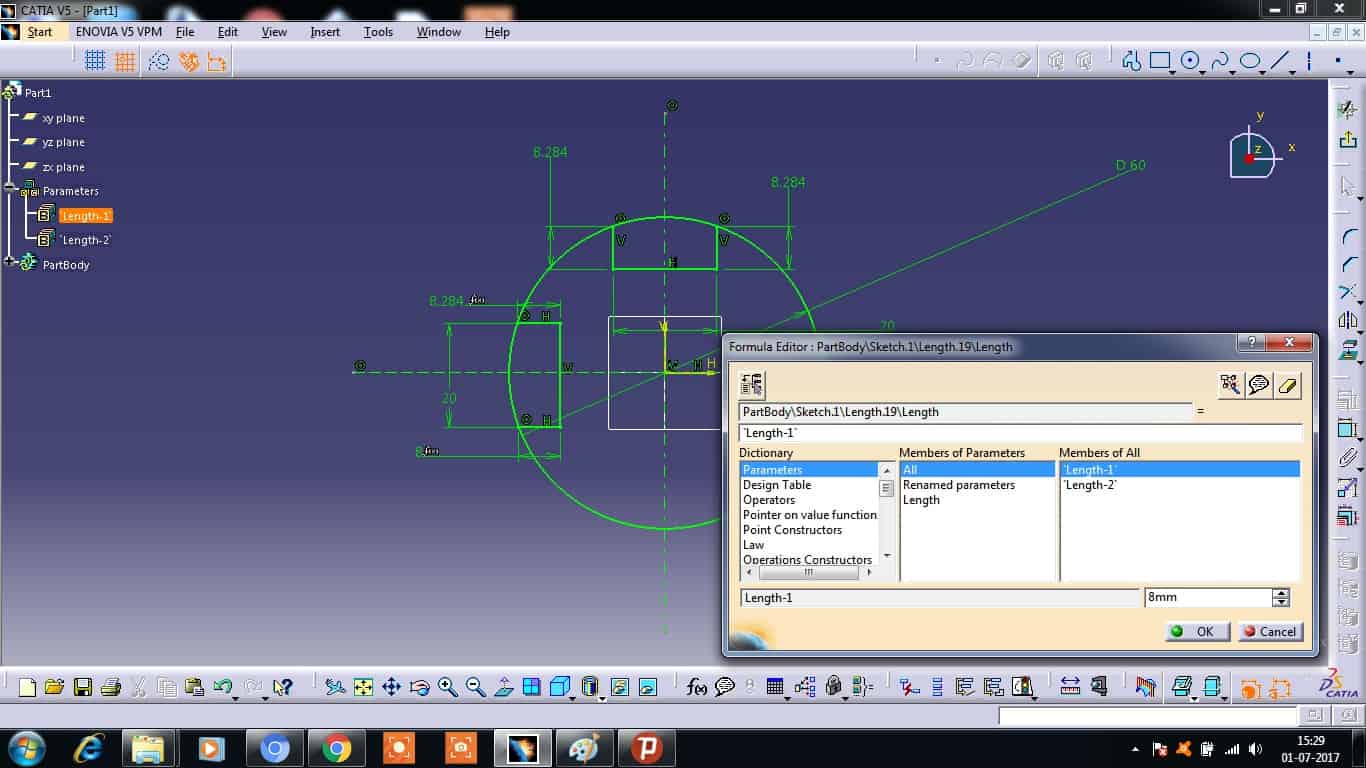
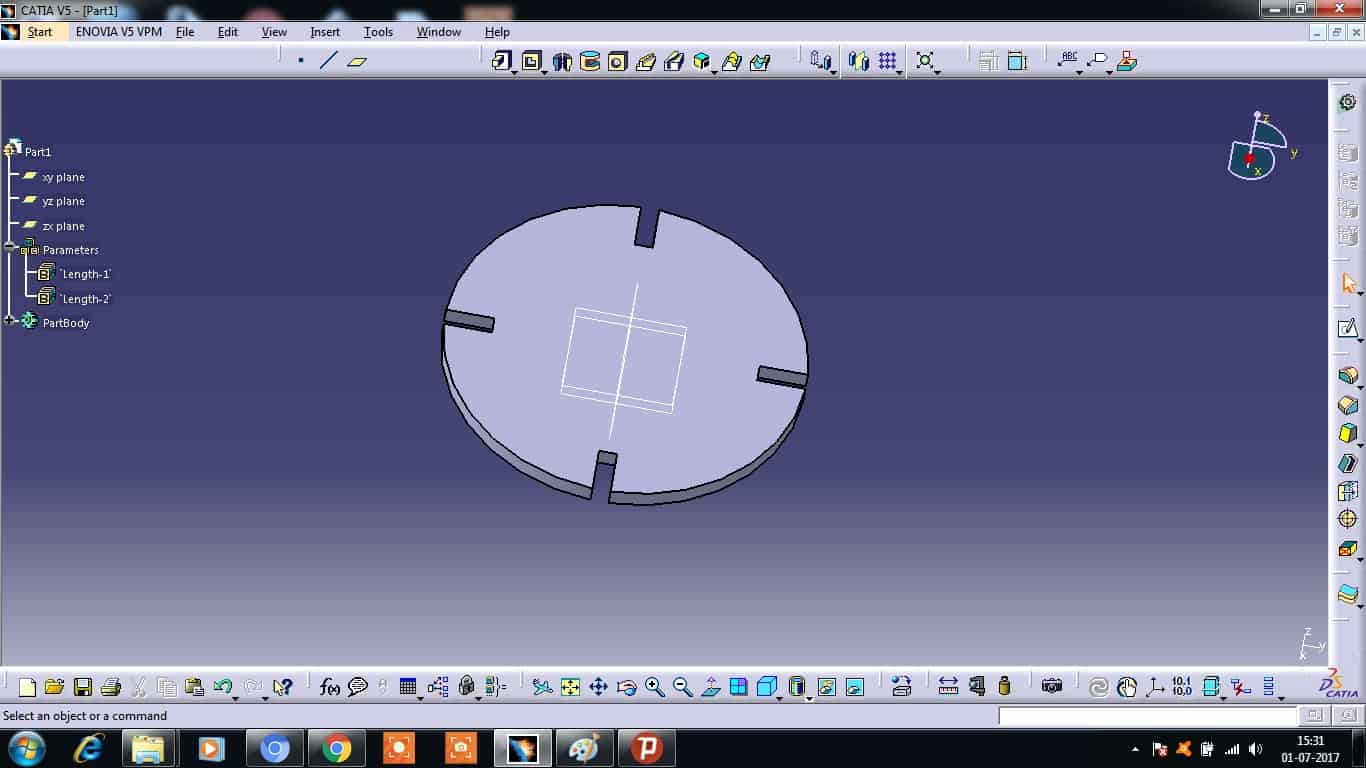
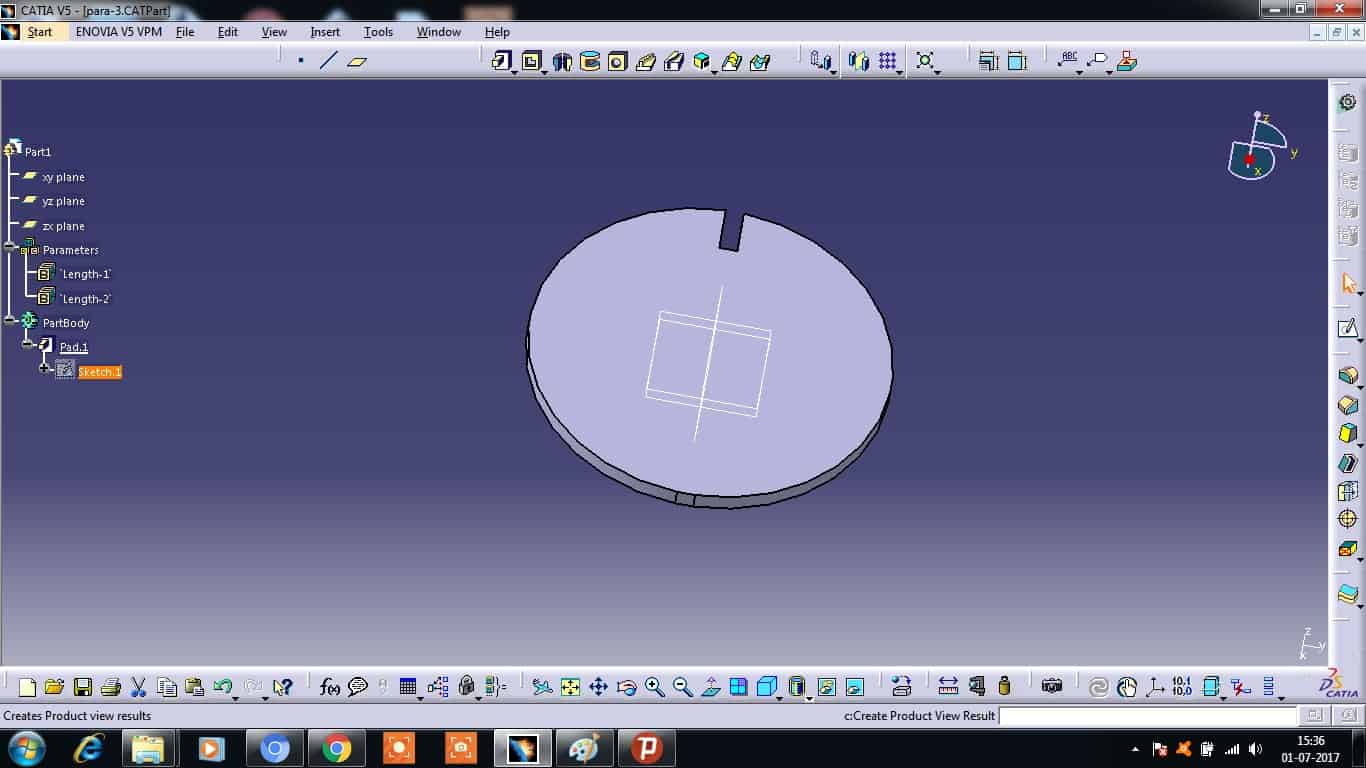
In this assignment we were also suppose to make a parametric design and Laser cut it. So decided to make a simple geometry, just circles with slots which can be fitted as it wants. I used Catia to design th parametric design of this. In catia first I made a simple geometry of what I wanted to make that is, Circlr with slots in it which will be parametric such that as I change 1 dimention each and every dimention related to that changes, so I had to made 3mmx8mm slot in the circle which will be parametric, as I change the 3mm width everywhere where 3mm is given will be changed to new value inserted. So in Catia after designing to make the diamentions para metric I went to Formula and selected a new parameter and gave the value 8mm there and clicked OK, similarly entered the 3mm width diamension by adding a new parameter. I have shown the design below:


Vinyl Cutter:- Roland GX-24 – Desktop Vinyl Cutter
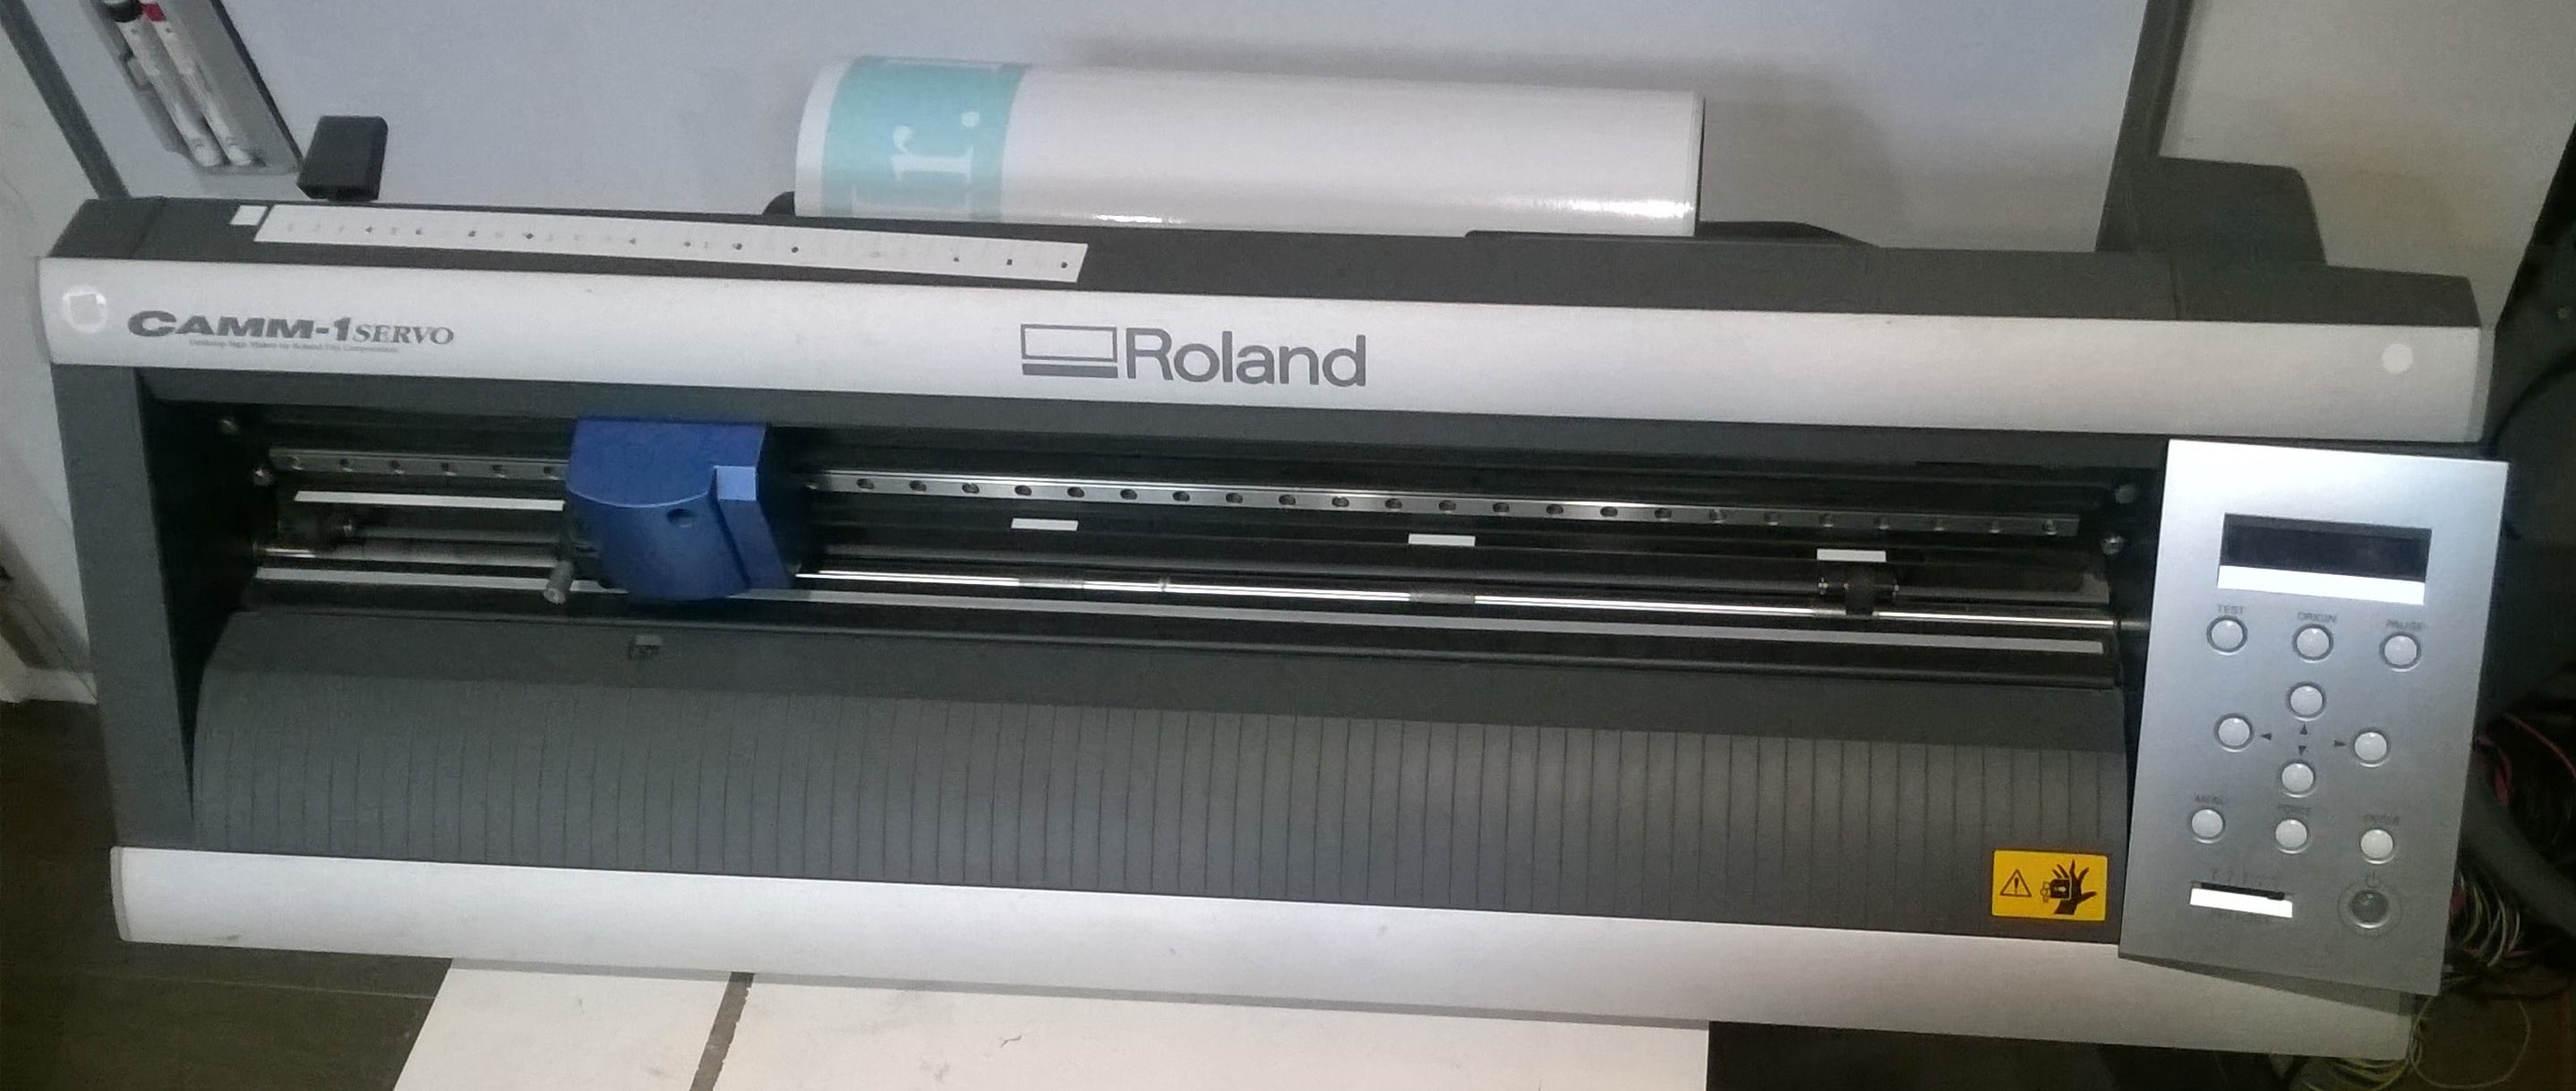
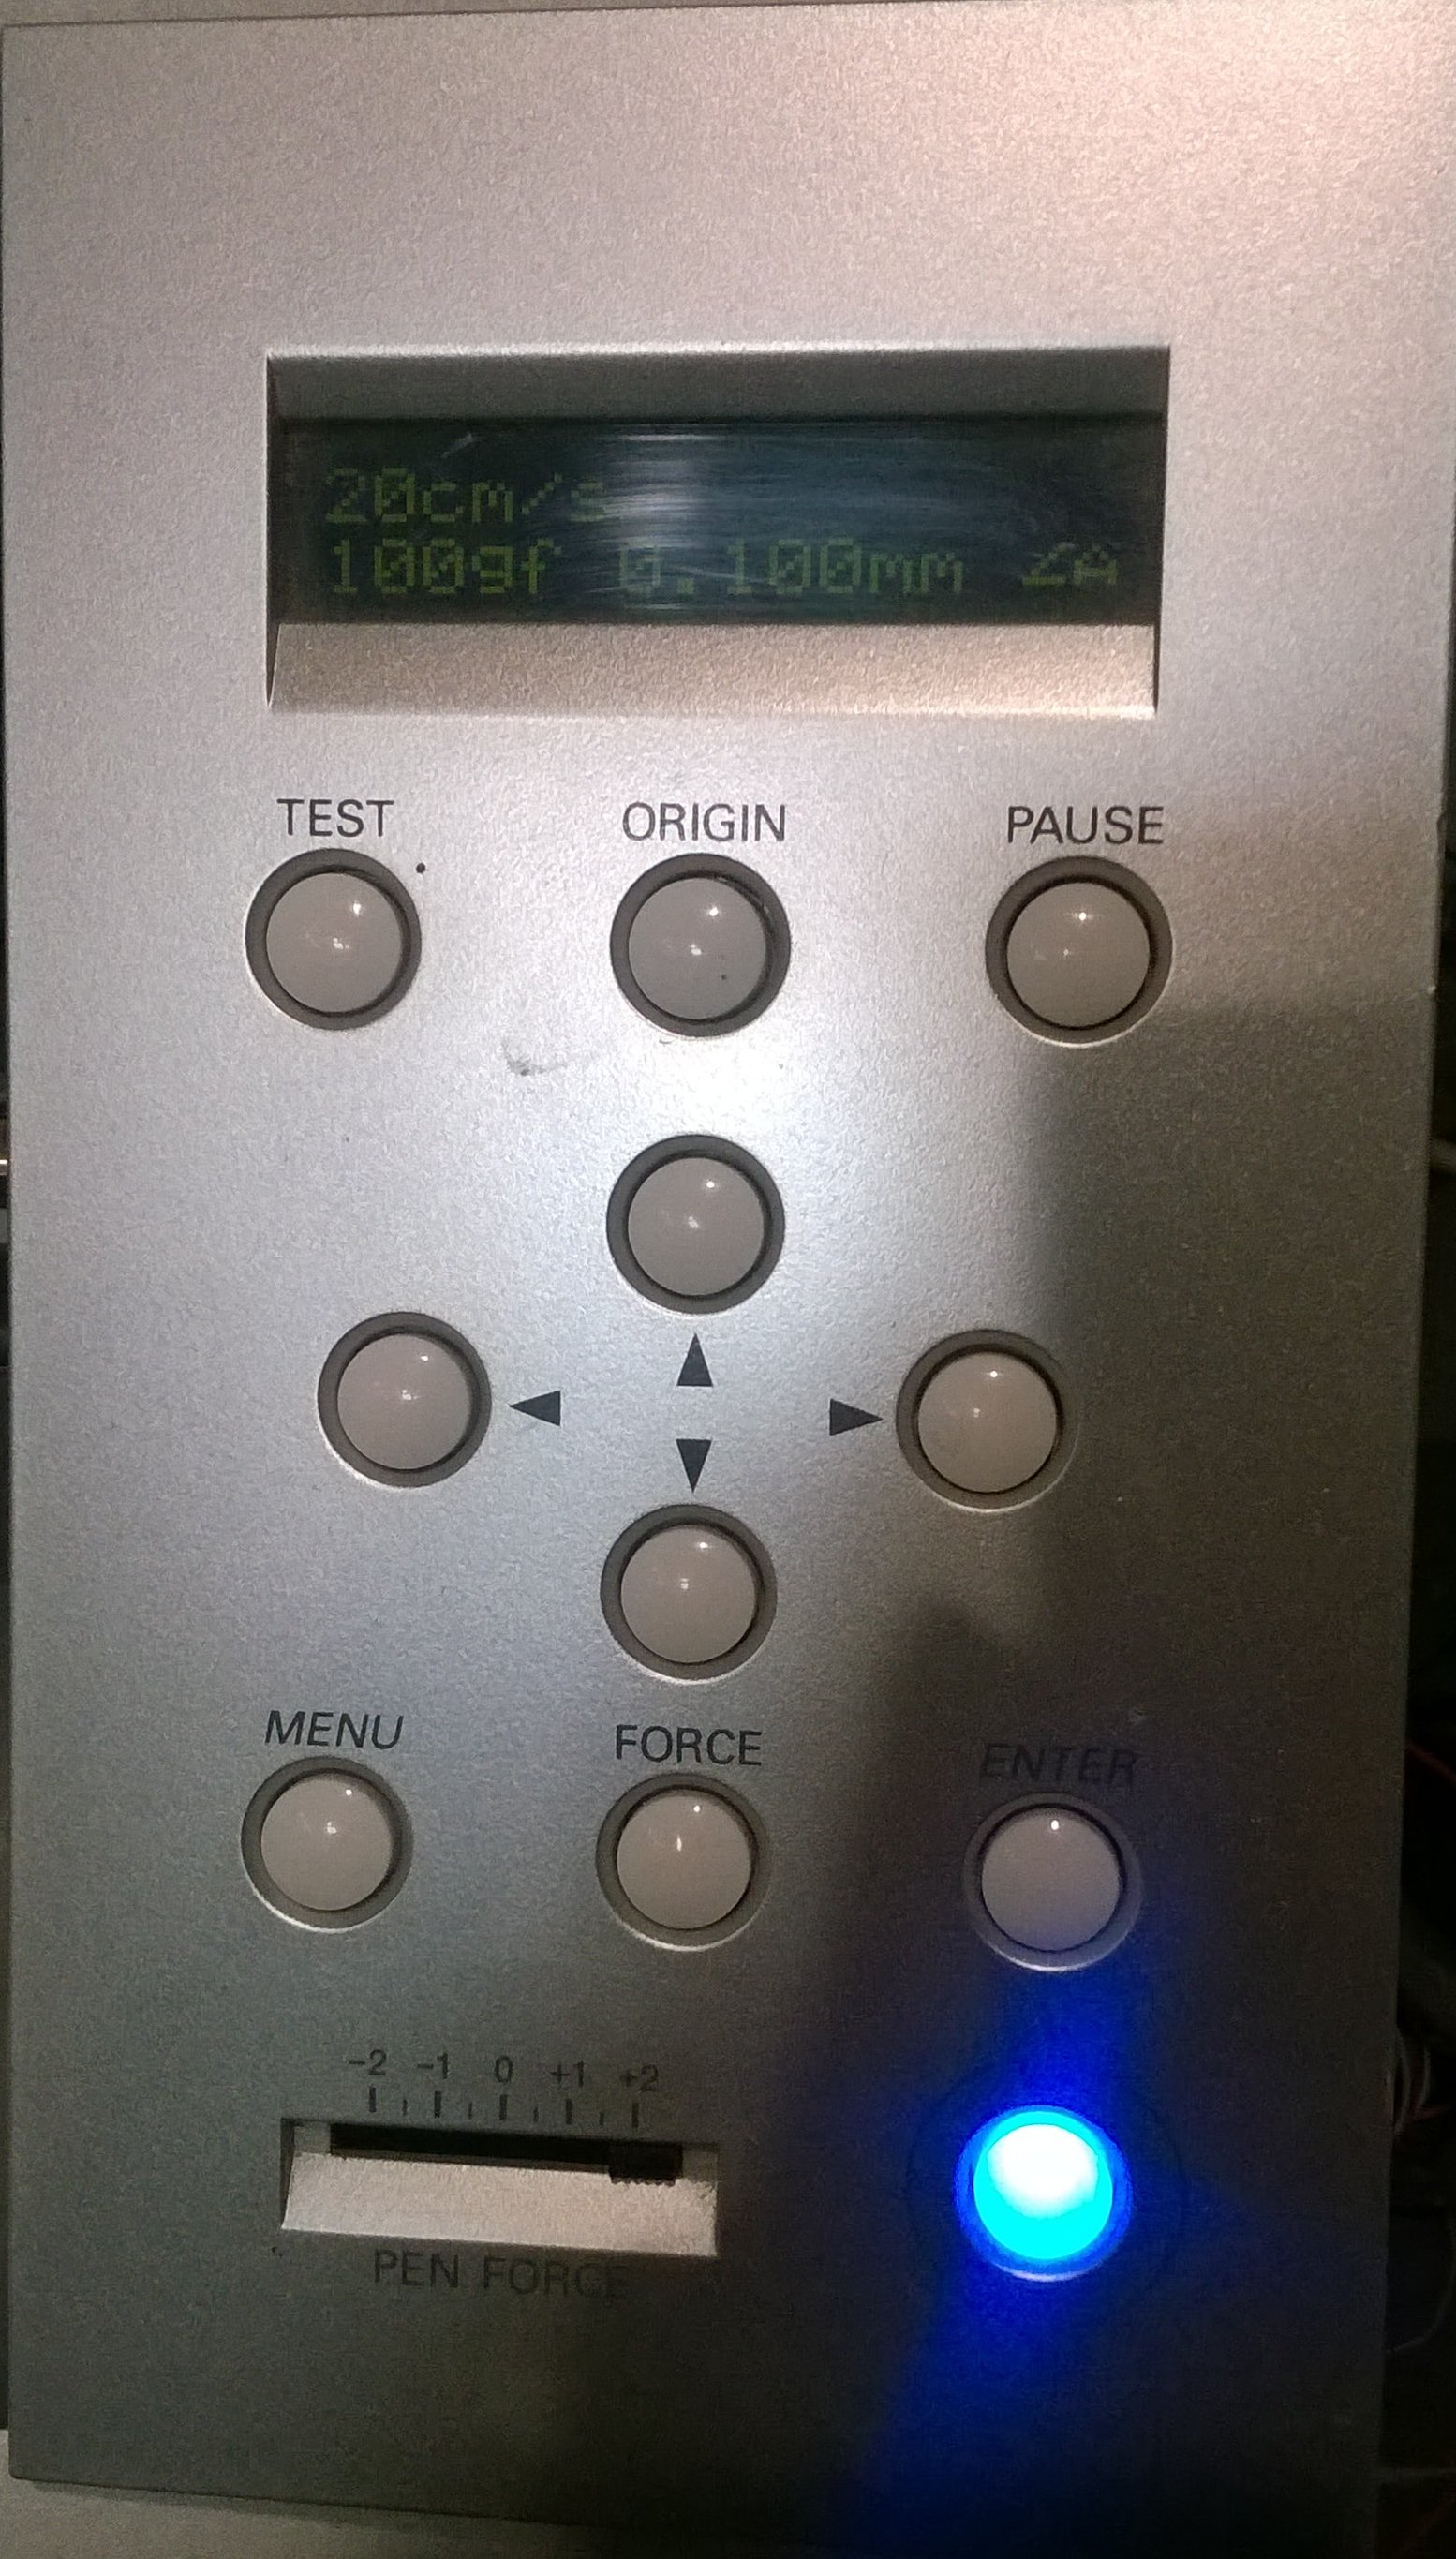
GX-24 Vinyl Cutter is the desktop vinyl cutter with working area of 700 mm wide vinyl. This uses a servo motor for speed and precision by using Roland CAMM-1 technology. There is a Test Cut button on the cutter which can verify the machines force before beginning of our job.
To Began with using the Vinyl Cutter, First entered the vinyl roll from behind by taking the wheels up and after inserting put the wheels down adjusting them on the Vinyl Roll by the use of Lever at the Left back corner of the machine.
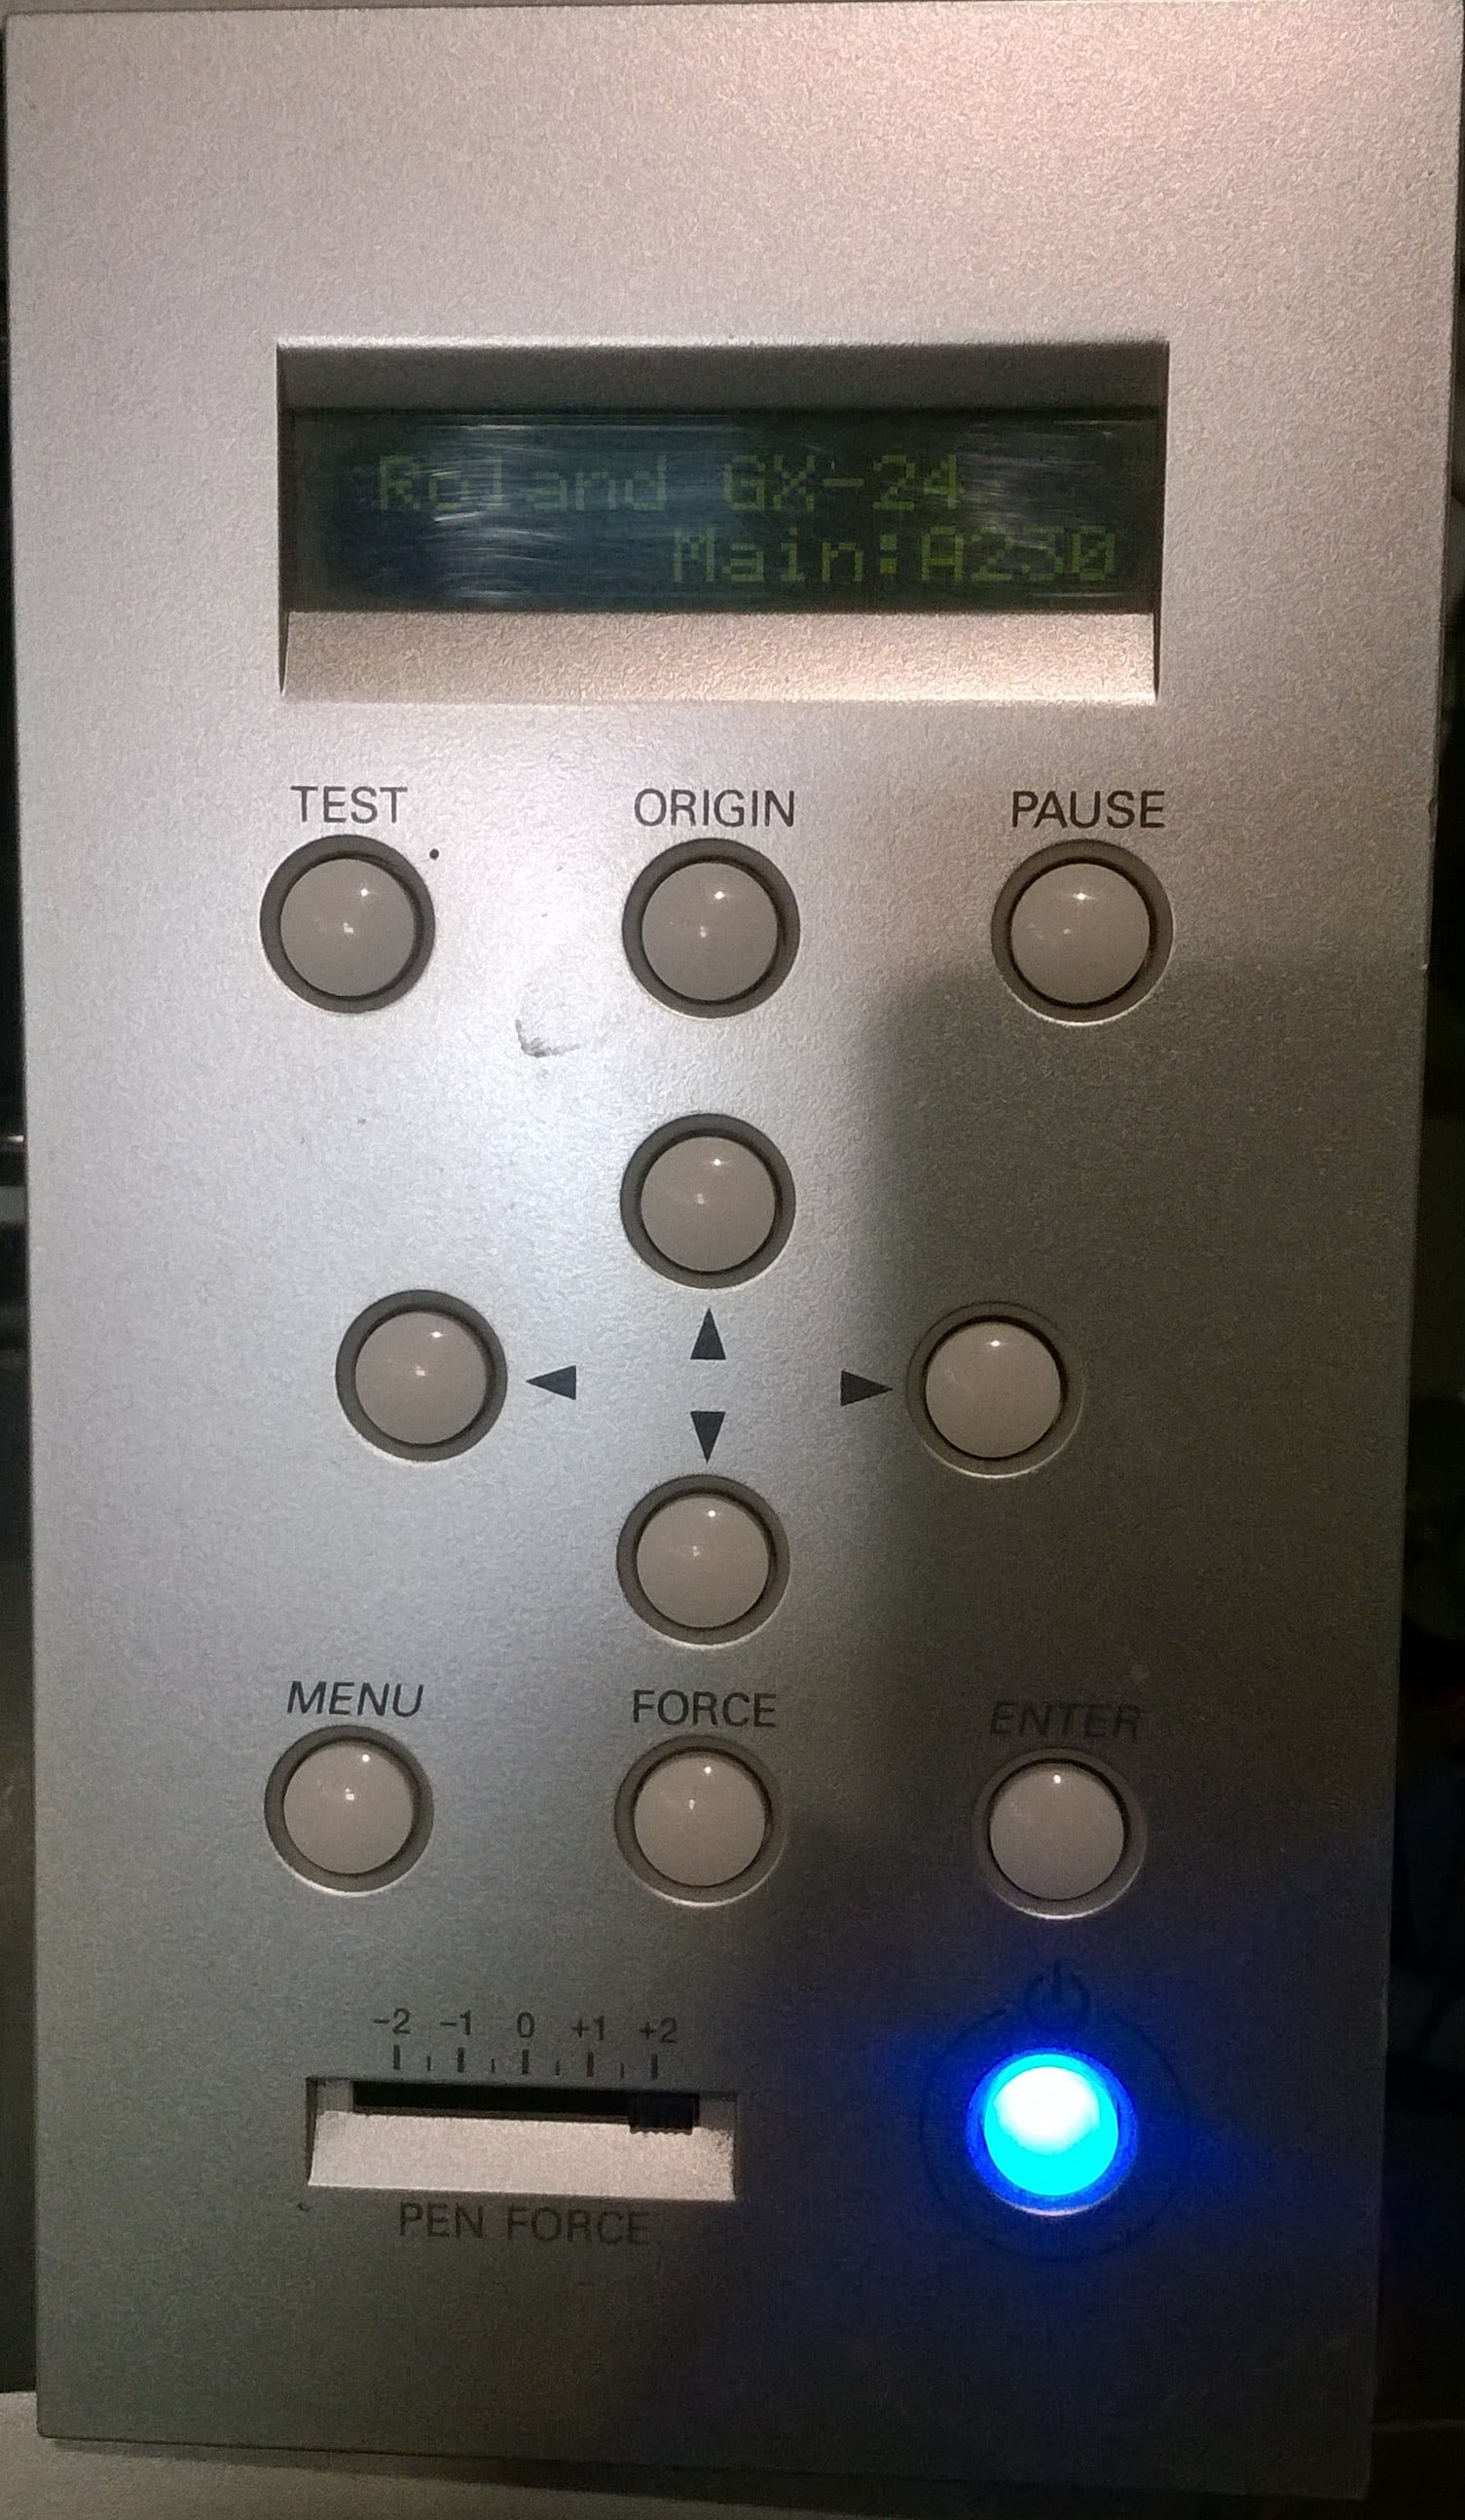
Switched the Machine ON
Now most importantly checking the width of the vinyl roll inserted in machine and entering the proper value of the roll and adjust the design properly on the software. This reduces the wastage of vinyl.
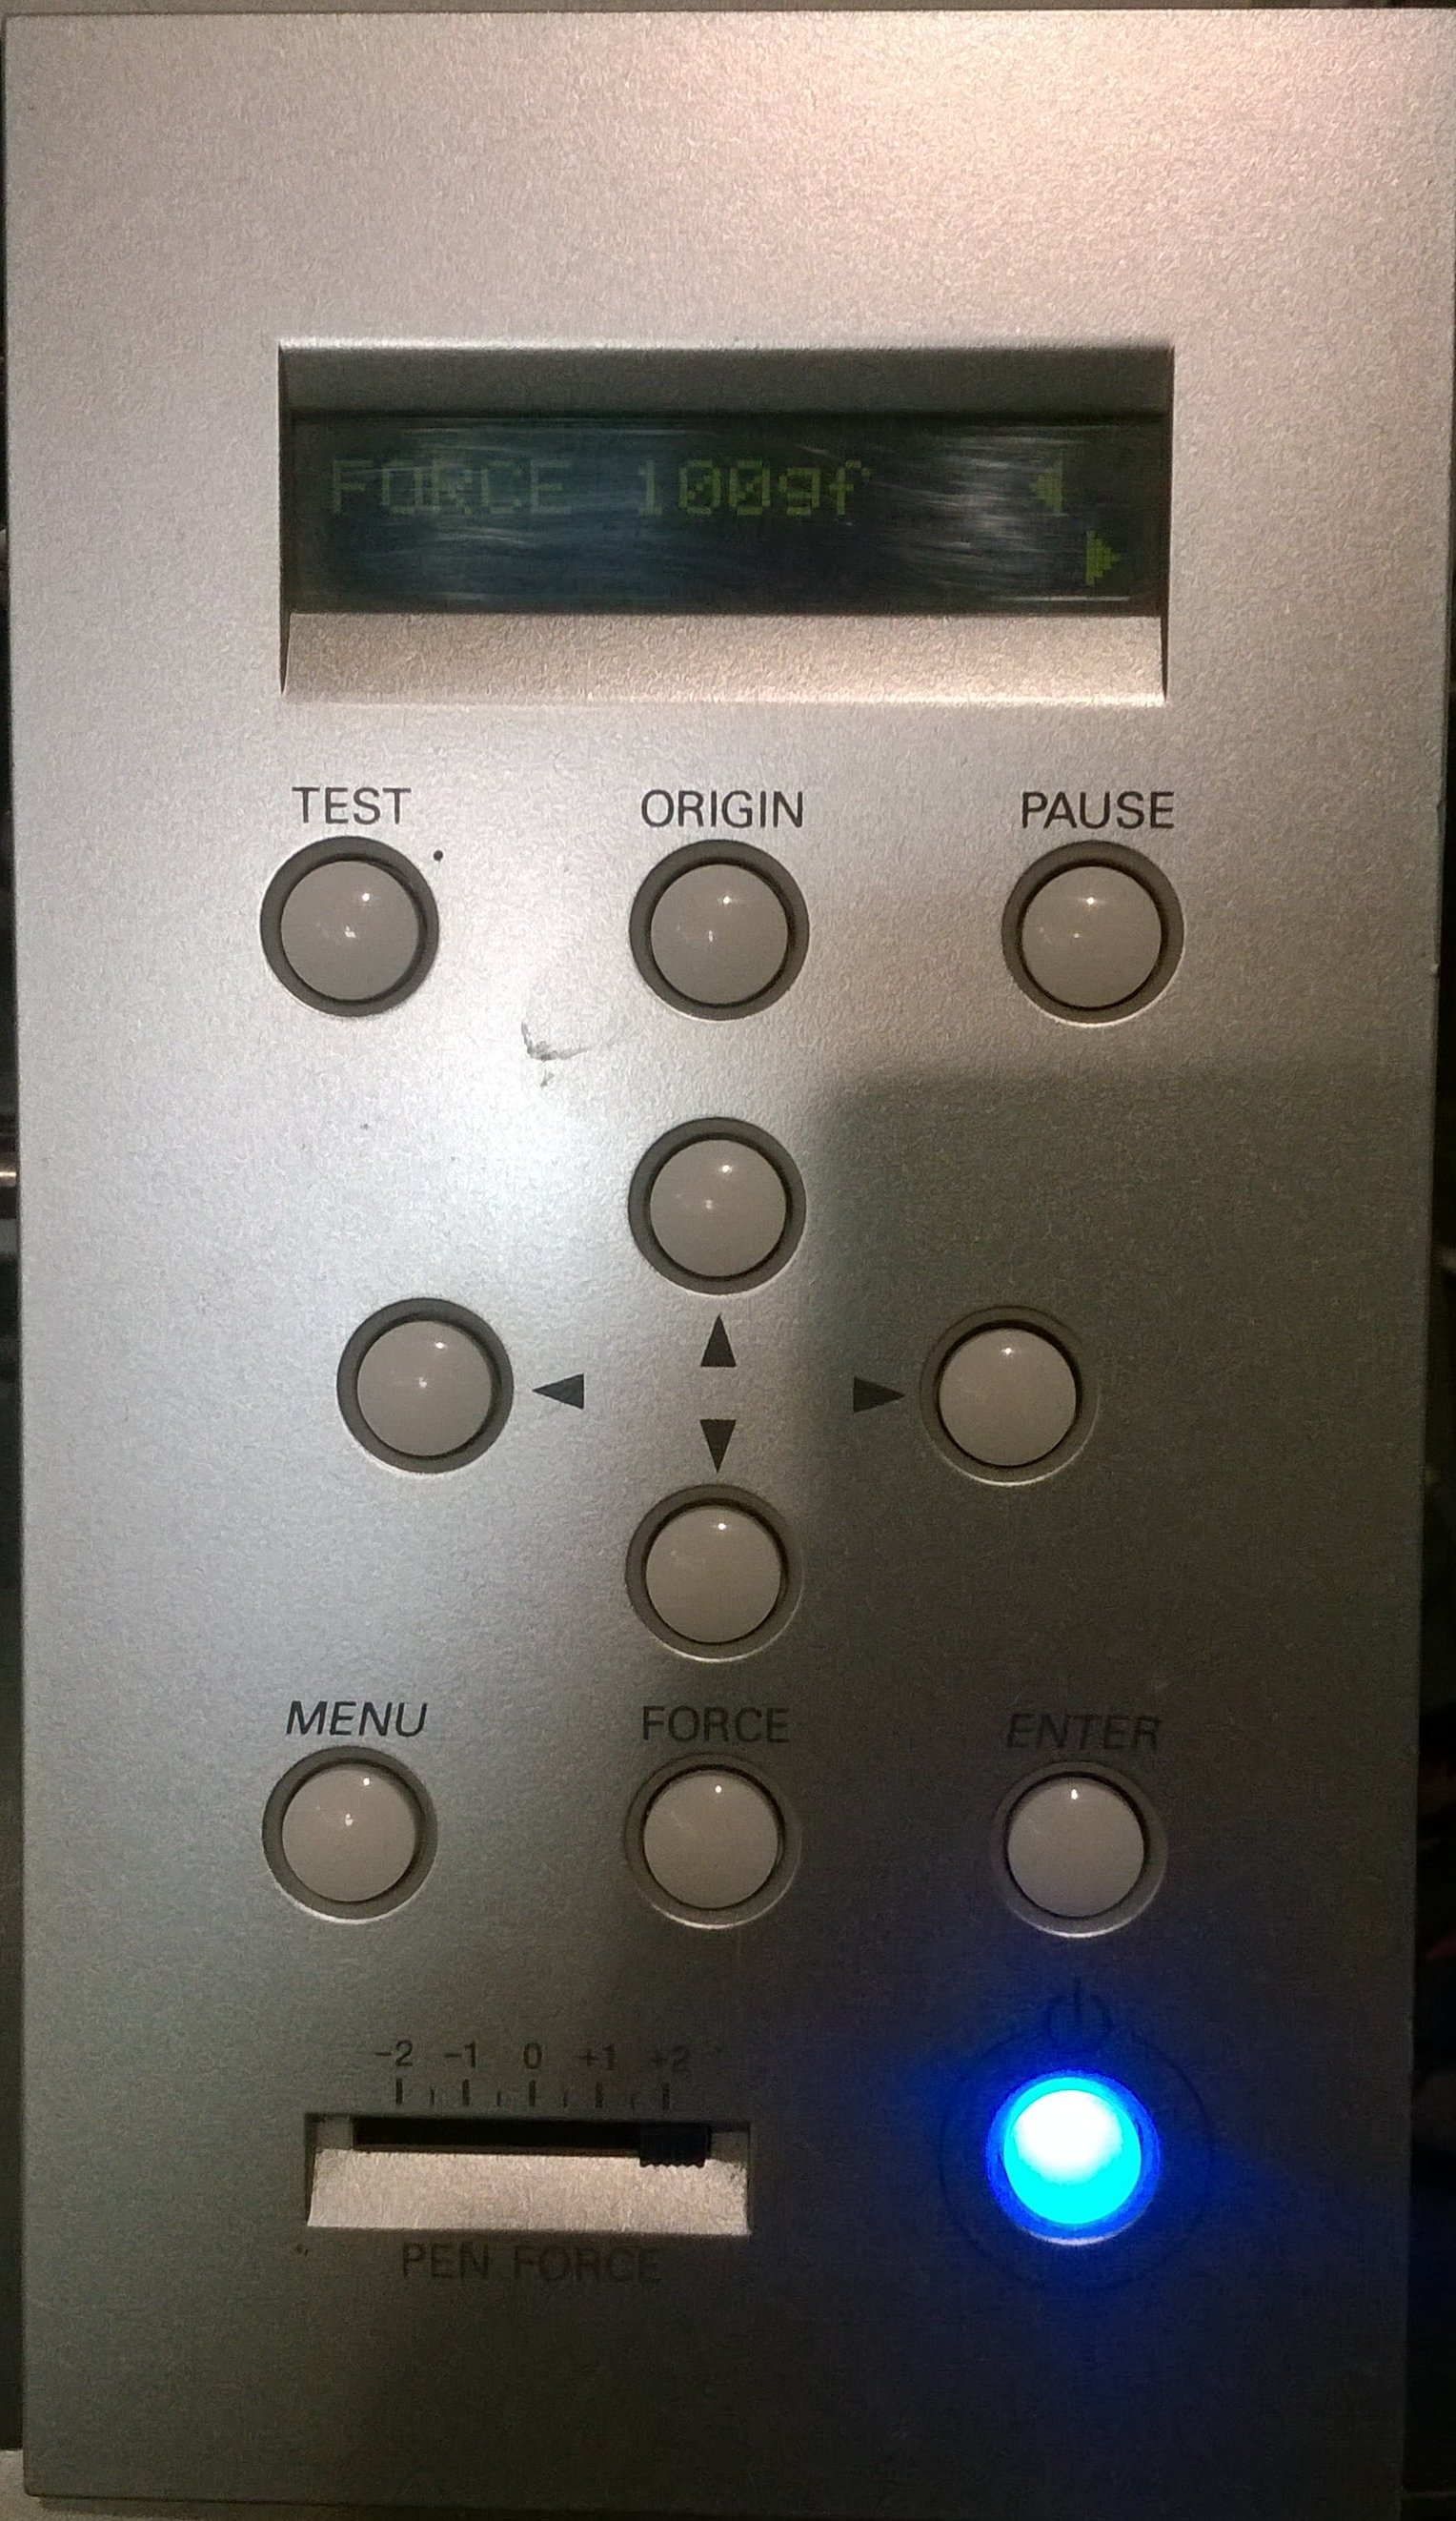
Now set the cutting force to ensure that the cutting depth will be enough to cut the loaded Vinyl roll. If the force increases the protective sheet below the glued sheet will get tear off and results in scramble and improper cut graphics.
Now the Vinyl Cutter is ready for use. It now requires a design to cut.
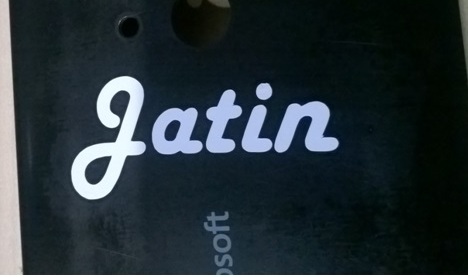
I used again Coral Draw for designing the graphic. So first I started with Simply getting my name printed.
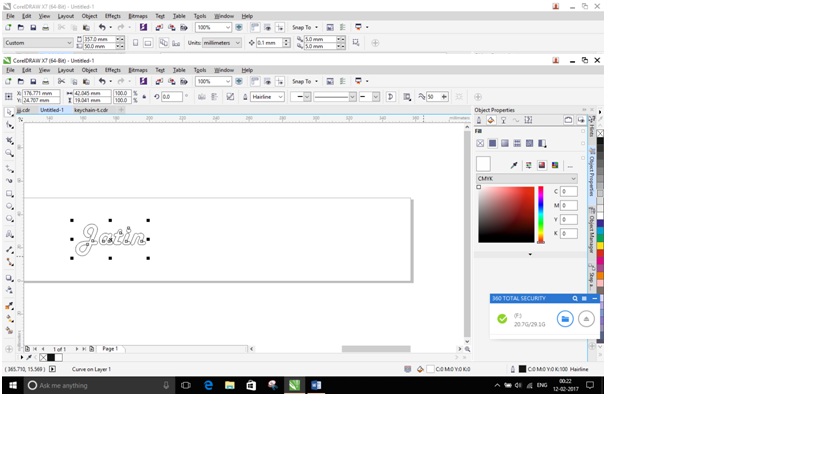
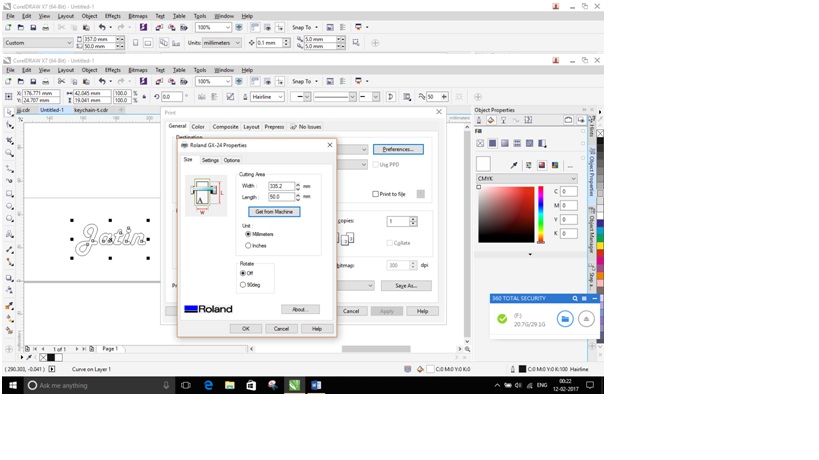
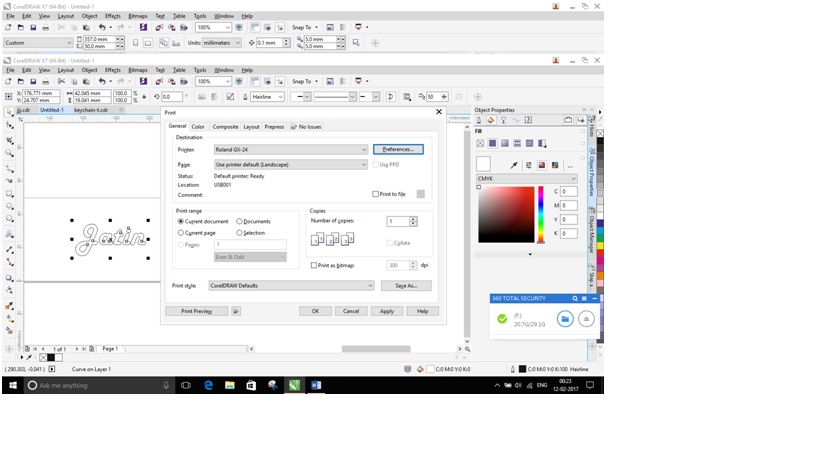
Converted the lines to Hairline and adjusted it according to the page, now simply pressed “Ctrl+P” and gave print command. Now similar to Laser Cutter, went to “Preferences” in the print dialog box, and Checked whether the Width and Height of the sheet is proper or not. Now clicked OK and again on print Dialog Box OK.
Now the Vinyl Cutter will start Cutting the design on our Laptop Screen.
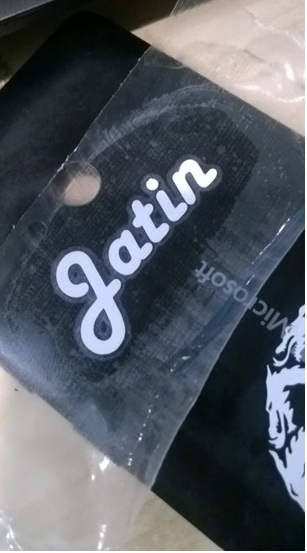
After cutting the design with Vinyl Cutter now I need few tools to prepare the design to pull off the protecting case, used Tweezer and Masking Tape to peel off the cut design from the vinyl sheet.
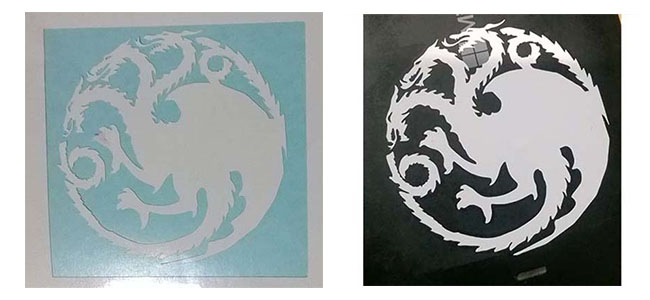
Apart from this name sticker I cut another sticker by using Image Trace on Illustrator and cut a “Game of Thrones – House Tragaryen” symbol.
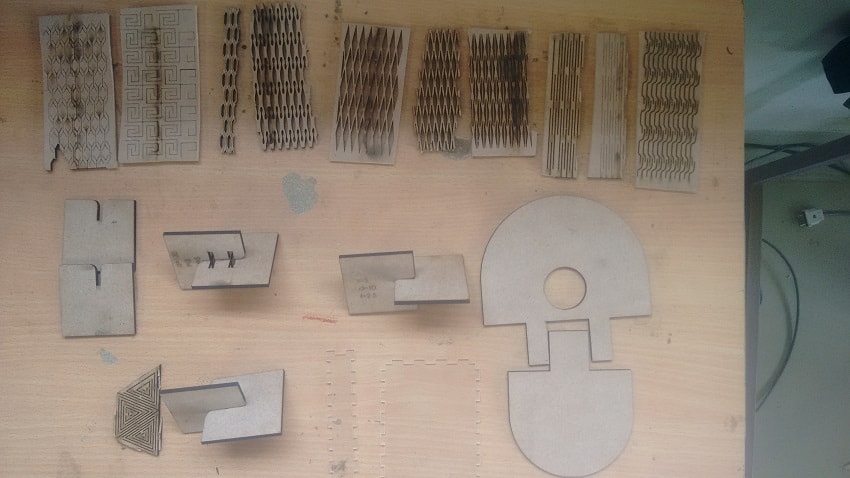
Download Files:
Laser Cut:
Vinyl Cut: